Using the SendGrid API to Get Contacts (with Javascript examples)

Introduction to SendGrid API for Contact Management
SendGrid, a cloud-based email delivery service, is renowned for its robust infrastructure that enables businesses to send transactional and marketing emails with ease. As part of Twilio, SendGrid offers a comprehensive suite of APIs that allow developers to manage email communications efficiently.
Integrating with SendGrid's API can significantly enhance your application's ability to handle email contacts. For example, developers can use the SendGrid API to retrieve contact information, enabling personalized email campaigns and improving customer engagement. This capability is particularly useful for businesses looking to automate their email marketing processes and maintain an up-to-date contact list.
In this article, we will explore how to use JavaScript to interact with the SendGrid API to get contacts by email addresses. This guide will provide step-by-step instructions, ensuring you can seamlessly integrate SendGrid's powerful features into your application.
Setting Up Your SendGrid Account for API Access
Before you can start using the SendGrid API to manage contacts, you'll need to set up a SendGrid account. This process involves creating an account, generating an API key, and ensuring you have the necessary permissions to access the contacts API.
Create a SendGrid Account
If you don't already have a SendGrid account, you can sign up for a free account on the SendGrid website. The free tier provides sufficient access to explore and test the API functionalities.
- Visit the SendGrid website and click on the "Sign Up" button.
- Fill in the required details, including your email address and password.
- Verify your email address to activate your account.
Generate a SendGrid API Key
Once your account is set up, you'll need to generate an API key to authenticate your requests to the SendGrid API. Follow these steps to create an API key:
- Log in to your SendGrid account.
- Navigate to the "Settings" section in the dashboard.
- Select "API Keys" from the dropdown menu.
- Click on "Create API Key" and provide a name for your key.
- Assign the necessary permissions, ensuring you have access to the contacts API.
- Click "Create & View" to generate your API key. Make sure to copy and store it securely, as you won't be able to view it again.
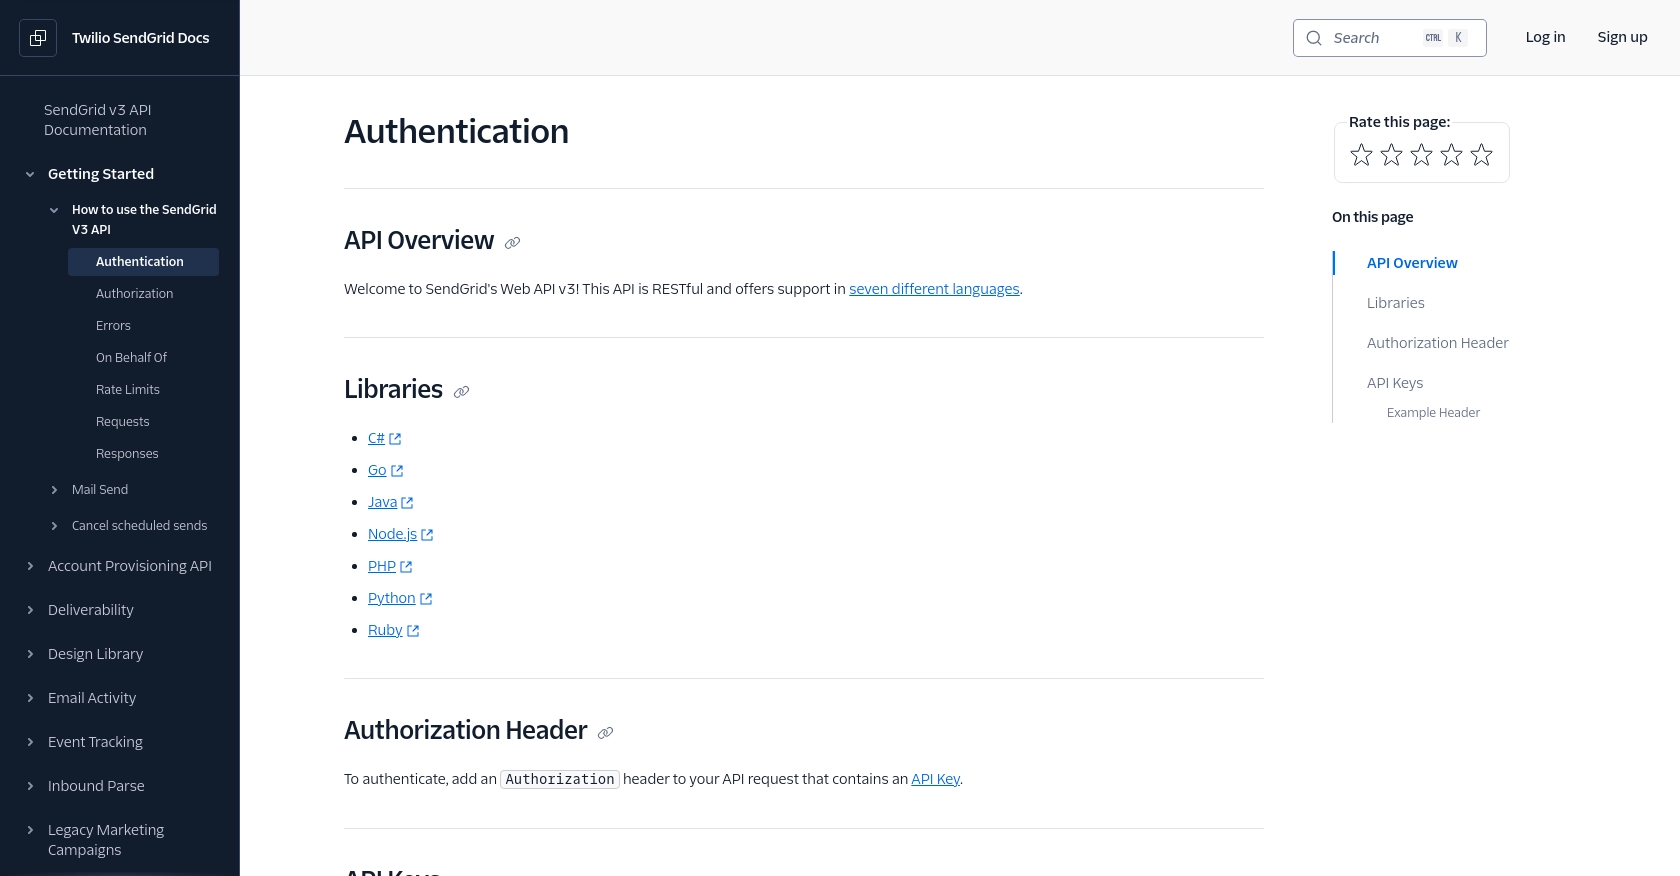
For more details on API key creation and permissions, refer to the SendGrid Authentication Documentation.
Verify API Key Permissions
Ensure that your API key has the correct permissions to access the contacts API. You can adjust these permissions in the API Keys section of your SendGrid dashboard. For contact management, you typically need permissions related to reading and writing contact data.
Testing in a Sandbox Environment
While SendGrid does not provide a traditional sandbox environment, you can use the free tier to test API calls without affecting your production data. It's advisable to use test email addresses and contacts to ensure your integration works as expected before deploying it to a live environment.
sbb-itb-96038d7
Making API Calls to Retrieve Contacts Using SendGrid and JavaScript
To interact with the SendGrid API and retrieve contacts by email addresses, you need to use JavaScript to make HTTP requests. This section will guide you through the process of setting up your environment, writing the necessary code, and handling responses effectively.
Setting Up Your JavaScript Environment for SendGrid API
Before making API calls, ensure you have Node.js installed on your machine. Node.js allows you to run JavaScript code outside of a browser, making it ideal for server-side applications.
- Download and install Node.js from the official website.
- Verify the installation by running
node -vandnpm -vin your terminal.
Installing Required Dependencies
To make HTTP requests to the SendGrid API, you'll need the @sendgrid/client package. Install it using npm:
npm install @sendgrid/clientWriting JavaScript Code to Retrieve Contacts
Create a JavaScript file named getContacts.js and add the following code:
const client = require('@sendgrid/client');
client.setApiKey('YOUR_SENDGRID_API_KEY');
const data = {
"emails": [
"jane_doe@example.com",
"john_doe@example.com",
"joann_doe@example.com"
]
};
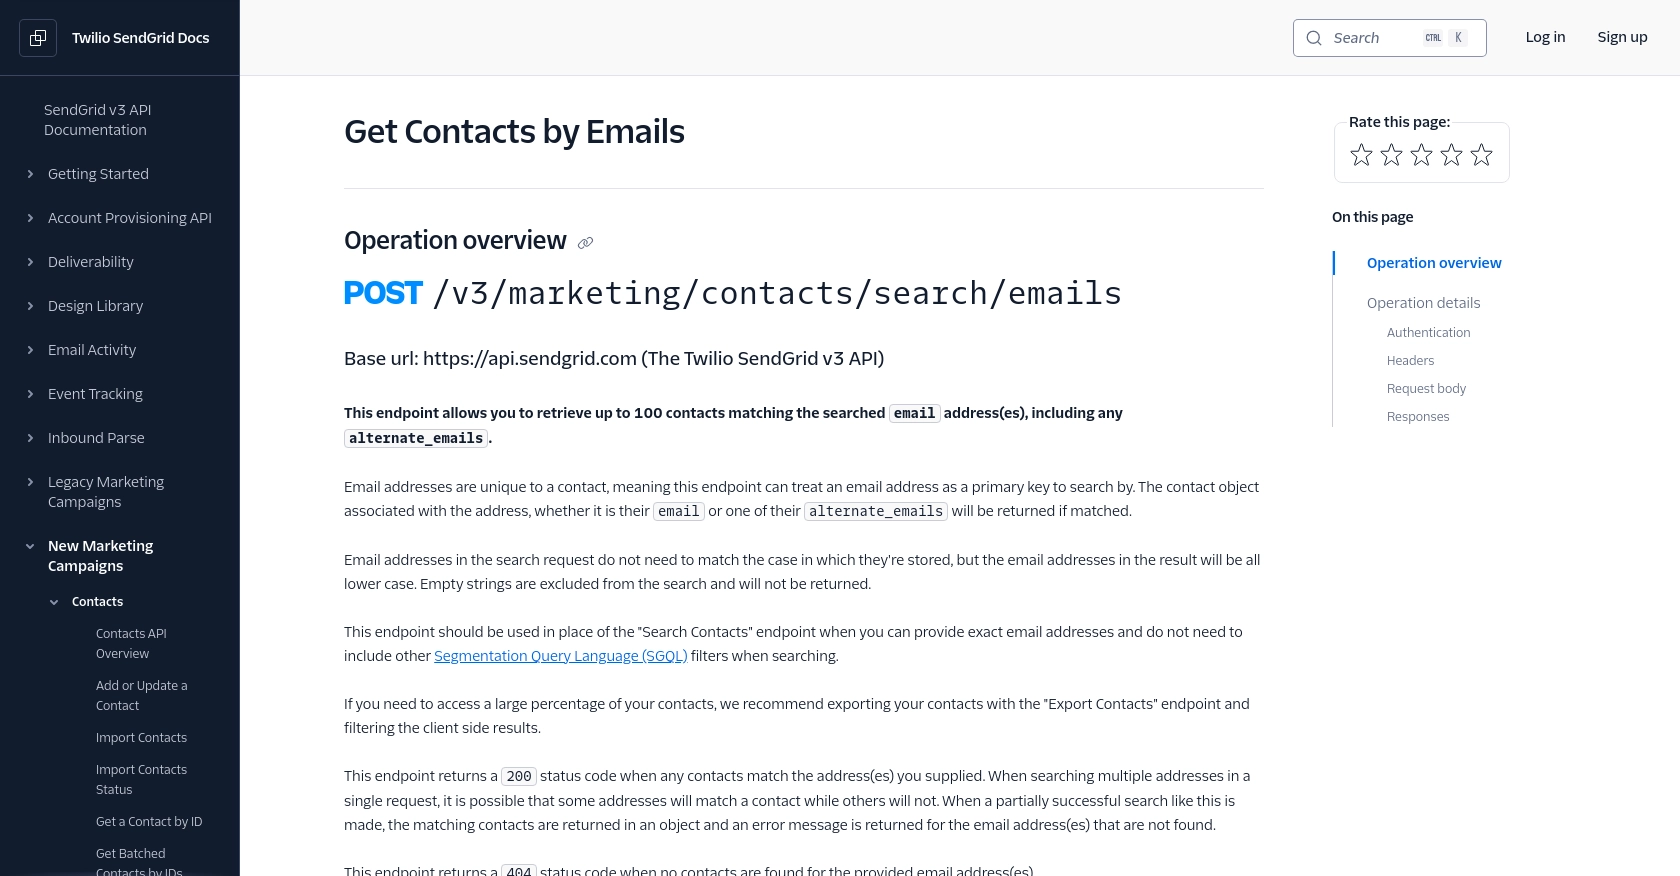
const request = {
url: '/v3/marketing/contacts/search/emails',
method: 'POST',
body: data
};
client.request(request)
.then(([response, body]) => {
console.log(response.statusCode);
console.log(response.body);
})
.catch(error => {
console.error(error);
});
Replace 'YOUR_SENDGRID_API_KEY' with the API key you generated earlier. This script sets up the SendGrid client, constructs the request with the email addresses you want to search, and logs the response.
Running the JavaScript Script
Execute the script using Node.js:
node getContacts.jsIf successful, the script will output the status code and the contact details for the provided email addresses. If any errors occur, they will be logged to the console.
Handling API Responses and Errors
When making API calls, it's crucial to handle responses and potential errors effectively:
- A
200status code indicates a successful request with matching contacts returned. - A
404status code means no contacts were found for the provided email addresses. - A
400status code indicates invalid email addresses in the request. - For more details on error handling, refer to the SendGrid API documentation.
By following these steps, you can efficiently retrieve contacts using the SendGrid API and JavaScript, enhancing your application's email management capabilities.
Conclusion: Best Practices for Using SendGrid API with JavaScript
Integrating SendGrid's API into your application can significantly enhance your email management capabilities, allowing for personalized and automated communication with your contacts. By following the steps outlined in this guide, you can efficiently retrieve contact information using JavaScript, ensuring your email campaigns are both targeted and effective.
Best Practices for Secure and Efficient API Integration
- Secure API Key Management: Always store your SendGrid API key securely. Avoid hardcoding it in your scripts and consider using environment variables to manage sensitive information.
- Handle Rate Limits: Be mindful of SendGrid's rate limits to prevent disruptions in service. Implement logic to handle status code
429and retry requests after the specified reset time. For more details, refer to the SendGrid Rate Limits Documentation. - Data Standardization: Ensure that the data retrieved from SendGrid is standardized and transformed as needed for your application. This can help maintain consistency and improve data quality.
- Error Handling: Implement robust error handling to manage different status codes and potential issues. This will improve the reliability of your integration and provide better user feedback.
Leverage Endgrate for Simplified Integration Management
While integrating with SendGrid's API can be straightforward, managing multiple integrations can become complex and time-consuming. Endgrate offers a unified API solution that simplifies integration management, allowing you to focus on your core product development. By using Endgrate, you can streamline your integration processes, reduce development time, and enhance the user experience for your customers.
Explore how Endgrate can help you manage your integrations more effectively by visiting Endgrate's website.
Read More
- https://endgrate.com/provider/sendgrid
- https://www.twilio.com/docs/sendgrid/api-reference/how-to-use-the-sendgrid-v3-api/authentication
- https://www.twilio.com/docs/sendgrid/api-reference/how-to-use-the-sendgrid-v3-api/authorization
- https://www.twilio.com/docs/sendgrid/api-reference/how-to-use-the-sendgrid-v3-api/rate-limits
- https://www.twilio.com/docs/sendgrid/api-reference/contacts/get-contacts-by-emails

Ready to get started?
