Using the Shopify API to Create or Update Products in PHP

Introduction to Shopify API for Product Management
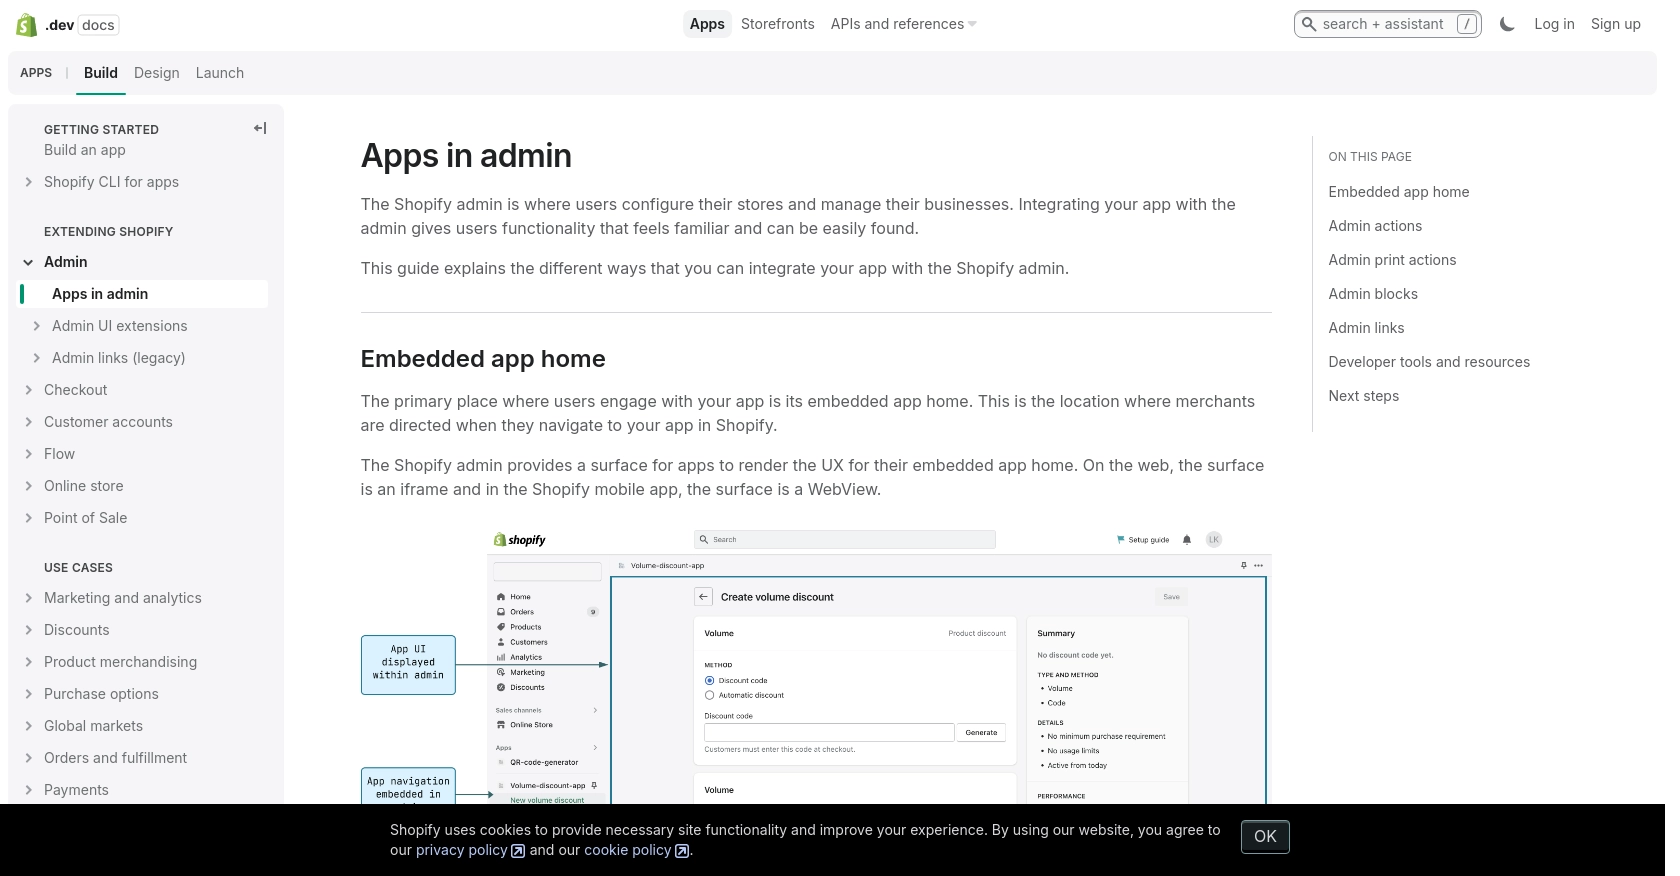
Shopify is a leading e-commerce platform that empowers businesses to create and manage their online stores with ease. With its robust set of tools and extensive customization options, Shopify enables merchants to sell products, manage inventory, and process payments seamlessly.
For developers, integrating with the Shopify API offers a powerful way to automate and enhance store operations. By using the Shopify API, developers can programmatically create, update, and manage products, allowing for streamlined inventory management and dynamic product listings.
Consider a scenario where a developer needs to update product details across multiple Shopify stores. By leveraging the Shopify API, they can automate this process, ensuring consistency and saving valuable time.
Setting Up Your Shopify Test Account for API Integration
Before diving into the Shopify API, you'll need to set up a test or sandbox account. This allows you to safely experiment with API calls without affecting a live store. Shopify provides a development environment where you can create a test store to simulate real-world scenarios.
Creating a Shopify Partner Account
To begin, you'll need a Shopify Partner account. This account gives you access to the Shopify Partner Dashboard, where you can create and manage development stores.
- Visit the Shopify Partners page and sign up for a free account.
- Once registered, log in to your Shopify Partner Dashboard.
Setting Up a Shopify Development Store
With your Partner account ready, you can now create a development store. This store acts as your sandbox environment for testing API integrations.
- In the Shopify Partner Dashboard, navigate to Stores and click on Add store.
- Select Development store as the store type.
- Fill in the required details, such as store name and password, and click Create store.
Creating a Shopify App for OAuth Authentication
Shopify uses OAuth for authentication, which requires you to create an app within your development store. This app will generate the necessary credentials for API access.
- In your development store, go to Apps and click on Develop apps.
- Click Create an app and provide a name for your app.
- Once the app is created, navigate to the API credentials tab to find your API key and API secret key.
Configuring OAuth Scopes for Shopify API Access
To interact with the Shopify API, you need to specify the access scopes your app requires. These scopes determine what data your app can access.
- In the app settings, go to Configuration and select Configure Admin API scopes.
- Choose the necessary scopes for product management, such as read_products and write_products.
- Save your changes to update the app's permissions.
With your Shopify development store and app set up, you're ready to start making API calls to create or update products. This environment ensures that you can test your integration thoroughly before deploying it to a live store.
sbb-itb-96038d7
Making API Calls to Shopify for Product Management Using PHP
To interact with Shopify's API for creating or updating products, you'll need to use PHP to make HTTP requests. This section will guide you through setting up your PHP environment, making API calls, and handling responses effectively.
Setting Up Your PHP Environment for Shopify API Integration
Before you begin, ensure that you have the following prerequisites installed:
- PHP 7.4 or higher
- Composer for dependency management
- The
guzzlehttp/guzzlepackage for making HTTP requests
Install the Guzzle package using Composer with the following command:
composer require guzzlehttp/guzzleCreating a New Product in Shopify Using PHP
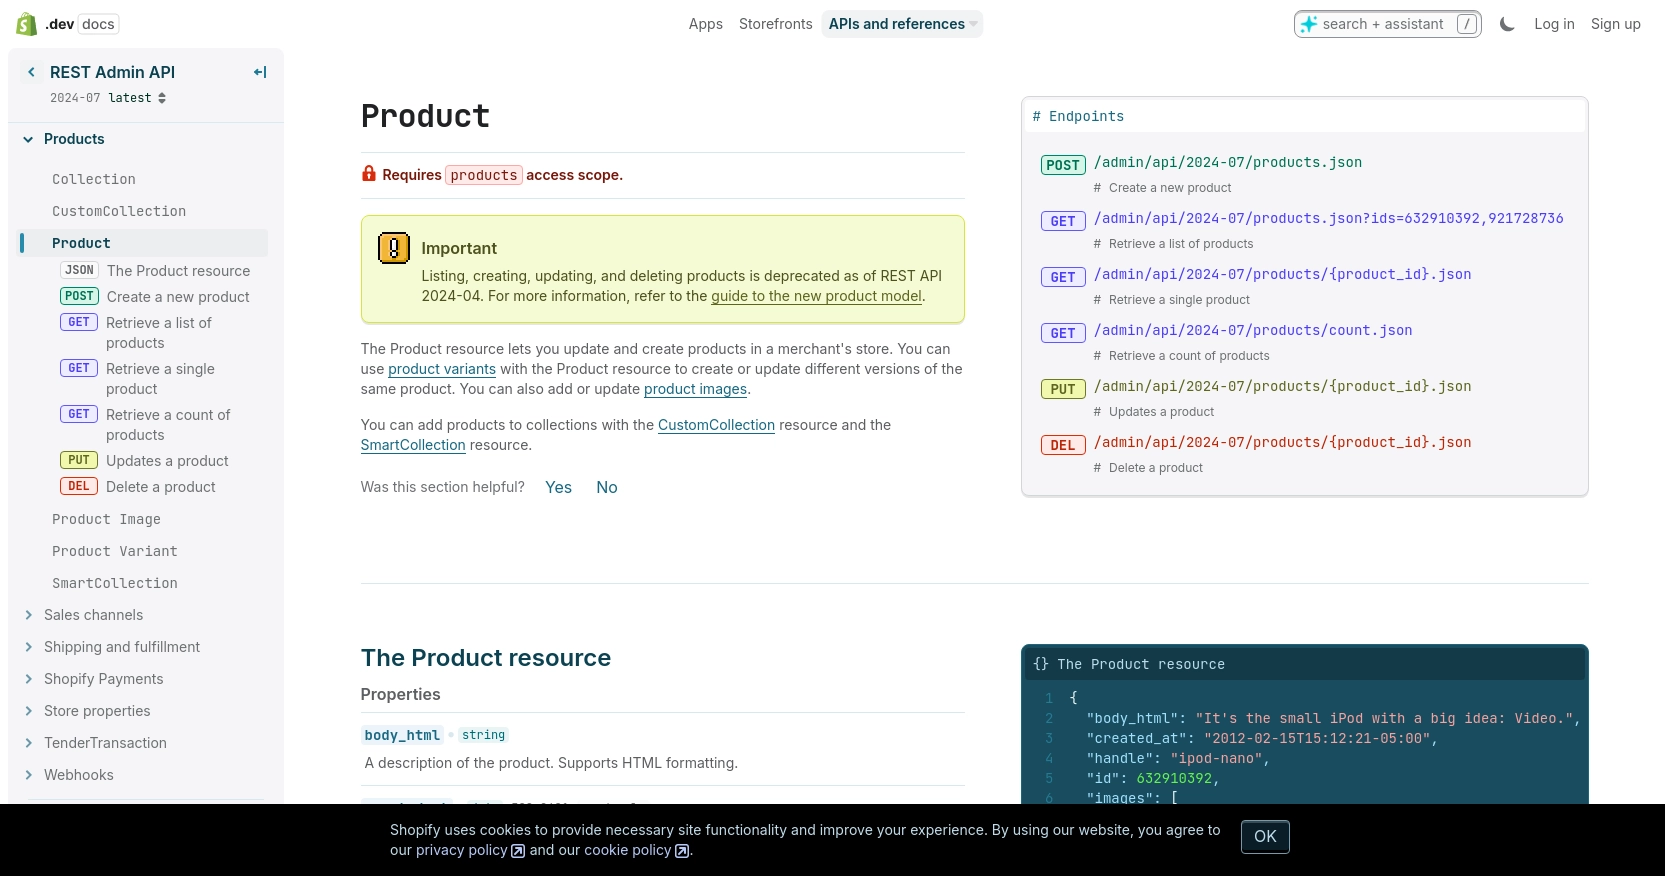
To create a new product in Shopify, you'll need to send a POST request to the Shopify API endpoint. Here's a step-by-step guide:
require 'vendor/autoload.php';

use GuzzleHttp\Client;

$client = new Client();
$accessToken = 'your_access_token';
$storeUrl = 'your-development-store.myshopify.com';

$response = $client->post("https://$storeUrl/admin/api/2024-07/products.json", [
    'headers' => [
        'X-Shopify-Access-Token' => $accessToken,
        'Content-Type' => 'application/json',
    ],
    'json' => [
        'product' => [
            'title' => 'New Product',
            'body_html' => '<strong>This is a great product!</strong>',
            'vendor' => 'Your Vendor',
            'product_type' => 'Your Product Type',
            'status' => 'active'
        ]
    ]
]);

echo $response->getBody();
Replace your_access_token and your-development-store.myshopify.com with your actual access token and store URL. This code sends a request to create a new product with specified details.
Updating an Existing Product in Shopify Using PHP
To update an existing product, you'll need to send a PUT request to the Shopify API. Here's how you can do it:
$productId = 'your_product_id';

$response = $client->put("https://$storeUrl/admin/api/2024-07/products/$productId.json", [
    'headers' => [
        'X-Shopify-Access-Token' => $accessToken,
        'Content-Type' => 'application/json',
    ],
    'json' => [
        'product' => [
            'id' => $productId,
            'title' => 'Updated Product Title'
        ]
    ]
]);

echo $response->getBody();
Replace your_product_id with the ID of the product you wish to update. This code updates the product's title.
Handling Shopify API Responses and Errors
After making an API call, it's crucial to handle responses and potential errors. Shopify API responses include HTTP status codes that indicate the result of your request:
- 200 OK: The request was successful.
- 401 Unauthorized: Authentication failed. Check your access token.
- 429 Too Many Requests: Rate limit exceeded. Wait before retrying.
- 5xx Server Errors: An error occurred on Shopify's end.
Use the following code snippet to handle errors in your PHP script:
try {
    $response = $client->request('POST', "https://$storeUrl/admin/api/2024-07/products.json", [
        // Request options
    ]);
    echo $response->getBody();
} catch (\GuzzleHttp\Exception\RequestException $e) {
    echo $e->getResponse()->getBody()->getContents();
}
This code catches exceptions and outputs the error message, helping you debug issues effectively.
Conclusion: Best Practices for Shopify API Integration Using PHP
Integrating with the Shopify API using PHP provides developers with a robust way to manage products programmatically. By following best practices, you can ensure a seamless and efficient integration process.
Securely Storing Shopify API Credentials
Always store your Shopify API credentials securely. Avoid hardcoding them in your source code. Instead, use environment variables or secure vaults to manage sensitive information.
Handling Shopify API Rate Limits
Shopify imposes a rate limit of 40 requests per app per store per minute. To avoid hitting this limit, implement logic to monitor the X-Shopify-Shop-Api-Call-Limit header in API responses. If you receive a 429 status code, respect the Retry-After header before retrying your request.
Standardizing and Transforming Product Data
Ensure that your product data is standardized before sending it to Shopify. This includes consistent formatting of product titles, descriptions, and tags. Consider implementing data validation to catch errors early in the process.
Leverage Endgrate for Streamlined Integration
For developers looking to simplify the integration process, consider using Endgrate. With Endgrate, you can save time and resources by outsourcing integrations and focusing on your core product. Build once for each use case and enjoy an intuitive integration experience for your customers.
By adhering to these best practices, you can create a reliable and efficient integration with Shopify, enhancing your e-commerce operations and providing a better experience for your users.
Read More

Ready to get started?
