Using the Xero API to Create or Update vendors in PHP
Introduction to Xero API for Vendor Management
Xero is a powerful cloud-based accounting software platform designed to help businesses manage their finances seamlessly. It offers a wide range of features, including invoicing, payroll, bank reconciliation, and financial reporting, making it a popular choice for small to medium-sized enterprises.
Integrating with Xero's API allows developers to automate and streamline financial processes, such as managing vendor information. For example, a developer might use the Xero API to create or update vendor records directly from a custom application, ensuring that the vendor data remains consistent and up-to-date across all systems.
This article will guide you through using PHP to interact with the Xero API for creating or updating vendor information, providing a step-by-step approach to enhance your application's functionality and efficiency.
Setting Up a Xero Sandbox Account for API Integration
Before you can start integrating with the Xero API, you'll need to set up a sandbox account. This allows you to test your API calls without affecting live data. Xero provides a demo company that you can use for this purpose.
Creating a Xero Developer Account
To begin, you'll need a Xero developer account. If you don't have one, follow these steps:
- Visit the Xero Developer Portal and sign up for a free account.
- Once registered, log in to your developer account.
Accessing the Xero Demo Company
After setting up your developer account, you can access the Xero demo company:
- Navigate to the "My Apps" section in your Xero developer dashboard.
- Select "Try the Demo Company" to access a pre-configured sandbox environment.
Creating a Xero App for OAuth Authentication
Since Xero uses OAuth 2.0 for authentication, you'll need to create an app to obtain the necessary credentials:
- In the "My Apps" section, click on "New App."
- Fill in the required details, such as the app name and company URL.
- Set the redirect URI to a valid URL where you can receive authentication responses.
- After creating the app, note down the Client ID and Client Secret, as you'll need these for authentication.
Configuring OAuth 2.0 Scopes
To interact with vendor data, you must configure the appropriate OAuth scopes:
- In your app settings, navigate to the "Scopes" section.
- Select the necessary scopes for managing contacts, such as
accounting.contacts.
With your sandbox account and app set up, you're ready to start making API calls to create or update vendor information using PHP. For more details on OAuth 2.0 authentication, refer to the Xero OAuth 2.0 Overview.

sbb-itb-96038d7
Making API Calls to Xero for Vendor Management Using PHP
To interact with the Xero API for creating or updating vendor information, you'll need to set up your PHP environment and make authenticated requests. This section will guide you through the necessary steps, including setting up your PHP environment, installing dependencies, and writing the code to perform API calls.
Setting Up Your PHP Environment for Xero API Integration
Before you begin coding, ensure your development environment is ready:
- Install PHP 7.4 or later on your machine.
- Ensure you have Composer, the PHP package manager, installed.
Installing Required PHP Libraries for Xero API
You'll need to install the guzzlehttp/guzzle library to handle HTTP requests:
composer require guzzlehttp/guzzleWriting PHP Code to Create or Update Vendors in Xero
With your environment set up, you can now write the PHP code to interact with the Xero API:
require 'vendor/autoload.php';
use GuzzleHttp\Client;
$client = new Client();
$accessToken = 'Your_Access_Token';
$tenantId = 'Your_Tenant_Id';
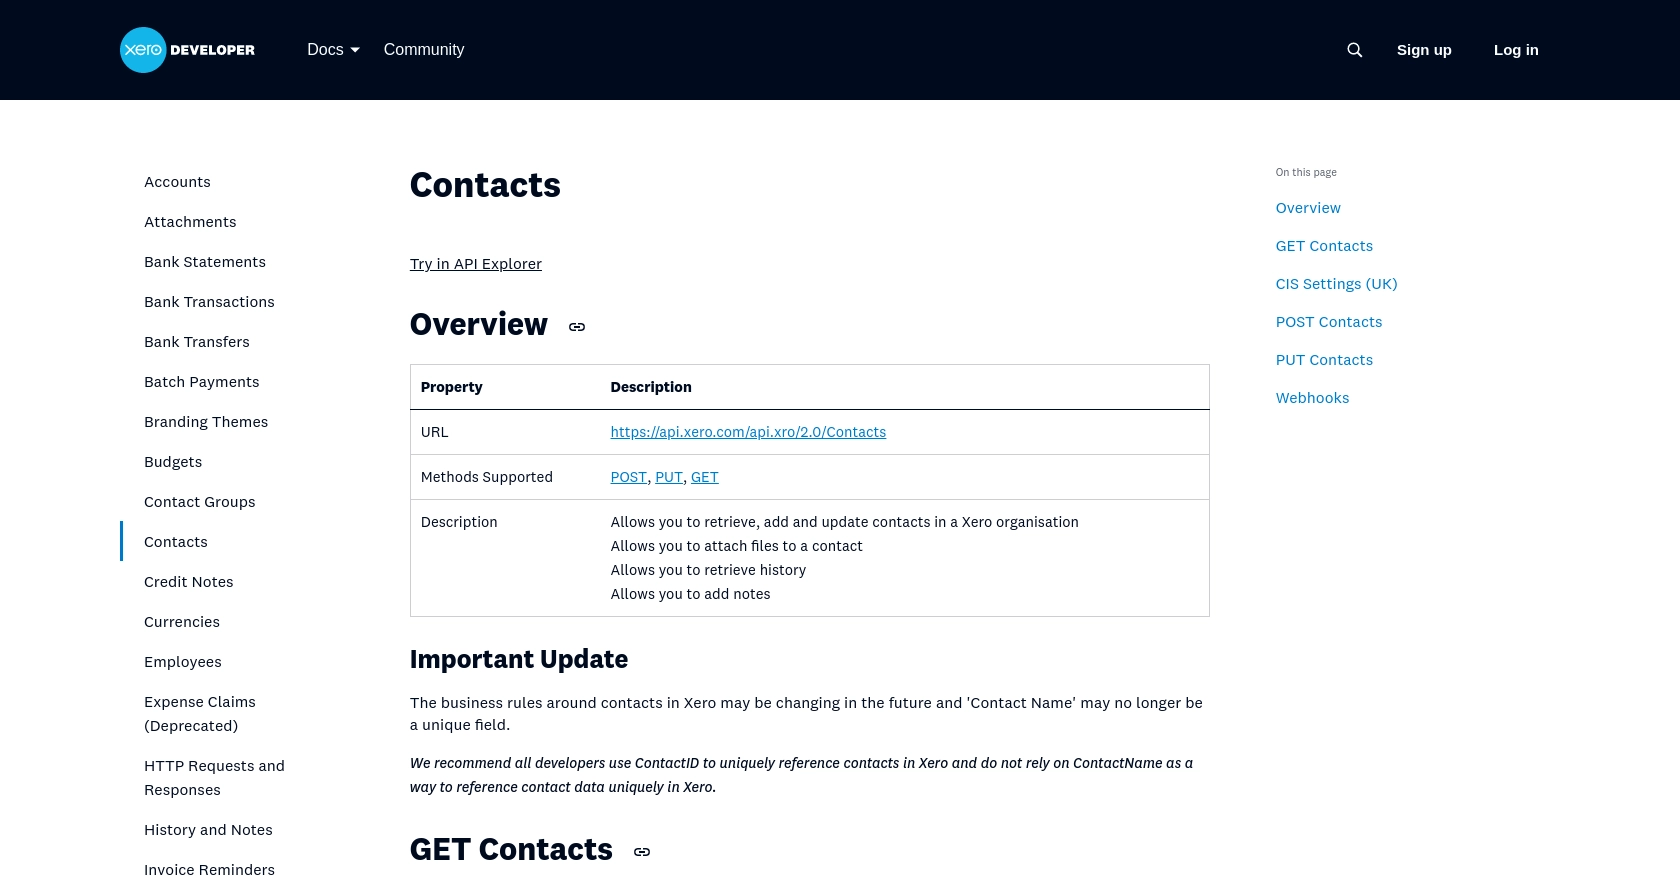
$url = 'https://api.xero.com/api.xro/2.0/Contacts';
$headers = [
'Authorization' => 'Bearer ' . $accessToken,
'Xero-tenant-id' => $tenantId,
'Content-Type' => 'application/json'
];
$vendorData = [
'Name' => 'New Vendor',
'EmailAddress' => 'vendor@example.com',
'ContactStatus' => 'ACTIVE'
];
$response = $client->post($url, [
'headers' => $headers,
'json' => ['Contacts' => [$vendorData]]
]);
if ($response->getStatusCode() === 200) {
echo "Vendor created or updated successfully.";
} else {
echo "Failed to create or update vendor.";
}
Replace Your_Access_Token and Your_Tenant_Id with your actual Xero access token and tenant ID. The code above uses the Guzzle HTTP client to send a POST request to the Xero API, creating or updating a vendor with the specified data.
Verifying API Call Success and Handling Errors
After executing the code, check your Xero demo company to verify that the vendor was created or updated successfully. If the request fails, the response will include an error message. Handle errors by checking the response status code and message:
- 200: Success
- 400: Bad Request - Check your request data
- 401: Unauthorized - Verify your access token
- 403: Forbidden - Check your OAuth scopes
For more details on error handling, refer to the Xero API documentation.
Best Practices for Xero API Integration in PHP
Successfully integrating with the Xero API requires adherence to best practices to ensure security, efficiency, and maintainability. Here are some recommendations:
- Securely Store Credentials: Always store your Xero API credentials, such as the Client ID and Client Secret, securely. Use environment variables or a secure vault to prevent unauthorized access.
- Handle Rate Limiting: Xero's API has rate limits in place. To avoid hitting these limits, implement retry logic and exponential backoff strategies. For more details, refer to the Xero OAuth 2.0 API limits.
- Standardize Data Fields: Ensure that the data you send to Xero is consistent with their required formats. This will help prevent errors and ensure smooth data integration.
Streamlining Integration with Endgrate
Building and maintaining multiple integrations can be time-consuming and complex. Endgrate offers a solution by providing a unified API endpoint that connects to various platforms, including Xero. This allows you to:
- Save Time and Resources: Focus on your core product while Endgrate handles the integrations.
- Build Once, Use Everywhere: Develop a single integration that works across multiple platforms.
- Enhance User Experience: Provide your customers with a seamless and intuitive integration experience.
Explore how Endgrate can simplify your integration needs by visiting Endgrate.
Read More
- https://endgrate.com/provider/xero
- https://developer.xero.com/documentation/api/accounting/requests-and-responses
- https://developer.xero.com/documentation/guides/oauth2/limits/
- https://developer.xero.com/documentation/guides/oauth2/overview
- https://developer.xero.com/documentation/guides/oauth2/scopes
- https://developer.xero.com/documentation/guides/oauth2/auth-flow
- https://developer.xero.com/documentation/guides/oauth2/tenants
- https://developer.xero.com/documentation/api/accounting/contacts

Ready to get started?
