Using the Zendesk Sell API to Get Leads (with Javascript examples)
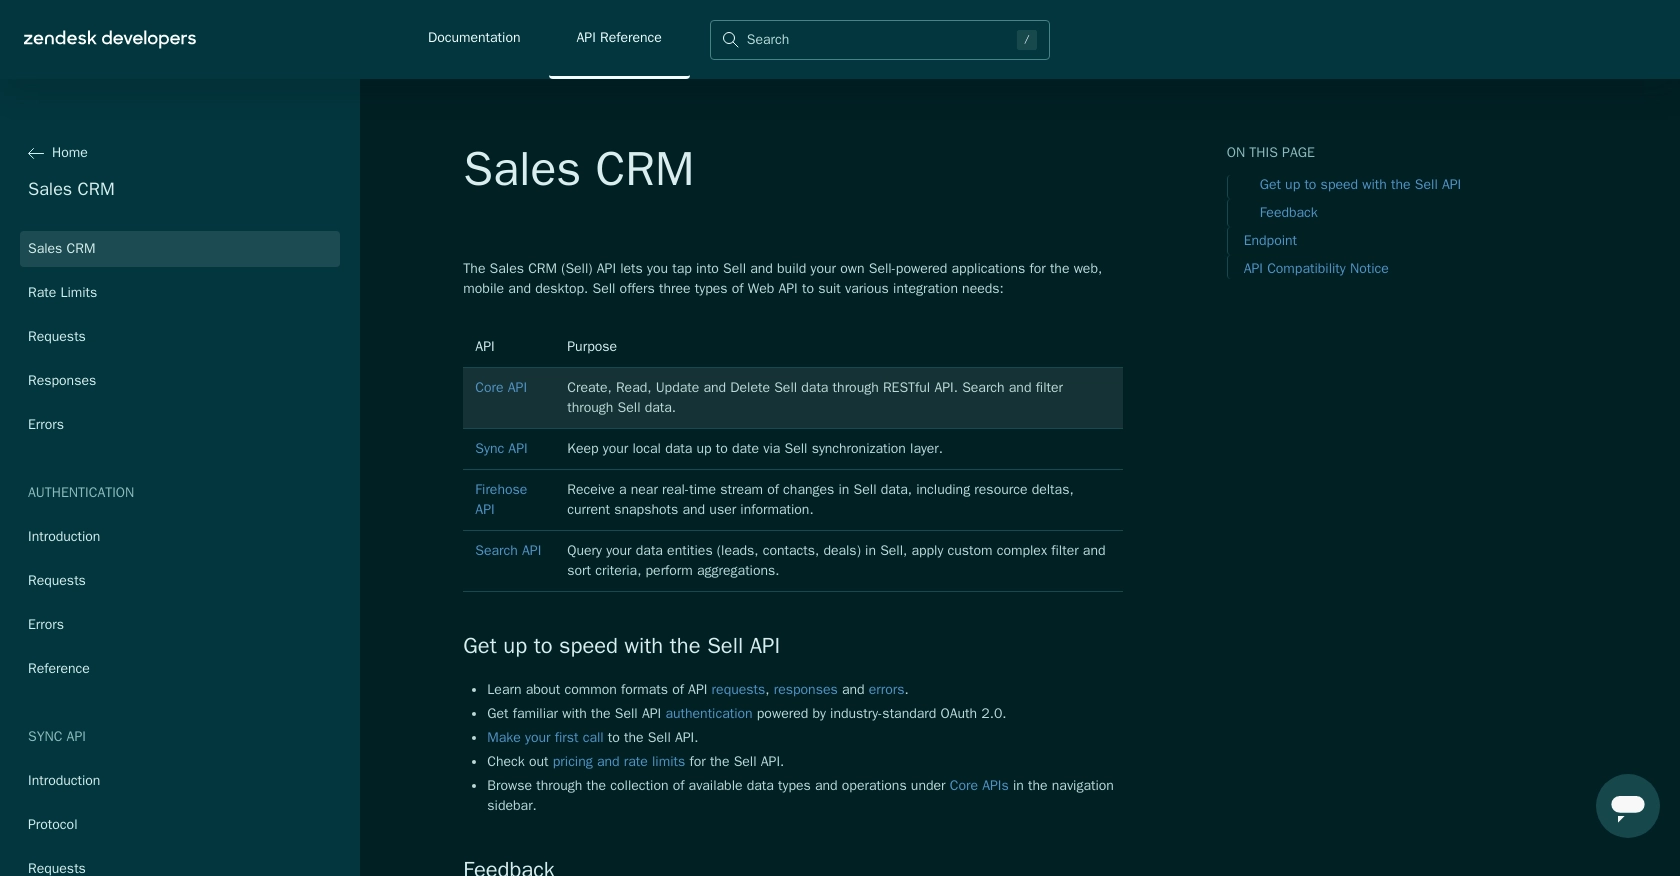
Introduction to Zendesk Sell API
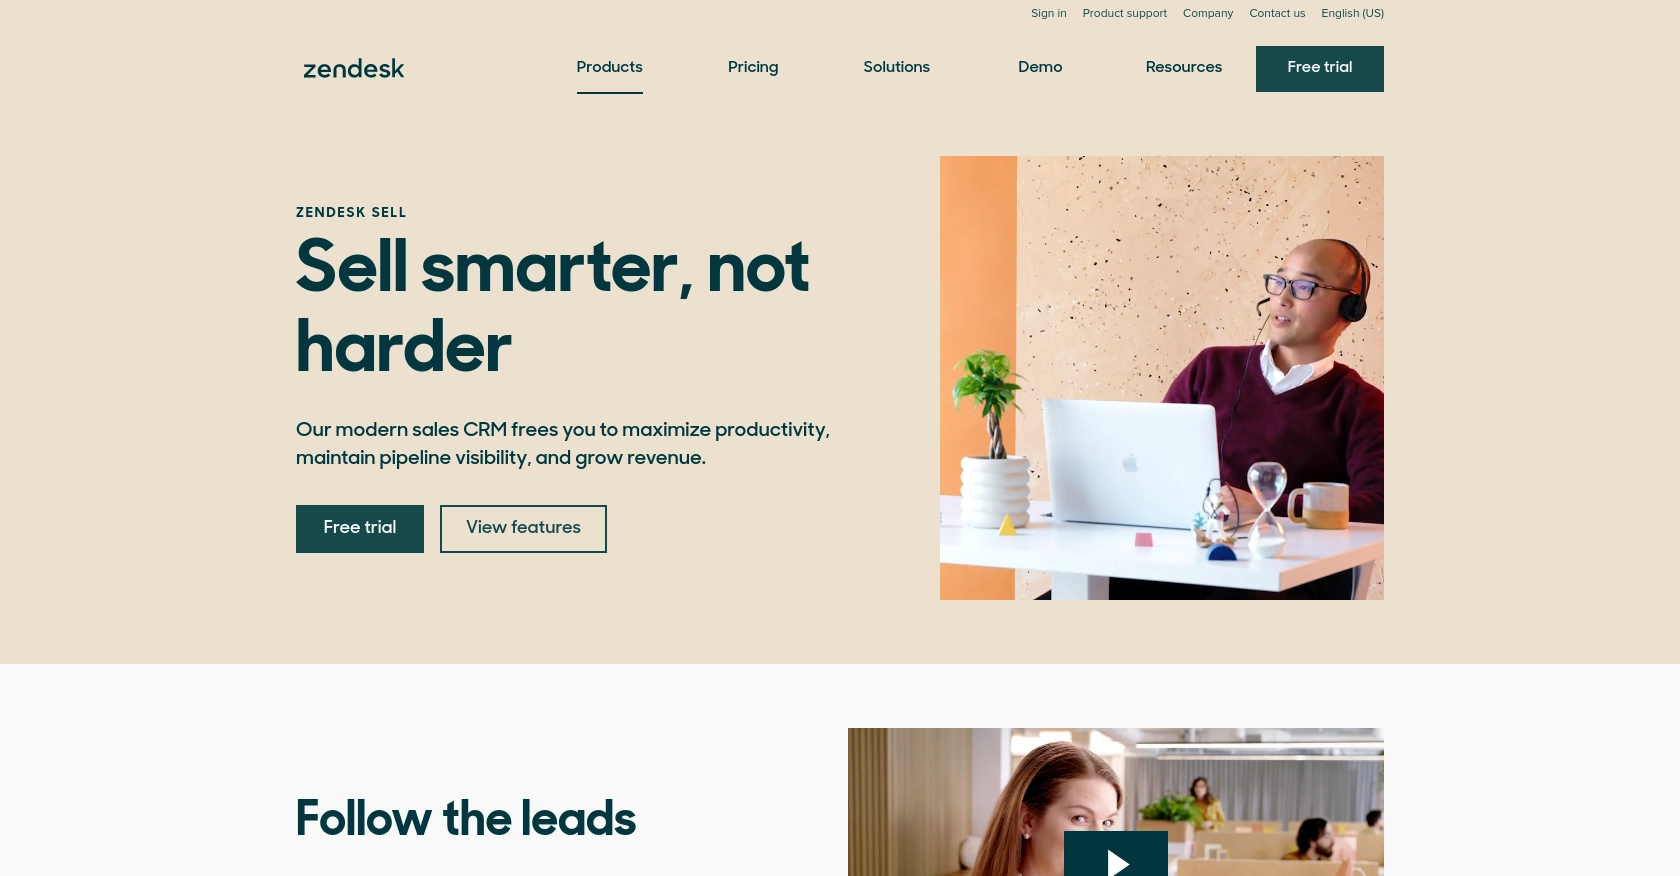
Zendesk Sell is a powerful sales CRM platform designed to enhance productivity and streamline sales processes for businesses. It offers a comprehensive suite of tools that help sales teams manage leads, track communication, and close deals efficiently.
Integrating with the Zendesk Sell API allows developers to access and manage sales data programmatically, enabling automation and customization of sales workflows. For example, a developer might use the Zendesk Sell API to retrieve leads and integrate them with a custom dashboard, providing sales teams with real-time insights and analytics.
Setting Up Your Zendesk Sell Test Account
Before you can start using the Zendesk Sell API, you need to set up a test or sandbox account. This will allow you to safely experiment with API calls without affecting live data.
Creating a Zendesk Sell Sandbox Account
If you don't have a Zendesk Sell account, you can sign up for a free trial on the Zendesk Sell website. This trial account will serve as your sandbox environment where you can test API interactions.
- Visit the Zendesk Sell website and click on the "Start Free Trial" button.
- Fill out the registration form with your details and submit it.
- Once your account is created, log in to access the Zendesk Sell dashboard.
Creating an OAuth Application in Zendesk Sell
To interact with the Zendesk Sell API, you'll need to create an OAuth application. This will provide you with the necessary credentials to authenticate API requests.
- Log in to your Zendesk Sell account and navigate to the "Settings" section.
- Under "Integrations," select "API & Apps."
- Click on "Create App" to start the process of registering a new application.
- Fill in the required fields, such as the app name and description.
- Set the redirect URI to a valid URL where you want to receive the authorization code.
- Save the application to generate your Client ID and Client Secret.
Obtaining OAuth Access Token
With your Client ID and Client Secret, you can now obtain an OAuth access token to authenticate your API requests.
// Example using fetch to obtain access token
const clientId = 'YOUR_CLIENT_ID';
const clientSecret = 'YOUR_CLIENT_SECRET';
const redirectUri = 'YOUR_REDIRECT_URI';
const authorizationCode = 'YOUR_AUTHORIZATION_CODE';

fetch('https://api.getbase.com/oauth2/token', {
    method: 'POST',
    headers: {
        'Content-Type': 'application/x-www-form-urlencoded',
        'Authorization': 'Basic ' + btoa(clientId + ':' + clientSecret)
    },
    body: new URLSearchParams({
        'grant_type': 'authorization_code',
        'redirect_uri': redirectUri,
        'code': authorizationCode
    })
})
.then(response => response.json())
.then(data => console.log('Access Token:', data.access_token))
.catch(error => console.error('Error:', error));
Replace YOUR_CLIENT_ID, YOUR_CLIENT_SECRET, YOUR_REDIRECT_URI, and YOUR_AUTHORIZATION_CODE with your actual values.
Once you have your access token, you can use it to authenticate your API requests to Zendesk Sell.
sbb-itb-96038d7
Making API Calls to Retrieve Leads from Zendesk Sell Using JavaScript
To interact with the Zendesk Sell API and retrieve leads, you'll need to make HTTP requests using JavaScript. This section will guide you through the process of setting up your environment and executing API calls to access lead data.
Setting Up Your JavaScript Environment for Zendesk Sell API
Before making API calls, ensure you have a JavaScript environment set up. You can use Node.js or a browser-based environment. For this tutorial, we'll use the fetch API available in modern browsers.
Installing Necessary Dependencies
If you're using Node.js, you may need to install the node-fetch package to use the fetch API:
npm install node-fetchExample Code to Retrieve Leads from Zendesk Sell
Below is an example of how to retrieve leads using the Zendesk Sell API with JavaScript. Make sure to replace YOUR_ACCESS_TOKEN with the access token you obtained earlier.
// Example using fetch to get leads
const accessToken = 'YOUR_ACCESS_TOKEN';

fetch('https://api.getbase.com/v2/leads', {
    method: 'GET',
    headers: {
        'Accept': 'application/json',
        'Authorization': 'Bearer ' + accessToken
    }
})
.then(response => response.json())
.then(data => {
    console.log('Leads:', data.items);
    data.items.forEach(lead => {
        console.log(`Lead ID: ${lead.data.id}, Name: ${lead.data.first_name} ${lead.data.last_name}`);
    });
})
.catch(error => console.error('Error:', error));
Understanding the API Response
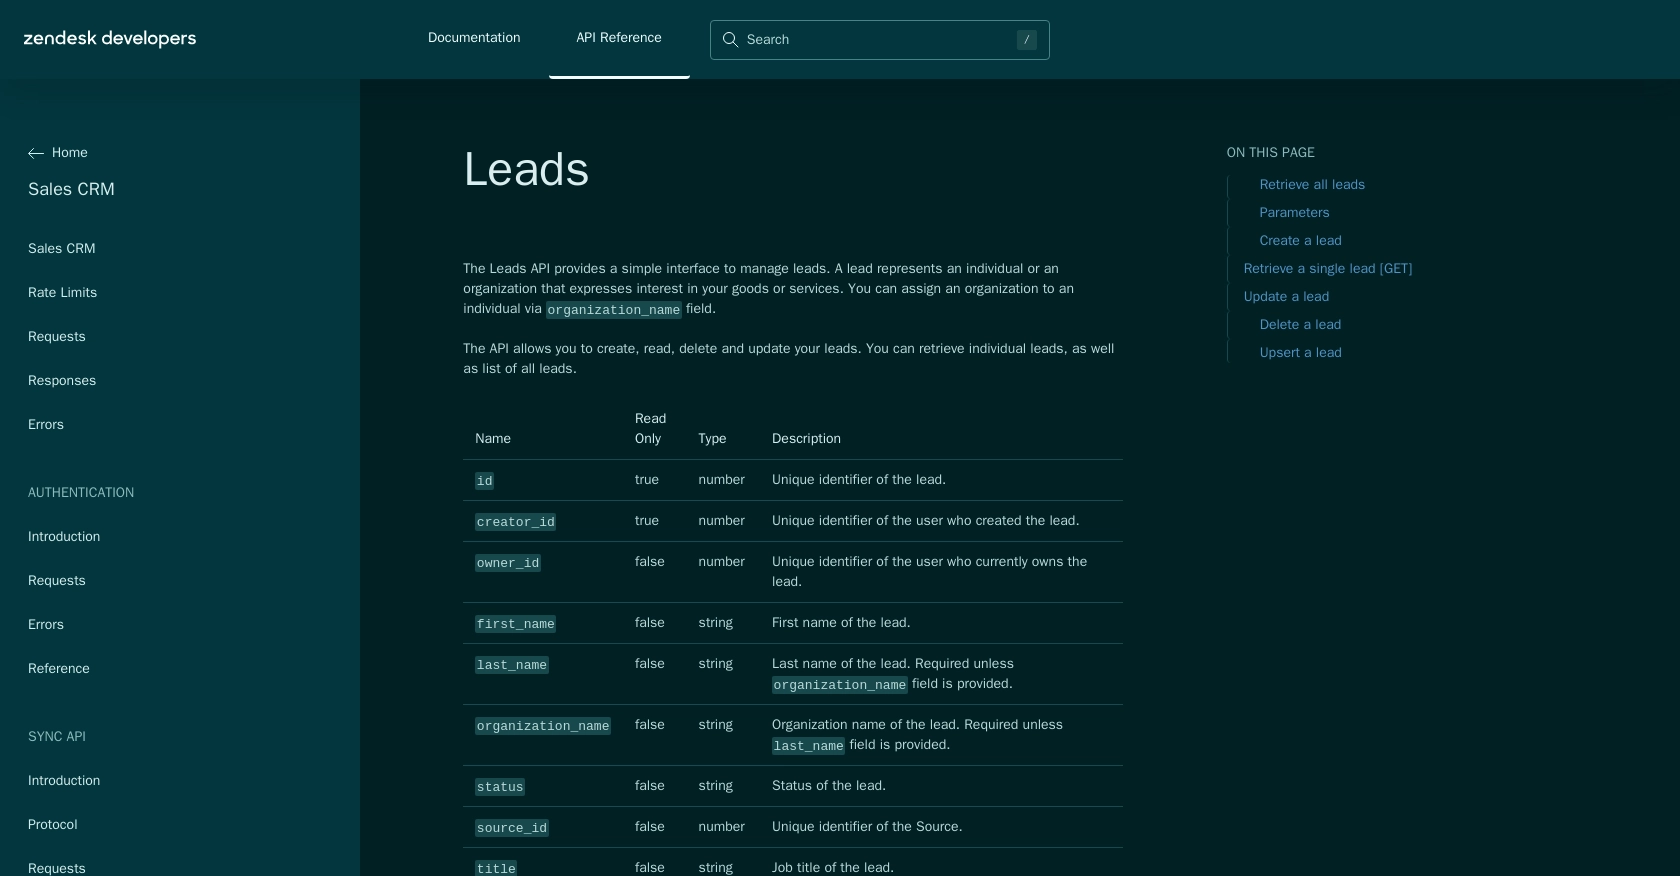
The response from the Zendesk Sell API will include a list of leads. Each lead contains various fields such as id, first_name, last_name, and more. You can access these fields to display or process the lead information as needed.
Verifying API Call Success in Zendesk Sell Sandbox
To verify that your API call was successful, check the console output for the list of leads. You can also log in to your Zendesk Sell sandbox account to ensure that the data matches the leads retrieved via the API.
Handling Errors and Common Error Codes
When making API calls, it's important to handle potential errors. The Zendesk Sell API uses standard HTTP status codes to indicate success or failure. Common error codes include:
- 401 Unauthorized: The access token is missing or invalid.
- 429 Too Many Requests: The rate limit has been exceeded. You can make up to 36,000 requests per hour (10 requests/token/second) as per Zendesk's rate limits documentation.
- 500 Internal Server Error: An error occurred on the server side.
Refer to the Zendesk Sell API error documentation for more details on handling errors.
Conclusion and Best Practices for Using Zendesk Sell API with JavaScript
Integrating with the Zendesk Sell API using JavaScript provides a powerful way to automate and customize your sales processes. By following the steps outlined in this guide, you can efficiently retrieve and manage leads, enhancing your sales team's productivity and insights.
Best Practices for Secure and Efficient API Integration
- Securely Store Credentials: Always store your Client ID, Client Secret, and access tokens securely. Avoid hardcoding them in your source code.
- Handle Rate Limiting: Be mindful of Zendesk's rate limits, which allow up to 36,000 requests per hour. Implement logic to handle the
429 Too Many Requestserror gracefully. - Refresh Tokens Regularly: Access tokens have a finite lifetime. Use refresh tokens to obtain new access tokens without user intervention.
- Data Standardization: Ensure that data retrieved from Zendesk Sell is standardized and transformed as needed to fit your application's requirements.
Enhance Your Integration Strategy with Endgrate
For developers looking to streamline their integration processes, consider using Endgrate. With Endgrate, you can save time and resources by outsourcing integrations, allowing you to focus on your core product. Build once for each use case and enjoy an intuitive integration experience for your customers.
Visit Endgrate to learn more about how you can simplify your integration strategy and enhance your product's capabilities.
Read More
- https://endgrate.com/provider/zendesksell
- https://developer.zendesk.com/api-reference/sales-crm/introduction/
- https://developer.zendesk.com/api-reference/sales-crm/rate-limits/
- https://developer.zendesk.com/api-reference/sales-crm/requests/
- https://developer.zendesk.com/api-reference/sales-crm/errors/
- https://developer.zendesk.com/api-reference/sales-crm/authentication/introduction/
- https://developer.zendesk.com/api-reference/sales-crm/authentication/requests/#client-authentication
- https://developer.zendesk.com/api-reference/sales-crm/resources/leads/

Ready to get started?
