Using the Zoho CRM API to Create Deals in Javascript
Introduction to Zoho CRM
Zoho CRM is a comprehensive customer relationship management platform that empowers businesses to manage their sales, marketing, and customer support in a unified system. Known for its flexibility and robust feature set, Zoho CRM is a popular choice for organizations looking to enhance their customer interactions and streamline operations.
Developers often seek to integrate with Zoho CRM's API to automate and optimize various business processes. For example, using the Zoho CRM API, developers can create deals programmatically, allowing sales teams to manage opportunities more efficiently and focus on closing sales rather than manual data entry.
This article will guide you through the process of creating deals in Zoho CRM using JavaScript, providing step-by-step instructions to help you leverage the API effectively.
Setting Up Your Zoho CRM Test/Sandbox Account
Before you can start creating deals using the Zoho CRM API, you'll need to set up a test or sandbox account. This environment allows you to safely develop and test your integrations without affecting live data.
Step 1: Sign Up for a Zoho CRM Account
If you don't already have a Zoho CRM account, you can sign up for a free trial on the Zoho CRM website. Follow the instructions to create your account. If you already have an account, simply log in.
Step 2: Access the Zoho Developer Console
Navigate to the Zoho Developer Console to register your application. This step is crucial for obtaining the necessary credentials to authenticate API requests.
Step 3: Register Your Application
- Choose the client type as "JavaScript" since you'll be working with JavaScript.
- Enter the following details:
- Client Name: A unique name for your application.
- Homepage URL: The URL of your web page.
- Authorized Redirect URIs: A valid URL where Zoho will redirect after successful authentication.
- Click Create to generate your client credentials.
Step 4: Obtain OAuth Credentials
After registering your application, you'll receive a Client ID and Client Secret. These credentials are essential for OAuth authentication.
Step 5: Configure OAuth Scopes
To interact with the Deals module, ensure you have the appropriate scopes set. Use the following format to define scopes:
scope=ZohoCRM.modules.deals.CREATEFor more details on scopes, refer to the Zoho CRM Scopes Documentation.
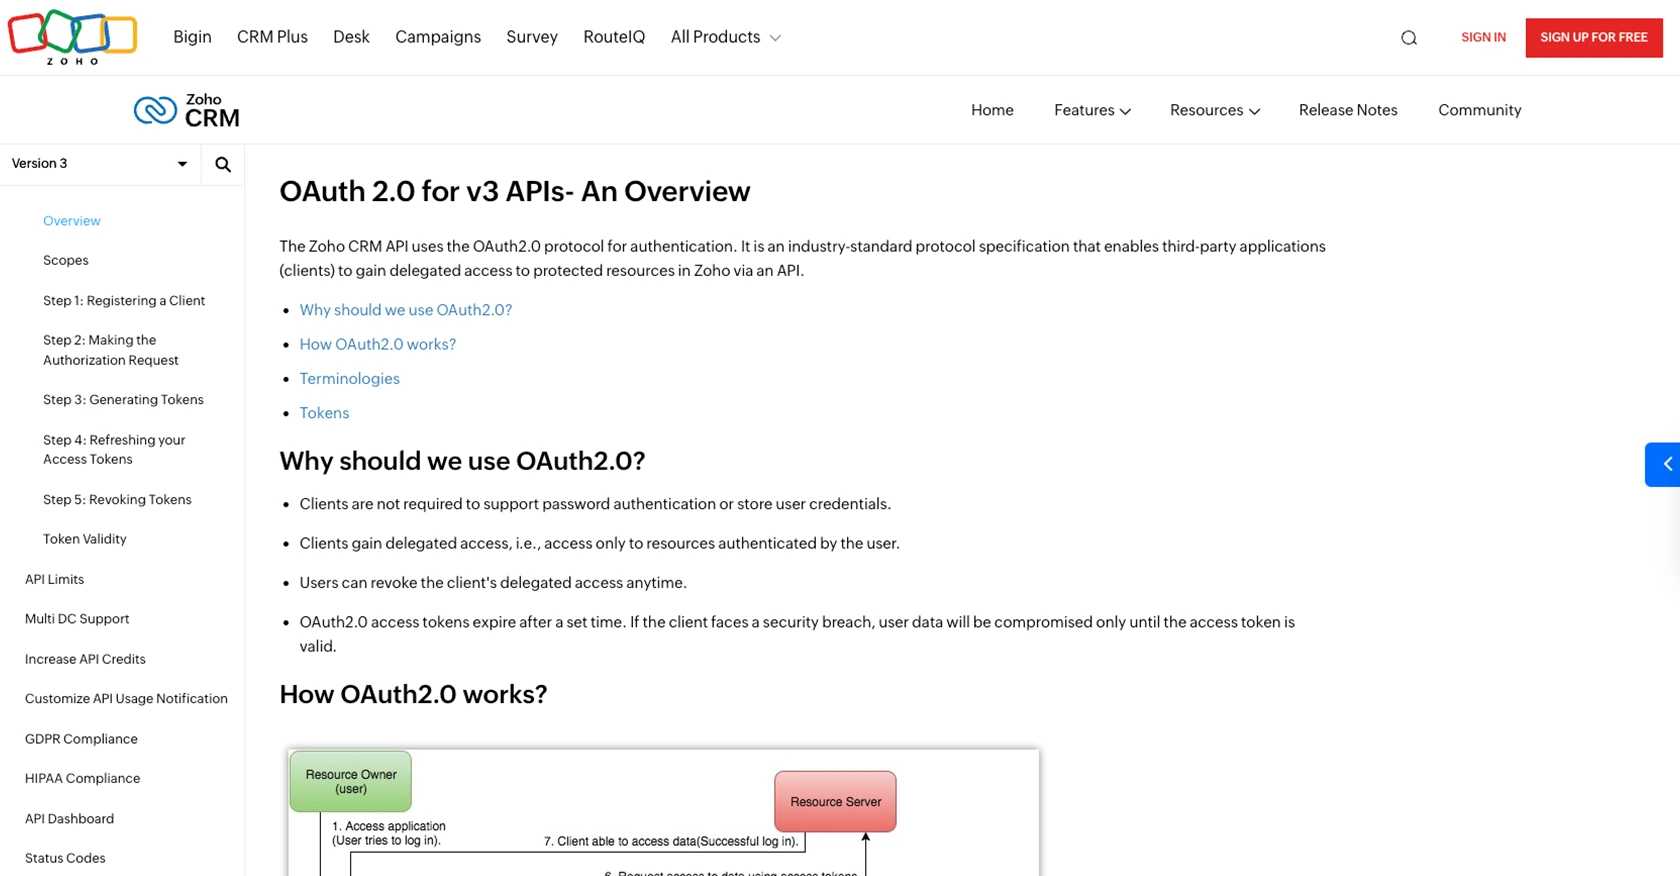
Step 6: Generate Access and Refresh Tokens
Follow the OAuth 2.0 flow to obtain access and refresh tokens. You'll need these tokens to authenticate your API requests. For a detailed guide, visit the Zoho CRM OAuth Overview.
With your test account and OAuth credentials set up, you're ready to start integrating with the Zoho CRM API to create deals using JavaScript.
sbb-itb-96038d7
Making API Calls to Create Deals in Zoho CRM Using JavaScript
Creating deals in Zoho CRM using JavaScript involves making API calls to the Zoho CRM API. This section will guide you through the necessary steps, including setting up your JavaScript environment, writing the code to make the API call, and handling responses and errors effectively.
Setting Up Your JavaScript Environment
Before making API calls, ensure you have the following prerequisites installed on your machine:
- Node.js (version 14.x or later)
- NPM (Node Package Manager)
Once installed, create a new project directory and initialize it using the following command:
npm init -yNext, install the Axios library to handle HTTP requests:
npm install axiosWriting the JavaScript Code to Create Deals in Zoho CRM
Create a new file named createDeal.js and add the following code:
const axios = require('axios');

// Set the API endpoint and headers
const endpoint = 'https://www.zohoapis.com/crm/v3/Deals';
const headers = {
    'Authorization': 'Zoho-oauthtoken YOUR_ACCESS_TOKEN',
    'Content-Type': 'application/json'
};

// Define the deal data
const dealData = {
    data: [
        {
            Deal_Name: 'New Business Opportunity',
            Stage: 'Qualification',
            Pipeline: 'Standard (Standard)',
            Amount: 5000
        }
    ]
};

// Make a POST request to create a deal
axios.post(endpoint, dealData, { headers })
    .then(response => {
        console.log('Deal Created Successfully:', response.data);
    })
    .catch(error => {
        console.error('Error Creating Deal:', error.response ? error.response.data : error.message);
    });
Replace YOUR_ACCESS_TOKEN with the access token obtained during the OAuth authentication process.
Running the Code and Verifying the API Call
Run the script using the following command:
node createDeal.jsUpon successful execution, you should see a confirmation message with the details of the created deal. Verify the creation by checking the Zoho CRM interface or using the API to retrieve the list of deals.
Handling Errors and Response Codes
When making API calls, it's crucial to handle potential errors. The Zoho CRM API provides various status codes to indicate the success or failure of a request. Common error codes include:
- 400 Bad Request: The request was invalid. Check the request parameters and data.
- 401 Unauthorized: Authentication failed. Verify your access token.
- 403 Forbidden: You do not have permission to perform this action.
- 500 Internal Server Error: An unexpected error occurred on the server.
For more details on error handling, refer to the Zoho CRM Status Codes Documentation.
Conclusion and Best Practices for Integrating Zoho CRM API with JavaScript
Integrating with the Zoho CRM API using JavaScript offers a powerful way to automate and streamline your sales processes. By programmatically creating deals, you can enhance your team's efficiency and focus on closing sales rather than manual data entry.
Best Practices for Secure and Efficient API Integration
- Securely Store Credentials: Always keep your OAuth credentials, such as the Client ID and Client Secret, secure. Avoid hardcoding them in your source code. Instead, use environment variables or secure vaults.
- Handle Rate Limiting: Zoho CRM imposes API rate limits. Ensure your application gracefully handles rate limit errors by implementing retry logic with exponential backoff. For more details, refer to the Zoho CRM API Limits Documentation.
- Validate API Responses: Always check the response status and handle errors appropriately. This ensures your application can recover from unexpected issues without crashing.
- Standardize Data Fields: Ensure that the data you send to Zoho CRM is standardized and validated to prevent errors and maintain data integrity.
Leverage Endgrate for Simplified Integration
If you're looking to simplify your integration process further, consider using Endgrate. With Endgrate, you can save time and resources by outsourcing integrations, allowing you to focus on your core product. Endgrate provides a unified API endpoint that connects to multiple platforms, including Zoho CRM, offering an intuitive integration experience for your customers.
Visit Endgrate to learn more about how it can help streamline your integration efforts and enhance your product's capabilities.
Read More
- https://endgrate.com/provider/zohocrm
- https://www.zoho.com/crm/developer/docs/api/v3/oauth-overview.html
- https://www.zoho.com/crm/developer/docs/api/v3/scopes.html
- https://www.zoho.com/crm/developer/docs/api/v3/register-client.html
- https://www.zoho.com/crm/developer/docs/api/v3/api-limits.html
- https://www.zoho.com/crm/developer/docs/api/v3/status-codes.html
- https://www.zoho.com/crm/developer/docs/api/v3/field-meta.html
- https://www.zoho.com/crm/developer/docs/api/v3/search-records.html
- https://www.zoho.com/crm/developer/docs/api/v3/insert-records.html
- https://www.zoho.com/crm/developer/docs/api/v3/update-records.html

Ready to get started?
