Using the Zoho CRM API to Create Tasks (with Javascript examples)
Introduction to Zoho CRM and Task Management
Zoho CRM is a comprehensive customer relationship management platform that helps businesses manage their sales, marketing, and support in a single system. Known for its flexibility and extensive features, Zoho CRM is a popular choice for businesses looking to enhance their customer interactions and streamline operations.
Developers often integrate with Zoho CRM to automate and enhance various business processes. One common integration is creating tasks within Zoho CRM using its API. This can help businesses automate task management, ensuring that important follow-ups and actions are not missed.
For example, a developer might use the Zoho CRM API to automatically create tasks for sales representatives whenever a new lead is added to the system. This ensures that sales teams can promptly follow up with potential customers, improving conversion rates and customer satisfaction.
Setting Up Your Zoho CRM Test/Sandbox Account
Before you begin integrating with the Zoho CRM API to create tasks, it's essential to set up a test or sandbox account. This allows you to safely experiment with the API without affecting your live data.
Creating a Zoho CRM Developer Account
If you don't have a Zoho CRM account, follow these steps to create one:
- Visit the Zoho CRM signup page.
- Fill in the required details, such as your name, email, and password.
- Click on the "Sign Up" button to create your account.
Once your account is created, you can log in to access the Zoho CRM dashboard.
Registering Your Application for OAuth Authentication
Zoho CRM uses OAuth 2.0 for authentication, which requires you to register your application to obtain the necessary credentials.
- Go to the Zoho Developer Console.
- Click on "Add Client" and select the client type as "Web Based" or "JavaScript" based on your application.
- Enter the following details:
- Client Name: A name for your application.
- Homepage URL: The URL of your application.
- Authorized Redirect URIs: The URL where Zoho will redirect with the authorization code.
- Click "Create" to generate your Client ID and Client Secret.
Ensure you save these credentials securely, as you will need them to authenticate API requests.
Generating Access and Refresh Tokens
With your Client ID and Client Secret, you can now generate access and refresh tokens:
- Direct users to the Zoho authorization URL:
https://accounts.zoho.com/oauth/v2/auth?response_type=code&client_id=YOUR_CLIENT_ID&scope=ZohoCRM.modules.tasks.CREATE&redirect_uri=YOUR_REDIRECT_URI - Once users authorize, they will be redirected to your specified URI with an authorization code.
- Exchange this code for access and refresh tokens using a POST request:
fetch('https://accounts.zoho.com/oauth/v2/token', {
    method: 'POST',
    headers: {
        'Content-Type': 'application/x-www-form-urlencoded'
    },
    body: new URLSearchParams({
        'grant_type': 'authorization_code',
        'client_id': 'YOUR_CLIENT_ID',
        'client_secret': 'YOUR_CLIENT_SECRET',
        'redirect_uri': 'YOUR_REDIRECT_URI',
        'code': 'AUTHORIZATION_CODE'
    })
})
.then(response => response.json())
.then(data => console.log(data));
Store the access and refresh tokens securely for use in API calls. Remember, access tokens are valid for an hour, while refresh tokens can be used to obtain new access tokens.
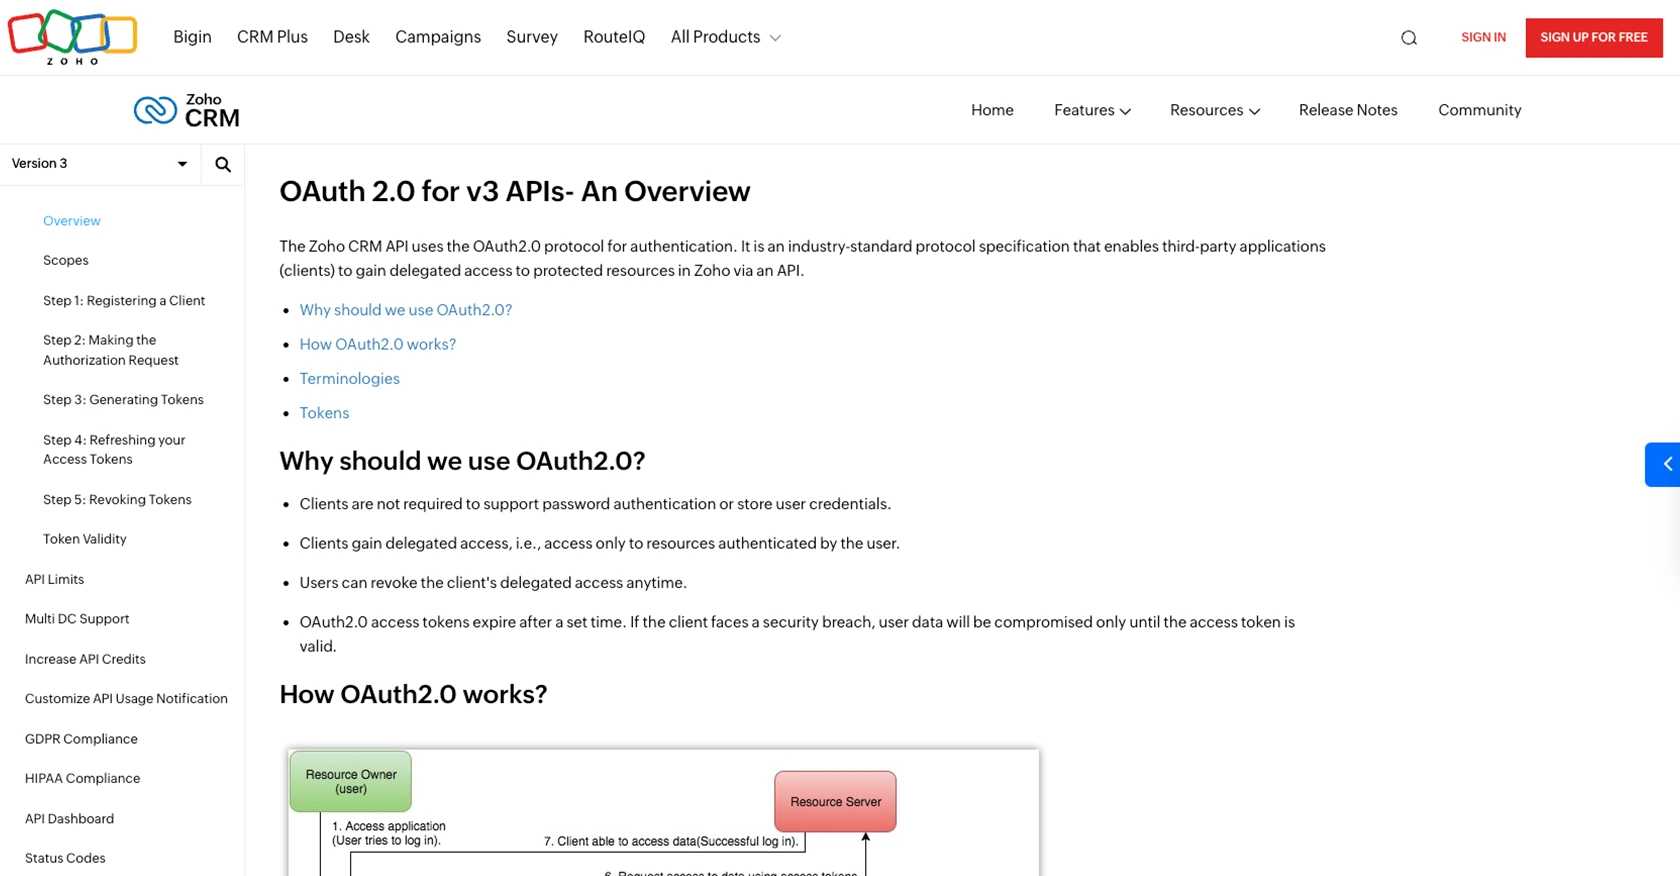
For more detailed information, refer to the Zoho CRM OAuth Overview.
sbb-itb-96038d7
Making the Actual API Call to Create Tasks in Zoho CRM Using JavaScript
To interact with the Zoho CRM API and create tasks, you need to use JavaScript to make HTTP requests. This section will guide you through the process of setting up your environment, writing the code, and handling responses and errors effectively.
Setting Up Your JavaScript Environment for Zoho CRM API Integration
Before making API calls, ensure you have the following prerequisites:
- Node.js installed on your machine.
- A text editor like Visual Studio Code.
- The
node-fetchpackage to make HTTP requests. Install it using the command:
npm install node-fetchWriting JavaScript Code to Create Tasks in Zoho CRM
Now, let's write the code to create a task in Zoho CRM:
const fetch = require('node-fetch');

async function createZohoTask() {
    const url = 'https://www.zohoapis.com/crm/v3/Tasks';
    const accessToken = 'YOUR_ACCESS_TOKEN';

    const taskData = {
        data: [
            {
                Subject: 'Follow up with client',
                Due_Date: '2024-04-01',
                Status: 'Not Started'
            }
        ]
    };

    try {
        const response = await fetch(url, {
            method: 'POST',
            headers: {
                'Authorization': `Zoho-oauthtoken ${accessToken}`,
                'Content-Type': 'application/json'
            },
            body: JSON.stringify(taskData)
        });

        const result = await response.json();
        console.log('Task Created:', result);
    } catch (error) {
        console.error('Error creating task:', error);
    }
}

createZohoTask();
Replace YOUR_ACCESS_TOKEN with the access token you obtained earlier. This script sends a POST request to the Zoho CRM API to create a new task with the specified details.
Verifying the Task Creation in Zoho CRM
After running the script, verify that the task was created successfully by checking your Zoho CRM dashboard. The new task should appear in the Tasks module with the details you provided.
Handling Errors and API Response Codes
When making API calls, it's crucial to handle errors and check response codes. Zoho CRM API may return various status codes indicating success or failure:
- 200 OK: The request was successful, and the task was created.
- 400 Bad Request: The request was malformed. Check your JSON structure and data types.
- 401 Unauthorized: The access token is invalid or expired. Refresh the token and try again.
- 429 Too Many Requests: You have exceeded the API rate limit. Wait and retry later.
For more detailed error handling, refer to the Zoho CRM API Status Codes documentation.
Conclusion and Best Practices for Zoho CRM API Integration
Integrating with the Zoho CRM API to create tasks using JavaScript can significantly enhance your business processes by automating task management and ensuring timely follow-ups. By following the steps outlined in this guide, you can effectively set up your environment, authenticate using OAuth 2.0, and make API calls to manage tasks within Zoho CRM.
Best Practices for Secure and Efficient Zoho CRM API Usage
- Secure Token Storage: Always store your access and refresh tokens securely. Avoid exposing them in client-side code or public repositories.
- Handle Rate Limits: Zoho CRM imposes API rate limits. Monitor your API usage and implement retry logic to handle the
429 Too Many Requestsstatus code. For more details, refer to the Zoho CRM API Limits documentation. - Data Standardization: Ensure that the data you send to Zoho CRM is standardized and validated to prevent errors and maintain data integrity.
- Error Handling: Implement comprehensive error handling to manage different API response codes effectively. This will help you identify and resolve issues quickly.
Leverage Endgrate for Seamless Integration Management
While integrating with Zoho CRM and other platforms can be beneficial, managing multiple integrations can become complex and time-consuming. Endgrate offers a streamlined solution by providing a unified API endpoint that connects to various platforms, including Zoho CRM. By using Endgrate, you can:
- Save time and resources by outsourcing integration management and focusing on your core product development.
- Build once for each use case and avoid repetitive integration efforts across different platforms.
- Provide your customers with an intuitive and seamless integration experience.
Explore how Endgrate can simplify your integration processes by visiting Endgrate.
Read More
- https://endgrate.com/provider/zohocrm
- https://www.zoho.com/crm/developer/docs/api/v3/oauth-overview.html
- https://www.zoho.com/crm/developer/docs/api/v3/scopes.html
- https://www.zoho.com/crm/developer/docs/api/v3/register-client.html
- https://www.zoho.com/crm/developer/docs/api/v3/api-limits.html
- https://www.zoho.com/crm/developer/docs/api/v3/status-codes.html
- https://www.zoho.com/crm/developer/docs/api/v3/field-meta.html
- https://www.zoho.com/crm/developer/docs/api/v3/search-records.html
- https://www.zoho.com/crm/developer/docs/api/v3/insert-records.html
- https://www.zoho.com/crm/developer/docs/api/v3/update-records.html

Ready to get started?
