How to Create Contacts with the Re:amaze API in Python

Introduction to Re:amaze API
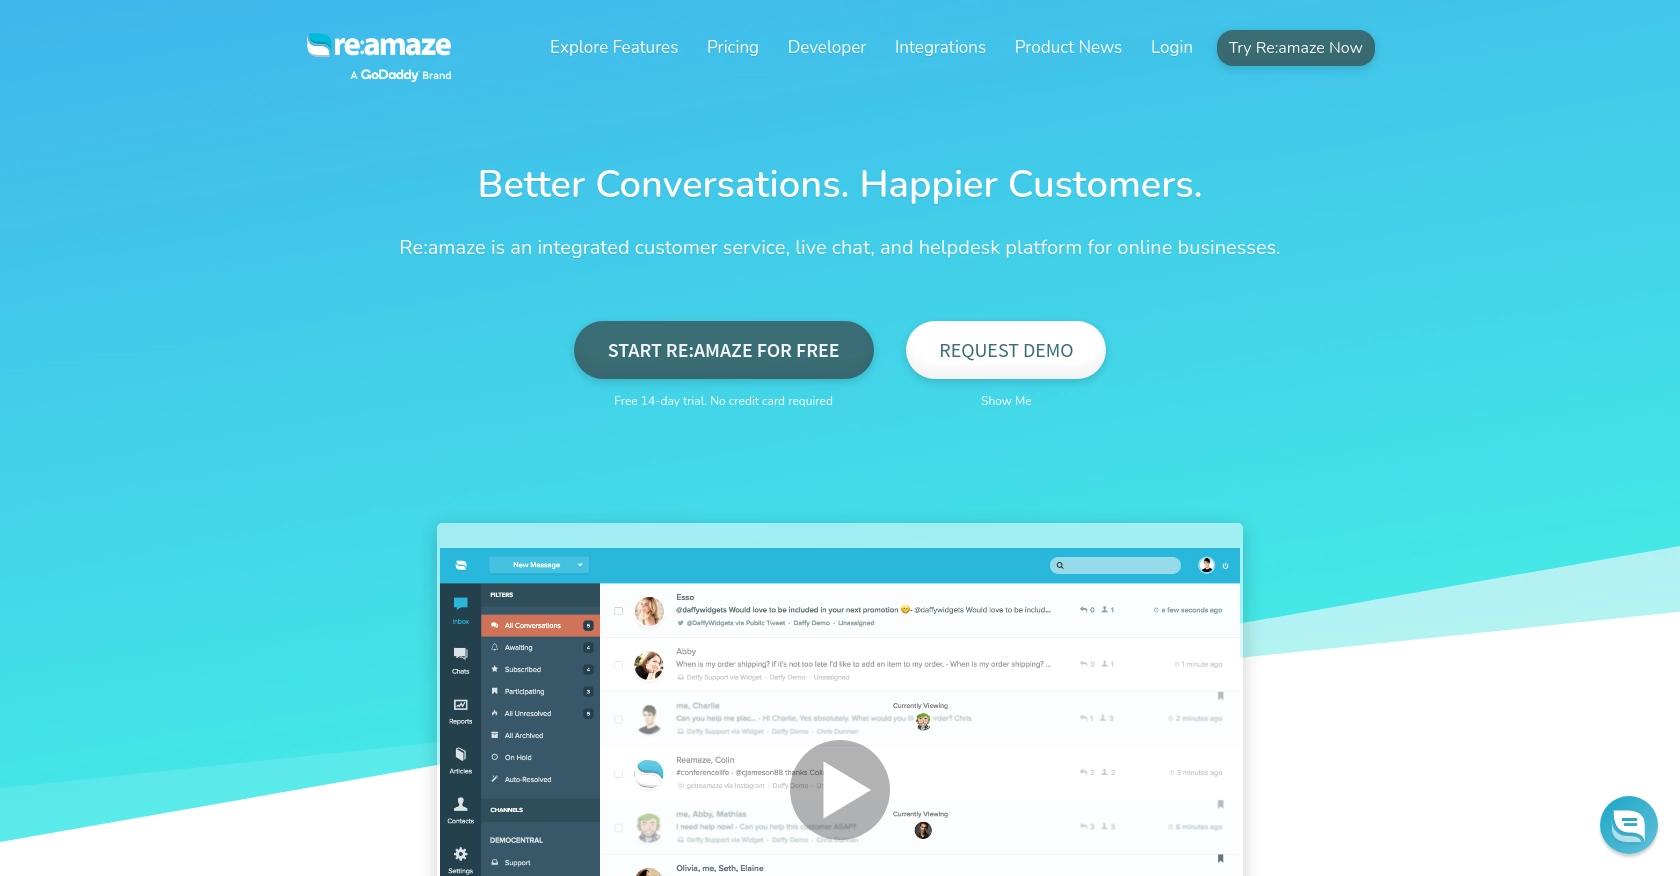
Re:amaze is a versatile customer support platform that offers a unified inbox for managing customer interactions across various channels. It provides features such as live chat, automated messaging, and helpdesk solutions, making it a popular choice for businesses aiming to enhance their customer service experience.
Integrating with the Re:amaze API allows developers to programmatically manage customer data and interactions. For example, you can automate the creation of new customer contacts directly from your application into Re:amaze, streamlining your support processes and ensuring that your team has up-to-date information at their fingertips.
Setting Up Your Re:amaze Test Account for API Integration
Before you can start integrating with the Re:amaze API, you'll need to set up a test account. This will allow you to experiment with API calls without affecting your live data. Re:amaze offers a straightforward process to get you started.
Creating a Free Re:amaze Account
If you don't already have a Re:amaze account, you can sign up for a free account on the Re:amaze website. This will give you access to all the necessary features to test the API integration.
- Visit the Re:amaze website and click on "Sign Up".
- Choose to sign up with your email, Google, or Microsoft account.
- Follow the on-screen instructions to complete the registration process.
Generating Your Re:amaze API Token
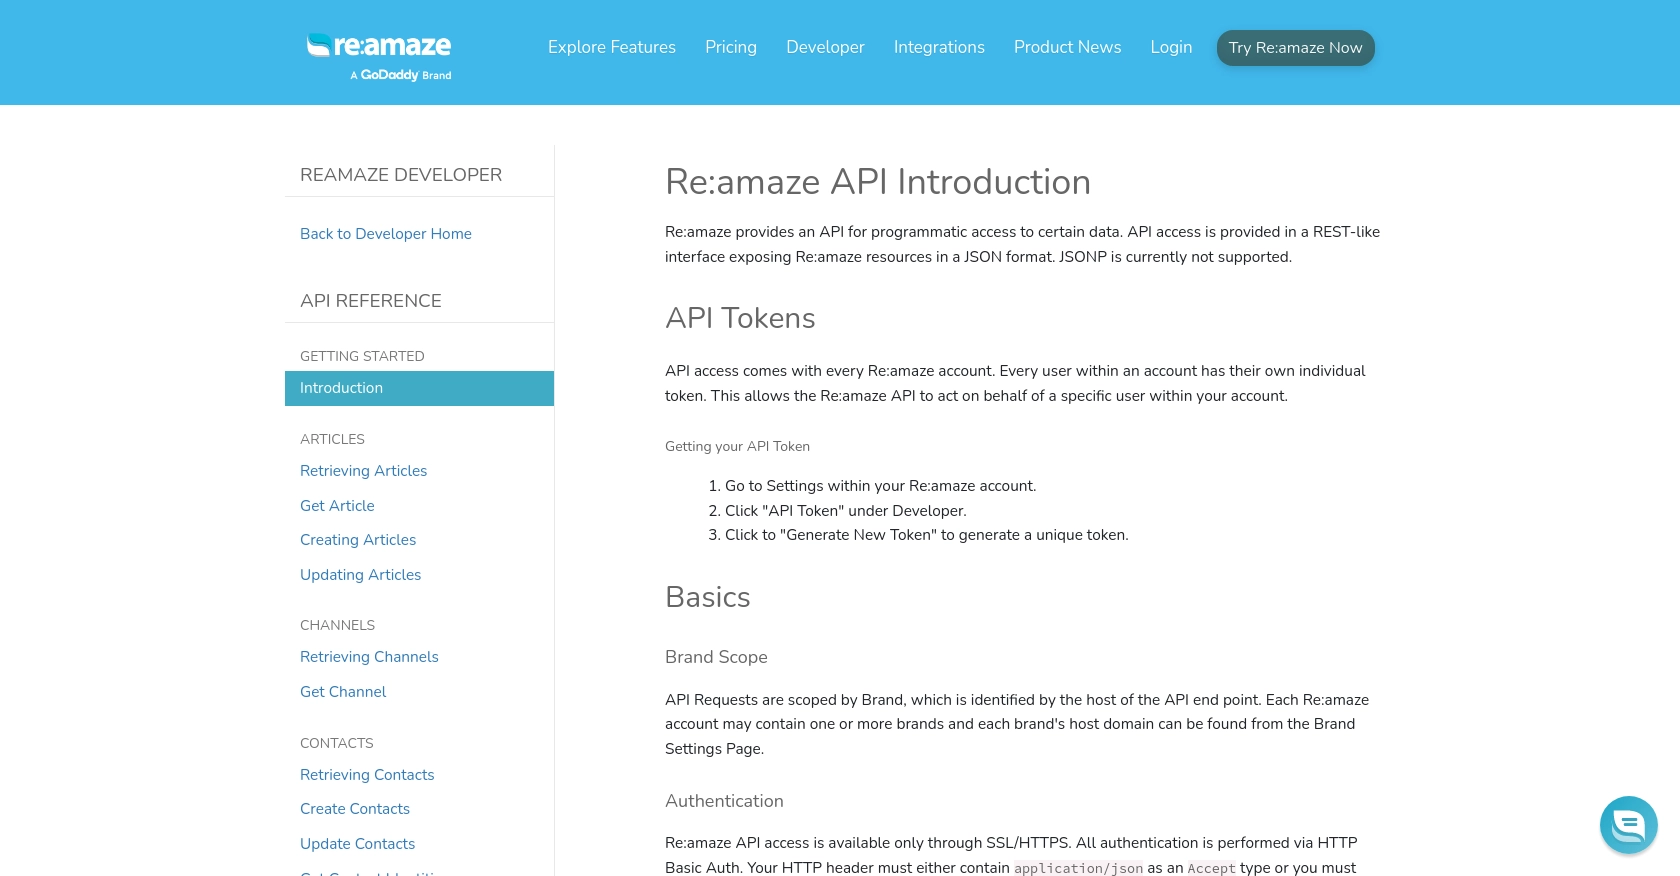
To authenticate your API requests, you'll need an API token. This token allows the Re:amaze API to act on behalf of your account.
- Log in to your Re:amaze account.
- Navigate to Settings and click on API Token under the Developer section.
- Click on Generate New Token to create a unique API token.
- Copy and securely store your API token, as you'll need it for authentication in your API requests.
Understanding Re:amaze API Authentication
The Re:amaze API uses HTTP Basic Auth for authentication. Ensure that all requests are made over SSL/HTTPS to maintain security. Your HTTP header must include application/json as an Accept type, or you can suffix the resource URL with .json.
Setting Up a Sample Request
To ensure your setup is correct, you can make a sample API request using curl:
curl 'https://{brand}.reamaze.io/api/v1/conversations' \
-u {login-email}:{api-token} \
-H 'Accept: application/json'
Replace {brand}, {login-email}, and {api-token} with your specific details.
With your Re:amaze account and API token ready, you can now proceed to create contacts using the Re:amaze API in Python.

sbb-itb-96038d7
Making API Calls to Create Contacts with Re:amaze in Python
To create contacts using the Re:amaze API in Python, you'll need to set up your environment and write a script that makes a POST request to the appropriate endpoint. This section will guide you through the process, ensuring you have the necessary tools and code to interact with Re:amaze effectively.
Prerequisites for Using Python with Re:amaze API
Before you begin, ensure you have the following installed on your machine:
- Python 3.x
- The Python package installer,
pip
You'll also need to install the requests library, which allows you to send HTTP requests using Python. You can install it using the following command:
pip install requestsWriting the Python Script to Create Contacts
Now, let's write a Python script to create a contact in Re:amaze. Create a file named create_reamaze_contact.py and add the following code:
import requests

# Set the API endpoint
url = "https://{brand}.reamaze.io/api/v1/contacts"

# Set the request headers
headers = {
    "Accept": "application/json",
    "Content-Type": "application/json"
}

# Set your login email and API token
auth = ('your_login_email', 'your_api_token')

# Define the contact information
contact_data = {
    "contact": {
        "name": "John Doe",
        "email": "john.doe@example.com",
        "id": "123",
        "external_avatar_url": "https://www.example.com/avatar.png",
        "notes": ["Initial contact", "Follow-up required"],
        "data": {"custom_attribute": "custom value"}
    }
}

# Send the POST request
response = requests.post(url, json=contact_data, headers=headers, auth=auth)

# Check the response status
if response.status_code == 201:
    print("Contact created successfully:", response.json())
else:
    print("Failed to create contact:", response.status_code, response.json())
Replace your_login_email, your_api_token, and {brand} with your specific Re:amaze account details.
Running the Script and Verifying Contact Creation
To execute the script, run the following command in your terminal:
python create_reamaze_contact.pyIf successful, the script will output the details of the newly created contact. You can verify the contact's creation by checking your Re:amaze dashboard.
Handling Errors and Understanding Response Codes
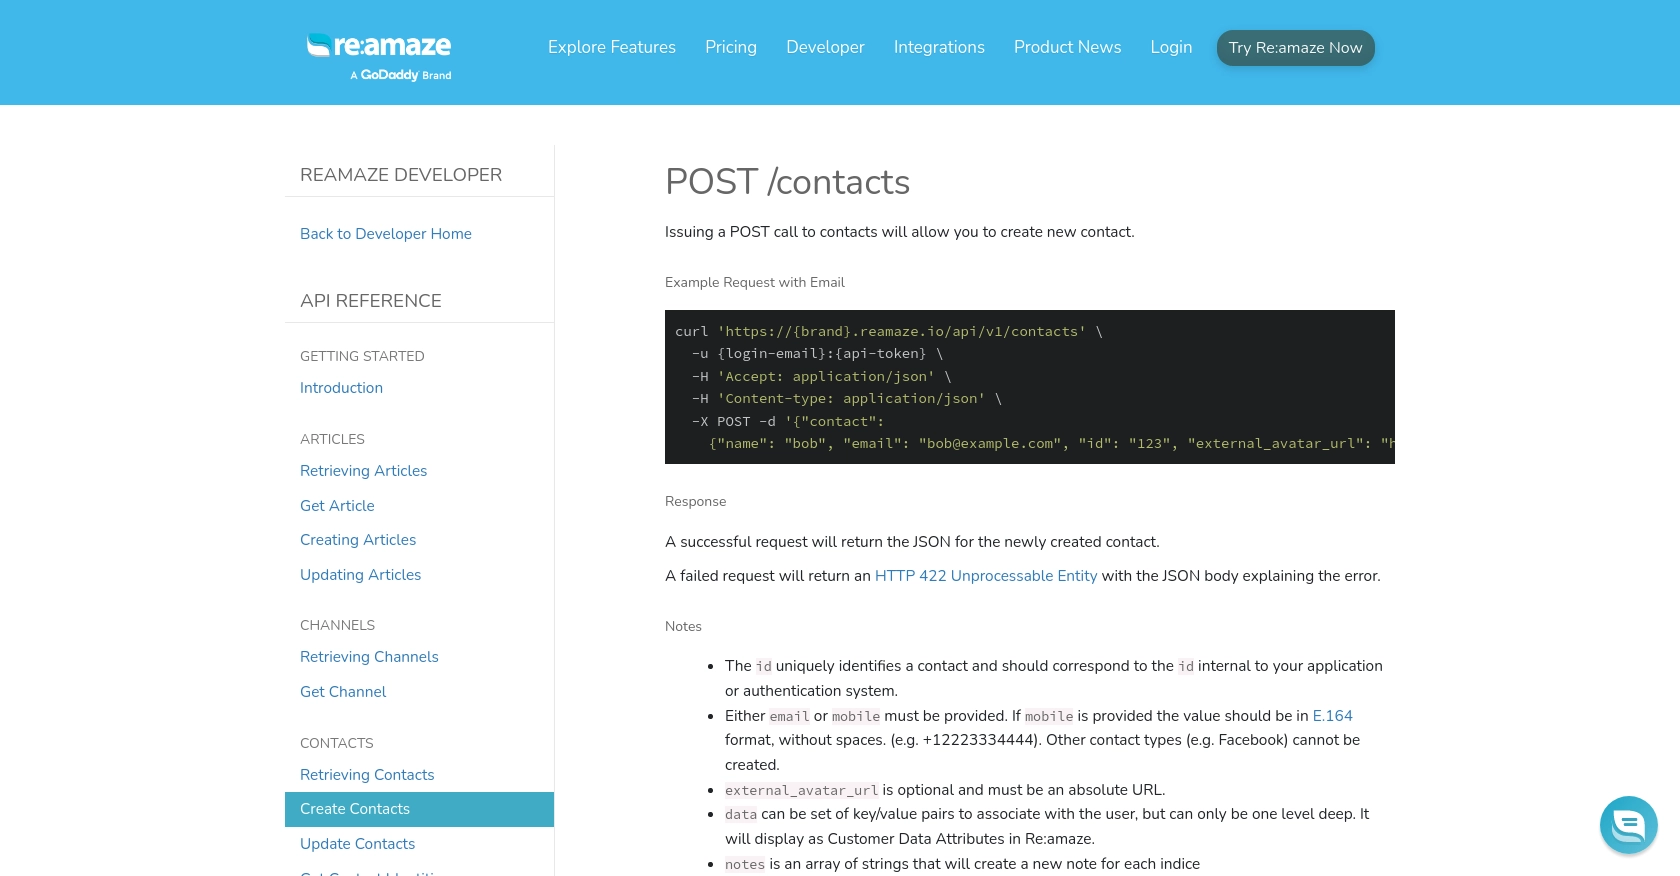
When making API calls, it's crucial to handle potential errors. The Re:amaze API will return an HTTP 422 Unprocessable Entity if the request fails, along with a JSON body explaining the error. Ensure you check the response status code and handle errors appropriately in your application.
For more details on error handling, refer to the Re:amaze API documentation.

Best Practices for Using the Re:amaze API in Python
When integrating with the Re:amaze API, it's essential to follow best practices to ensure efficient and secure interactions. Here are some recommendations:
- Securely Store API Credentials: Always store your API tokens and login credentials securely. Avoid hardcoding them in your scripts. Consider using environment variables or secure vaults to manage sensitive information.
- Handle Rate Limiting: The Re:amaze API enforces rate limits to maintain service quality. If you encounter an HTTP 429 Too Many Requests response, implement exponential backoff or retry logic to handle rate limiting gracefully.
- Validate API Responses: Always check the response status codes and handle errors appropriately. Use logging to capture error details for troubleshooting and debugging.
- Data Transformation and Standardization: Ensure that the data you send to Re:amaze is correctly formatted and standardized. This includes validating email formats and ensuring that custom attributes conform to expected structures.
Streamlining Integrations with Endgrate
Building and maintaining multiple integrations can be time-consuming and resource-intensive. Endgrate offers a solution by providing a unified API endpoint that connects to various platforms, including Re:amaze. By leveraging Endgrate, you can:
- Save Time and Resources: Focus on your core product development while Endgrate handles the complexities of integration.
- Build Once, Use Everywhere: Develop a single integration that works across multiple platforms, reducing redundancy and maintenance efforts.
- Enhance Customer Experience: Provide your users with a seamless and intuitive integration experience, improving satisfaction and engagement.
Explore how Endgrate can simplify your integration processes by visiting Endgrate's website and discover the benefits of a streamlined integration strategy.
Read More
Ready to get started?
