Using the Apollo API to Create Or Update Contacts (with PHP examples)
Introduction to Apollo API for Contact Management
Apollo is a powerful sales intelligence and engagement platform that provides businesses with a comprehensive database of contacts and companies. It offers tools for prospecting, outreach, and managing customer relationships, making it an essential resource for sales teams looking to enhance their engagement strategies.
Developers may want to integrate with the Apollo API to streamline contact management processes, such as creating or updating contact information directly from their applications. For example, a developer could use the Apollo API to automatically update contact details in their CRM whenever a new lead is generated, ensuring that their sales team always has access to the most up-to-date information.
Setting Up Your Apollo API Test Account
Before you can start using the Apollo API to manage contacts, you'll need to set up a test account. This will allow you to safely experiment with API calls without affecting your live data.
Creating an Apollo Account
If you don't already have an Apollo account, you can sign up for a free trial on the Apollo website. This will give you access to the API and its features.
- Visit the Apollo website and click on "Sign Up".
- Fill in the required information and follow the instructions to create your account.
- Once your account is set up, log in to access the dashboard.
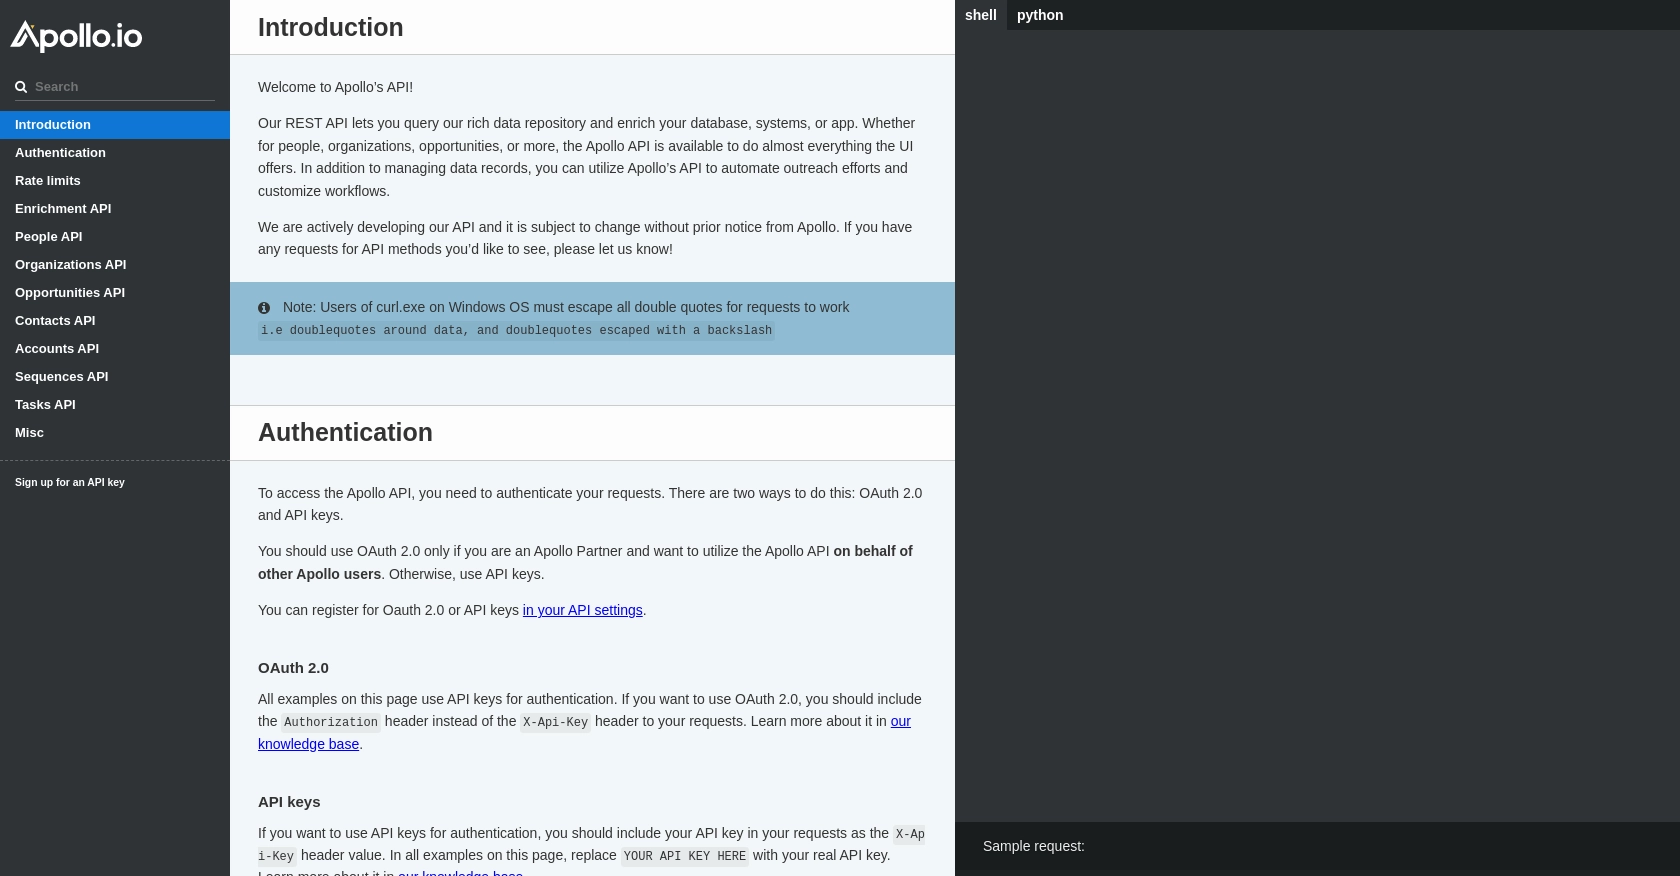
Generating an API Key for Authentication
The Apollo API uses API keys for authentication. Follow these steps to generate your API key:
- Navigate to your account settings in the Apollo dashboard.
- Find the "API Settings" section and click on "Generate API Key".
- Copy the generated API key and store it securely. You'll need this key to authenticate your API requests.
Configuring Your Development Environment
To interact with the Apollo API using PHP, ensure your development environment is properly configured:
- Ensure PHP is installed on your machine. You can download it from the official PHP website.
- Install any necessary PHP extensions, such as cURL, which is commonly used for making HTTP requests.
Testing Your API Key
Before proceeding with API calls, it's a good idea to test your API key to ensure it's working correctly. You can do this by making a simple API request to check your authentication status:
<?php
$apiKey = 'YOUR_API_KEY_HERE';
$url = 'https://api.apollo.io/v1/auth/health';

$options = [
    'http' => [
        'header' => "Content-Type: application/json\r\n" .
                    "X-Api-Key: $apiKey\r\n",
        'method' => 'GET'
    ]
];

$context = stream_context_create($options);
$response = file_get_contents($url, false, $context);

if ($response === FALSE) {
    die('Error occurred');
}

echo $response;
?>
If the API key is valid, you should receive a response indicating that you are logged in. This confirms that your setup is correct and you can proceed with further API interactions.
sbb-itb-96038d7
Making API Calls to Create or Update Contacts with Apollo API Using PHP
In this section, we will explore how to use the Apollo API to create or update contact information using PHP. This process involves setting up the API endpoint, preparing the request headers, and handling the response to ensure successful contact management.
Setting Up the PHP Environment for Apollo API Integration
Before making API calls, ensure your PHP environment is ready. You'll need PHP installed along with the cURL extension for handling HTTP requests. Verify your setup by running the following command:
php -m | grep curlIf cURL is not listed, install it using your package manager or refer to the PHP cURL installation guide.
Creating a Contact with Apollo API
To create a new contact in Apollo, you'll need to send a POST request to the appropriate endpoint with the contact details. Here's how you can do it using PHP:
<?php
$apiKey = 'YOUR_API_KEY_HERE';
$url = 'https://api.apollo.io/v1/contacts';

$data = [
    'first_name' => 'Jane',
    'last_name' => 'Doe',
    'title' => 'Software Engineer',
    'organization_name' => 'Tech Corp'
];

$options = [
    CURLOPT_URL => $url,
    CURLOPT_RETURNTRANSFER => true,
    CURLOPT_HTTPHEADER => [
        'Content-Type: application/json',
        'X-Api-Key: ' . $apiKey
    ],
    CURLOPT_POST => true,
    CURLOPT_POSTFIELDS => json_encode($data)
];

$ch = curl_init();
curl_setopt_array($ch, $options);
$response = curl_exec($ch);

if ($response === false) {
    die('Error: ' . curl_error($ch));
}

curl_close($ch);
echo $response;
?>
Replace YOUR_API_KEY_HERE with your actual API key. This script sends a POST request to create a new contact with the specified details. If successful, the response will contain the contact information.
Updating an Existing Contact with Apollo API
To update an existing contact, you'll need the contact's ID. Use a PUT request to modify the contact details:
<?php
$apiKey = 'YOUR_API_KEY_HERE';
$contactId = 'CONTACT_ID_HERE';
$url = 'https://api.apollo.io/v1/contacts/' . $contactId;

$data = [
    'first_name' => 'Jane',
    'last_name' => 'Doe',
    'title' => 'Senior Software Engineer',
    'organization_name' => 'Tech Corp'
];

$options = [
    CURLOPT_URL => $url,
    CURLOPT_RETURNTRANSFER => true,
    CURLOPT_HTTPHEADER => [
        'Content-Type: application/json',
        'X-Api-Key: ' . $apiKey
    ],
    CURLOPT_CUSTOMREQUEST => 'PUT',
    CURLOPT_POSTFIELDS => json_encode($data)
];

$ch = curl_init();
curl_setopt_array($ch, $options);
$response = curl_exec($ch);

if ($response === false) {
    die('Error: ' . curl_error($ch));
}

curl_close($ch);
echo $response;
?>
Replace CONTACT_ID_HERE with the ID of the contact you wish to update. This script updates the contact's title and organization name. Verify the changes by checking the response.
Handling API Responses and Errors
After making an API call, it's crucial to handle the response correctly. Check the HTTP status code to determine if the request was successful:
- 200 OK: The request was successful.
- 400 Bad Request: There was an error with the request parameters.
- 401 Unauthorized: The API key is invalid or missing.
- 429 Too Many Requests: Rate limit exceeded. Try again later.
Refer to the Apollo API documentation for more details on error codes and handling strategies.
Conclusion and Best Practices for Using Apollo API in PHP
Integrating with the Apollo API allows developers to efficiently manage contact data, enhancing the capabilities of their applications. By automating contact creation and updates, businesses can ensure their sales teams have access to the most current information, improving engagement and productivity.
Best Practices for Secure and Efficient Apollo API Integration
- Secure API Key Storage: Always store your API keys securely, using environment variables or secure vaults, to prevent unauthorized access.
- Handle Rate Limits: Be mindful of Apollo's rate limits, which are 100 requests per hour and 50 requests per minute, as detailed in the Apollo API documentation. Implement retry logic to handle rate limit errors gracefully.
- Data Standardization: Ensure consistent data formats when sending and receiving data to maintain data integrity across systems.
- Error Handling: Implement robust error handling to manage API response codes effectively, ensuring your application can handle failures gracefully.
Enhance Your Integration Strategy with Endgrate
For developers looking to streamline multiple integrations, consider using Endgrate. With Endgrate, you can manage various integrations through a single API endpoint, saving time and resources. Focus on your core product while Endgrate handles the complexities of integration management.
Visit Endgrate to learn more about how you can simplify your integration processes and enhance your application's capabilities.
Read More

Ready to get started?
