How to Create Leads with the Insightly API in Javascript

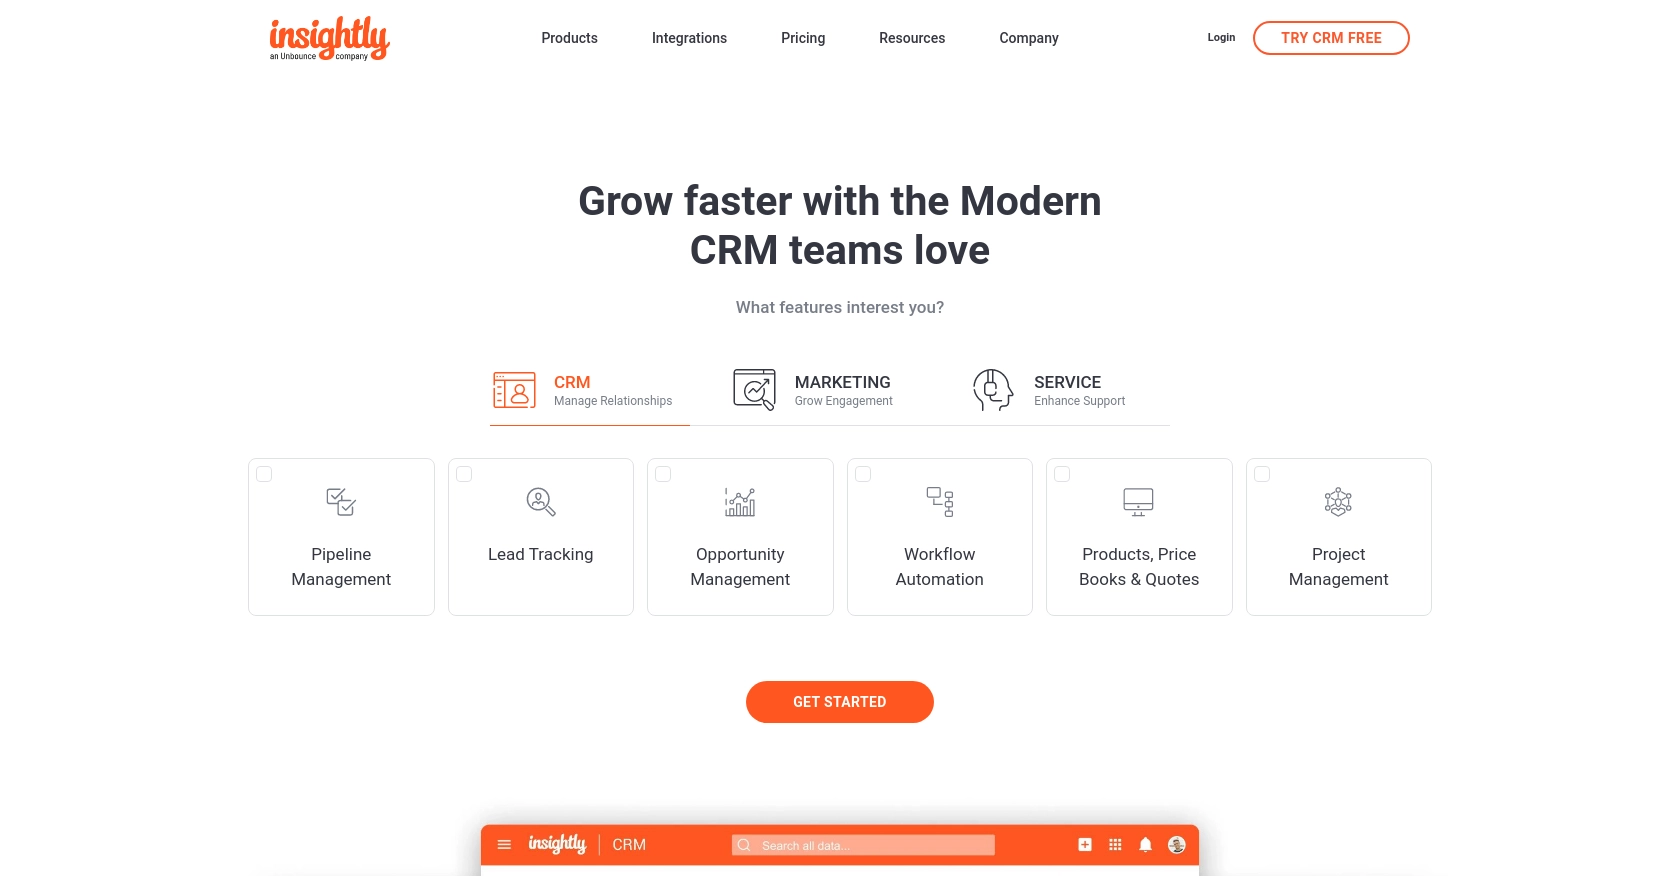
Introduction to Insightly CRM
Insightly is a powerful CRM platform designed to help businesses manage customer relationships, streamline processes, and enhance productivity. With features like contact management, project management, and workflow automation, Insightly is a popular choice for businesses looking to improve their customer engagement strategies.
Integrating with Insightly's API allows developers to automate and enhance CRM functionalities. For example, by creating leads through the Insightly API, developers can streamline the process of capturing potential customer information from various sources, ensuring that sales teams have up-to-date and accurate data to work with.
Setting Up Your Insightly Test Account
Before you can start creating leads with the Insightly API, you'll need to set up a test account. This will allow you to safely experiment with API calls without affecting live data.
Creating an Insightly Account
If you don't already have an Insightly account, you can sign up for a free trial on the Insightly website. Follow the on-screen instructions to complete the registration process. Once your account is set up, log in to access the Insightly dashboard.
Generating Your Insightly API Key
Insightly uses HTTP Basic authentication, which requires an API key for accessing the API. Follow these steps to obtain your API key:
- Log in to your Insightly account.
- Click on your user profile in the upper right corner and select User Settings.
- Navigate to the API Key and URL section.
- Copy your API key from this section. You will use this key to authenticate your API requests.
For more details, refer to the Insightly API key documentation.
Configuring Your API Key for Authentication
To authenticate API requests, your API key needs to be included as the Base64-encoded username, leaving the password blank. Here's how you can set it up in JavaScript:
// Base64 encode your API key
const apiKey = 'your_api_key_here';
const encodedKey = btoa(apiKey + ':');

// Set up the headers for your API request
const headers = new Headers();
headers.append('Authorization', 'Basic ' + encodedKey);

// Example of using the headers in a fetch request
fetch('https://api.na1.insightly.com/v3.1/Leads', {
    method: 'GET',
    headers: headers
})
.then(response => response.json())
.then(data => console.log(data))
.catch(error => console.error('Error:', error));
Ensure you replace your_api_key_here with your actual API key. This setup will allow you to make authenticated requests to the Insightly API.
For additional guidance, check the Insightly API documentation.

sbb-itb-96038d7
Setting Up JavaScript Environment for Insightly API
To interact with the Insightly API using JavaScript, you'll need to ensure your development environment is properly configured. This includes having Node.js installed, which provides the runtime for executing JavaScript code outside of a browser. Additionally, you'll need a code editor like Visual Studio Code to write and manage your scripts.
Installing Necessary JavaScript Libraries
For making HTTP requests to the Insightly API, you can use the Fetch API, which is built into modern JavaScript environments. If you're working in a Node.js environment, you might need to install the node-fetch library to use Fetch:
npm install node-fetchCreating Leads with Insightly API Using JavaScript
Now that your environment is set up, you can proceed to create leads using the Insightly API. The following steps will guide you through making a POST request to the API to create a new lead.
JavaScript Code to Create a Lead in Insightly
Below is an example of how to create a lead using JavaScript. This script uses the Fetch API to send a POST request to the Insightly API endpoint for leads.
const fetch = require('node-fetch');

// Base64 encode your API key
const apiKey = 'your_api_key_here';
const encodedKey = Buffer.from(apiKey + ':').toString('base64');

// Set up the headers for your API request
const headers = {
    'Authorization': 'Basic ' + encodedKey,
    'Content-Type': 'application/json'
};

// Define the lead data
const leadData = {
    FIRST_NAME: 'John',
    LAST_NAME: 'Doe',
    EMAIL: 'johndoe@example.com',
    LEAD_STATUS_ID: 1 // Example status ID
};

// Make the POST request to create a lead
fetch('https://api.na1.insightly.com/v3.1/Leads', {
    method: 'POST',
    headers: headers,
    body: JSON.stringify(leadData)
})
.then(response => response.json())
.then(data => console.log('Lead Created:', data))
.catch(error => console.error('Error:', error));
Replace your_api_key_here with your actual API key. The leadData object contains the information for the lead you want to create. Adjust the fields as necessary to match your data requirements.
Verifying Successful Lead Creation in Insightly
After running the script, you should verify that the lead was created successfully. You can do this by logging into your Insightly account and checking the Leads section. The new lead should appear with the details you provided in the API request.
Handling Errors and Insightly API Response Codes
When making API calls, it's important to handle potential errors. The Insightly API will return various HTTP status codes to indicate the result of your request. For example, a status code of 201 indicates successful creation, while a 401 indicates authentication failure. Be sure to implement error handling in your code to manage these scenarios effectively.
For more information on error codes, refer to the Insightly API documentation.
Best Practices for Using Insightly API in JavaScript
When working with the Insightly API, it's crucial to follow best practices to ensure secure and efficient integration. Here are some recommendations:
- Securely Store API Keys: Always store your API keys securely and avoid hardcoding them in your scripts. Consider using environment variables or secure vaults to manage sensitive information.
- Handle Rate Limiting: Insightly imposes rate limits on API requests. For example, no more than 10 requests per second and a daily limit based on your plan. Implement logic to handle HTTP status code 429, which indicates too many requests, and consider implementing exponential backoff strategies.
- Data Standardization: Ensure that the data you send and receive is standardized. This includes using consistent date formats and field names to avoid discrepancies.
- Error Handling: Implement robust error handling to manage different HTTP status codes returned by the API. This will help you identify and resolve issues quickly.
Streamlining Integrations with Endgrate
Building and maintaining multiple integrations can be time-consuming and resource-intensive. Endgrate offers a solution by providing a unified API endpoint that connects to various platforms, including Insightly. This allows you to focus on your core product while outsourcing the complexities of integration management.
With Endgrate, you can build once for each use case instead of multiple times for different integrations, saving both time and capital. Take advantage of an intuitive integration experience for your customers and streamline your development process.
To learn more about how Endgrate can simplify your integration needs, visit Endgrate.
Read More
Ready to get started?

