Using the Snowflake API to Get Records (with Python examples)

Introduction to Snowflake API Integration
Snowflake is a cloud-based data warehousing platform known for its scalability, flexibility, and ease of use. It allows businesses to store, manage, and analyze vast amounts of data with high efficiency. Snowflake's unique architecture separates storage and compute, enabling users to scale resources independently and optimize costs.
Integrating with Snowflake's API is essential for developers looking to automate data retrieval and management tasks. By connecting to Snowflake, developers can access and manipulate data programmatically, streamlining workflows and enhancing productivity. For example, a developer might use the Snowflake API to fetch records for real-time analytics, enabling data-driven decision-making processes.
Setting Up a Snowflake Test or Sandbox Account for API Integration
Before you can start interacting with the Snowflake API, you need to set up a test or sandbox account. This will allow you to safely experiment with API calls without affecting your production data. Snowflake offers a free trial that you can use to create a sandbox environment.
Step-by-Step Guide to Creating a Snowflake Account
- Sign Up for a Free Trial: Visit the Snowflake sign-up page and register for a free trial account. Fill in the required information, including your email address and company details.
- Choose Your Cloud Provider: Snowflake allows you to select from major cloud providers like AWS, Azure, or Google Cloud. Choose the one that best fits your needs.
- Configure Your Account: Once registered, follow the on-screen instructions to configure your Snowflake account. This includes setting up your account identifier and region.
Creating a Snowflake App for OAuth Authentication
Since the Snowflake API uses OAuth for authentication, you need to create an app to generate the necessary OAuth tokens.
- Set Up OAuth: Refer to the Snowflake OAuth documentation to set up OAuth for your account. This involves creating an OAuth client and obtaining the client ID and client secret.
-
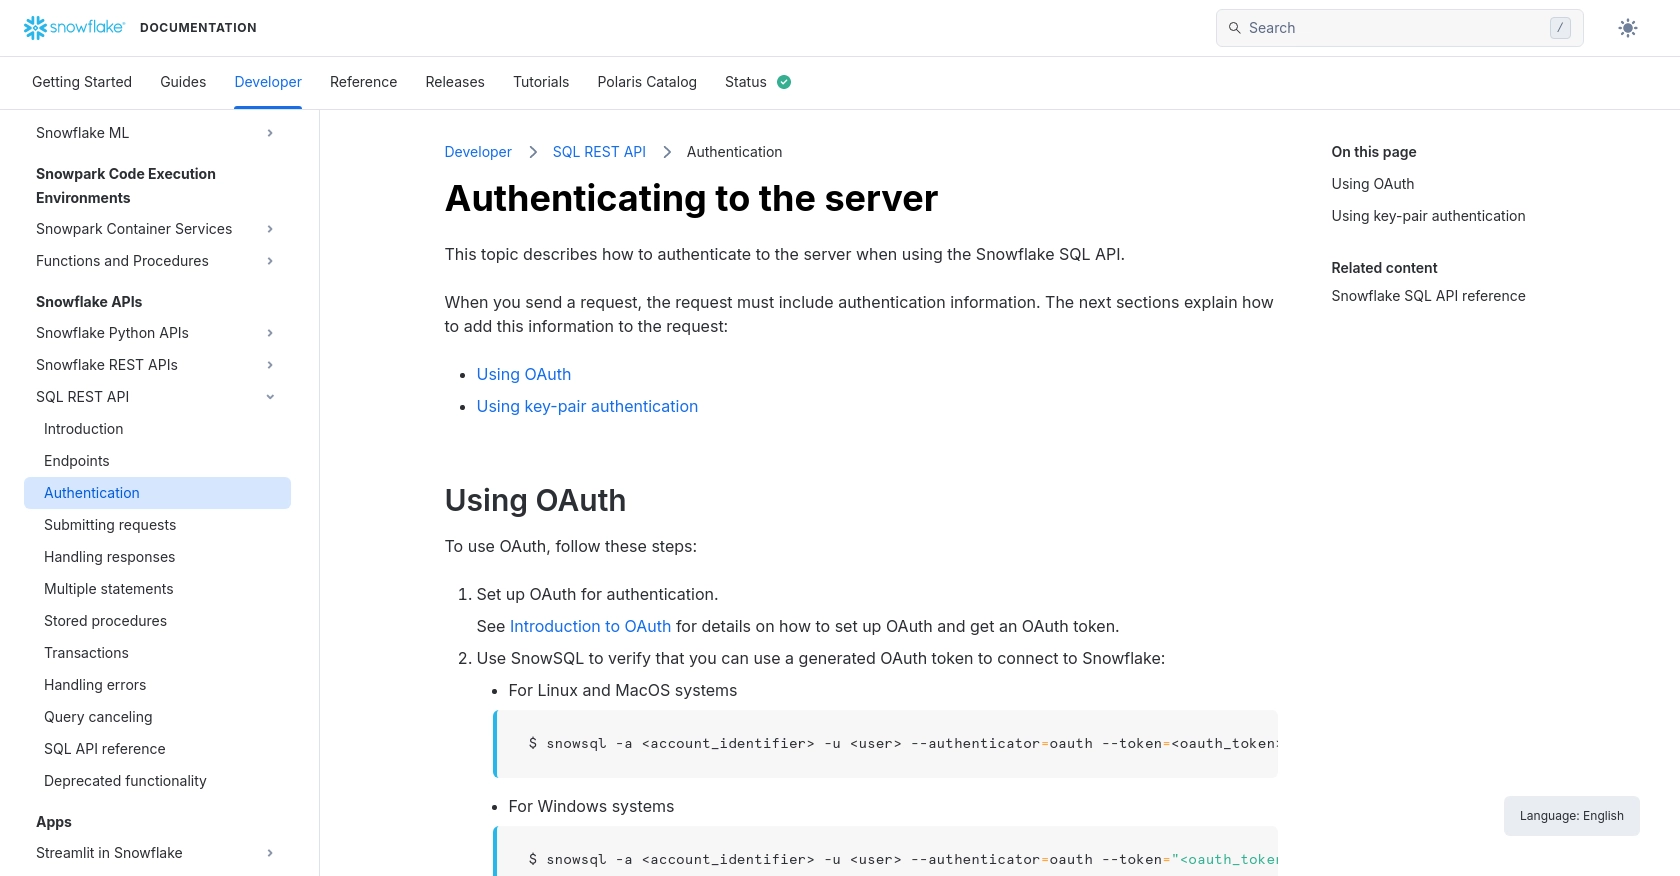
Generate an OAuth Token: Use the SnowSQL command line tool to verify your OAuth setup and generate an OAuth token. For example:
$ snowsql -a <account_identifier> -u <user> --authenticator=oauth --token=<oauth_token> - Store Your Credentials Securely: Ensure that your OAuth token and other credentials are stored securely, following best practices for sensitive data management.
With your Snowflake account and OAuth setup complete, you're ready to start making API calls to retrieve records using Python.
sbb-itb-96038d7
Making API Calls to Snowflake Using Python
To interact with the Snowflake API and retrieve records, you'll need to use Python, a versatile programming language known for its simplicity and efficiency. This section will guide you through the process of setting up your Python environment, making API calls, and handling responses.
Setting Up Your Python Environment for Snowflake API Integration
Before making API calls, ensure you have the following prerequisites installed on your machine:
- Python 3.11.1: Make sure you have the latest version of Python installed.
- pip: The Python package installer, which you can use to install necessary libraries.
Next, install the required libraries using pip:
pip install requests pyjwt cryptography
Generating a JWT for Snowflake API Authentication
Snowflake requires a JSON Web Token (JWT) for authentication. Here's how you can generate one using Python:
from datetime import timedelta, timezone, datetime
import jwt
import hashlib
import base64
from cryptography.hazmat.primitives.serialization import load_pem_private_key, Encoding, PublicFormat
from cryptography.hazmat.backends import default_backend

# Load your private key
with open('path/to/your/rsa_key.p8', 'rb') as pem_in:
    pemlines = pem_in.read()
    private_key = load_pem_private_key(pemlines, None, default_backend())

# Generate the fingerprint
public_key_raw = private_key.public_key().public_bytes(Encoding.DER, PublicFormat.SubjectPublicKeyInfo)
sha256hash = hashlib.sha256()
sha256hash.update(public_key_raw)
public_key_fp = 'SHA256:' + base64.b64encode(sha256hash.digest()).decode('utf-8')

# Create the JWT payload
account = "".upper()
user = "".upper()
qualified_username = account + "." + user
now = datetime.now(timezone.utc)
lifetime = timedelta(minutes=59)
payload = {
    "iss": qualified_username + '.' + public_key_fp,
    "sub": qualified_username,
    "iat": now,
    "exp": now + lifetime
}

# Generate the JWT
token = jwt.encode(payload, key=private_key, algorithm="RS256")
if isinstance(token, bytes):
    token = token.decode('utf-8')

print("Generated JWT:", token)
Executing a Snowflake API Call to Retrieve Records
With the JWT ready, you can now make API calls to Snowflake to retrieve records. Here's an example of how to do this using Python:
import requests

# Define the API endpoint and headers
endpoint = "https://.snowflakecomputing.com/api/v2/statements/"
headers = {
    "Authorization": f"Bearer {token}",
    "Content-Type": "application/json"
}

# Define the SQL query
sql_query = {
    "statement": "SELECT * FROM your_table LIMIT 10"
}

# Make the API request
response = requests.post(endpoint, json=sql_query, headers=headers)

# Check if the request was successful
if response.status_code == 200:
    data = response.json()
    print("Records retrieved:", data)
else:
    print("Failed to retrieve records. Status code:", response.status_code)
Replace <account_identifier> with your actual Snowflake account identifier and your_table with the table you wish to query.
Handling Errors and Verifying API Call Success
To ensure your API calls are successful, check the response status code. A status code of 200 indicates success, while other codes may indicate errors. Refer to the Snowflake error handling documentation for more details on error codes and troubleshooting.
By following these steps, you can efficiently retrieve records from Snowflake using Python, streamlining your data management processes.
Conclusion and Best Practices for Using Snowflake API with Python
Integrating with the Snowflake API using Python provides developers with a powerful tool to automate data retrieval and management tasks. By leveraging Snowflake's robust API, you can streamline workflows, enhance productivity, and enable real-time data-driven decision-making.
Best Practices for Secure and Efficient Snowflake API Integration
- Secure Credential Storage: Always store your OAuth tokens and private keys securely. Use environment variables or secure vaults to manage sensitive information.
- Handle Rate Limiting: Be aware of Snowflake's rate limits to avoid throttling. Implement retry logic with exponential backoff to handle rate limit responses gracefully.
- Error Handling: Implement robust error handling by checking response status codes and using the Snowflake error handling documentation to troubleshoot issues.
- Data Transformation: Standardize and transform data fields as needed to ensure consistency across different systems and applications.
Streamlining Integrations with Endgrate
While integrating with Snowflake's API can be highly beneficial, managing multiple integrations can become complex and time-consuming. Endgrate offers a solution by providing a unified API endpoint that connects to various platforms, including Snowflake. This allows developers to build once for each use case, saving time and resources.
By using Endgrate, you can focus on your core product while outsourcing integrations, providing an easy and intuitive experience for your customers. Explore how Endgrate can simplify your integration processes by visiting Endgrate's website.
Read More

Ready to get started?
