How to Create Notes with the Endear API in Javascript

Introduction to Endear API for Note Creation
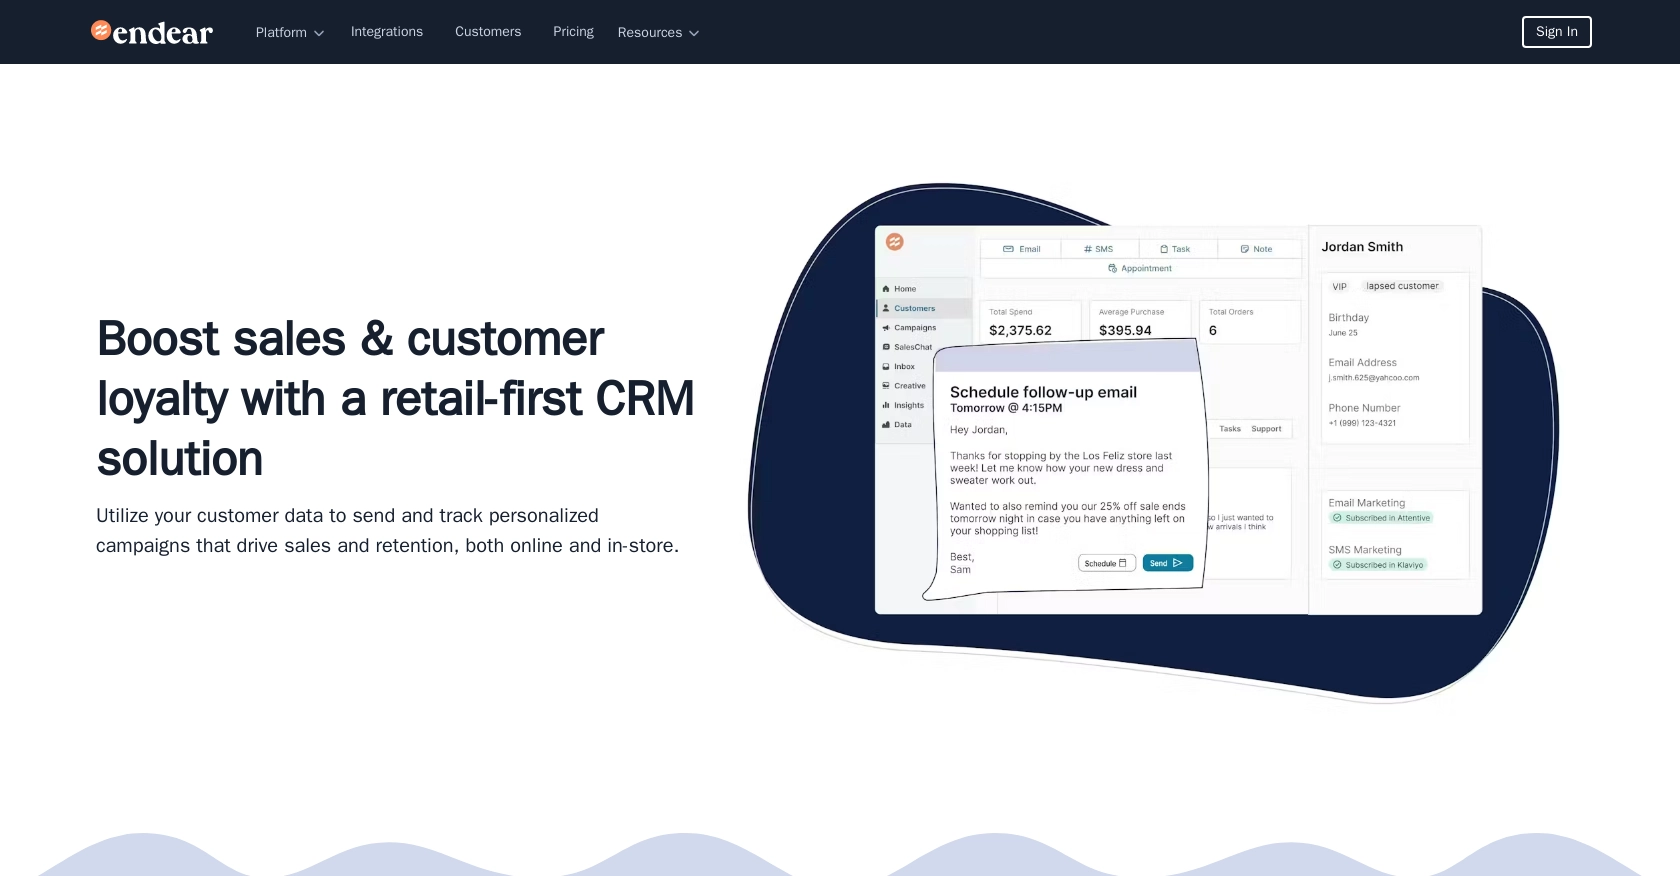
Endear is a powerful CRM platform designed to enhance customer relationships by providing tools for personalized communication and data management. It offers a seamless experience for businesses to manage customer interactions and insights effectively.
Developers may want to integrate with Endear's API to automate and streamline the process of creating and managing notes related to customer interactions. For example, a developer could use the Endear API to automatically generate notes after a customer service call, ensuring that all relevant information is captured and easily accessible for future reference.
Setting Up Your Endear Test Account for API Integration
Before you can start creating notes with the Endear API, you'll need to set up a test account. This will allow you to safely experiment with the API without affecting live data. Follow these steps to get started:
Creating an Endear Account and Accessing the Integration Settings
- Visit the Endear website and sign up for a free account if you haven't already.
- Once logged in, navigate to the Settings section from your dashboard.
- Click on Integrations to access the integration settings.
Generating an API Key for Endear API Access
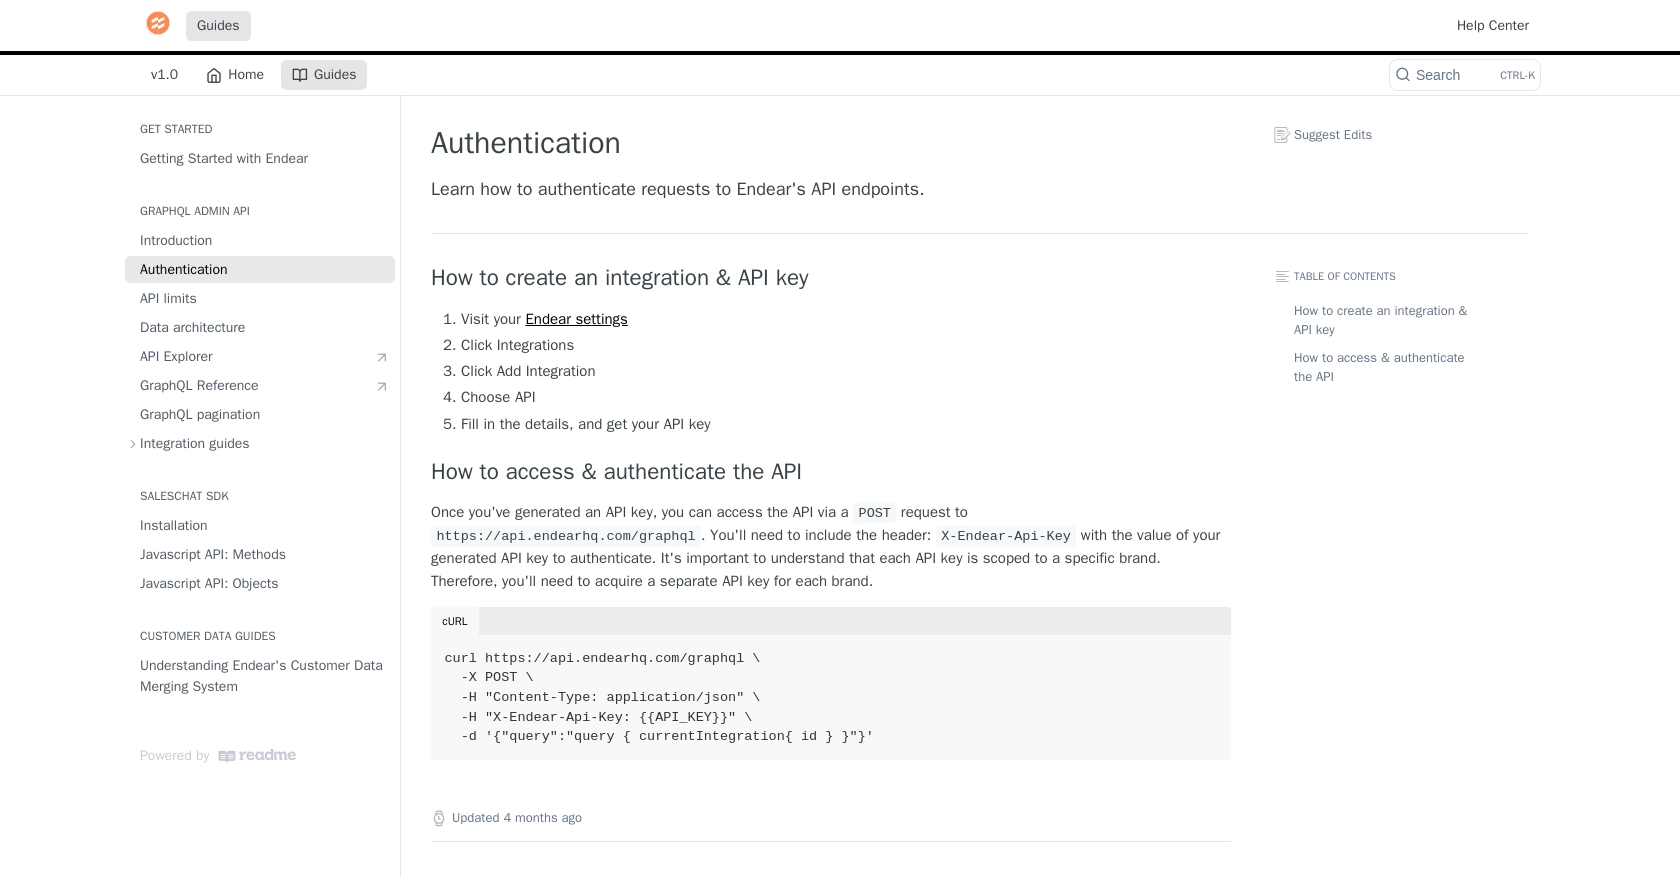
To interact with the Endear API, you'll need to generate an API key. This key will authenticate your requests to the API:
- In the Integrations section, click on Add Integration.
- Select API from the list of options.
- Fill in the required details and submit the form to generate your API key.
- Make sure to copy and securely store your API key, as you'll need it for authentication in your API requests.
Authenticating API Requests with Your API Key
Once you have your API key, you can authenticate your API requests by including it in the request headers. Here's how you can do it using JavaScript:
// Example of setting up headers for API request
const headers = {
    "Content-Type": "application/json",
    "X-Endear-Api-Key": "YOUR_API_KEY"
};

// Example POST request to Endear API
fetch('https://api.endearhq.com/graphql', {
    method: 'POST',
    headers: headers,
    body: JSON.stringify({
        query: `mutation { createNote(input: { content: "Sample note content" }) { note { id } } }`
    })
})
.then(response => response.json())
.then(data => console.log(data))
.catch(error => console.error('Error:', error));
Replace YOUR_API_KEY with the API key you generated earlier. This setup will allow you to authenticate and interact with the Endear API effectively.
For more detailed information on authentication, refer to the Endear authentication documentation.

sbb-itb-96038d7
Making API Calls to Create Notes with Endear API in JavaScript
To create notes using the Endear API, you need to ensure your development environment is set up correctly. This section will guide you through the process of making API calls in JavaScript, including setting up the necessary dependencies and handling responses.
Setting Up JavaScript Environment for Endear API Integration
Before making API calls, ensure you have a modern JavaScript environment. You can use Node.js or any browser-based environment that supports the Fetch API. No additional libraries are required, but familiarity with JavaScript promises and asynchronous operations will be beneficial.
Example Code for Creating Notes with Endear API
Below is a sample code snippet to create a note using the Endear API. This example demonstrates how to structure your API request and handle the response:
// Define the API endpoint and headers
const endpoint = 'https://api.endearhq.com/graphql';
const headers = {
    "Content-Type": "application/json",
    "X-Endear-Api-Key": "YOUR_API_KEY"
};

// Define the GraphQL mutation for creating a note
const createNoteMutation = {
    query: `mutation {
        createNote(input: { content: "Sample note content" }) {
            note {
                id
                content
            }
        }
    }`
};

// Function to create a note
async function createNote() {
    try {
        const response = await fetch(endpoint, {
            method: 'POST',
            headers: headers,
            body: JSON.stringify(createNoteMutation)
        });

        const data = await response.json();

        if (response.ok) {
            console.log('Note Created:', data.data.createNote.note);
        } else {
            console.error('Error:', data.errors);
        }
    } catch (error) {
        console.error('Network Error:', error);
    }
}

// Call the function to create a note
createNote();
Replace YOUR_API_KEY with the API key you obtained from the Endear integration settings. This code sends a POST request to the Endear API to create a note with the specified content.
Verifying Successful Note Creation in Endear
After executing the code, verify that the note was successfully created by checking the response data. The response should include the note's ID and content. You can also log into your Endear account to confirm the note's presence in the system.
Handling Errors and Rate Limits with Endear API
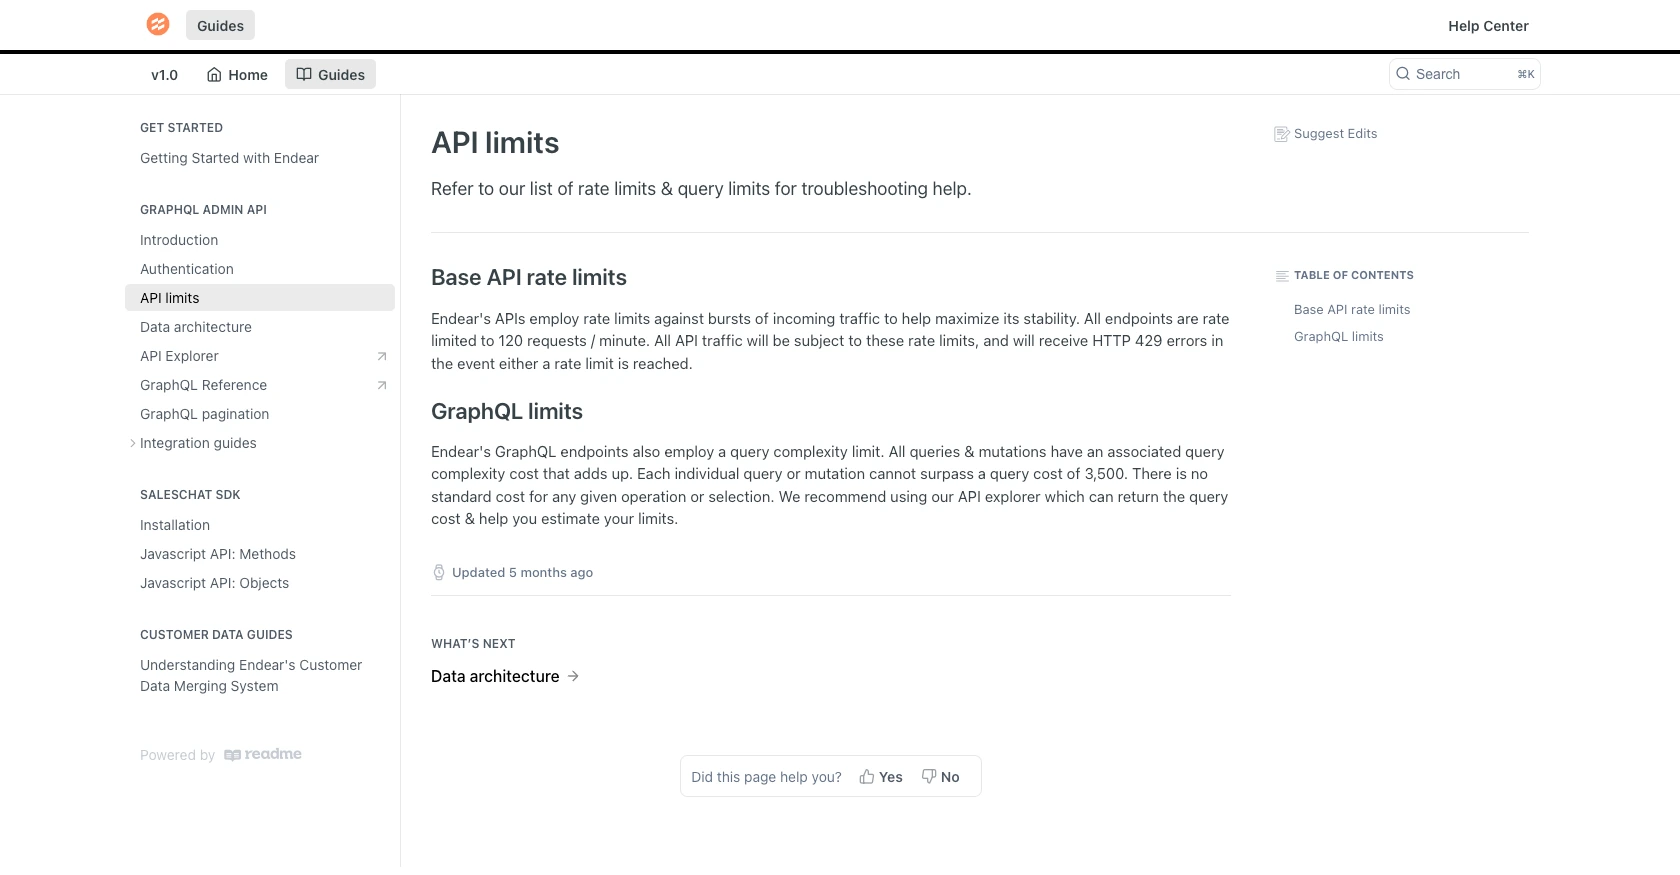
It's crucial to handle potential errors when making API calls. The Endear API may return errors if the request is malformed or if rate limits are exceeded. According to the Endear documentation, the API has a rate limit of 120 requests per minute. If you exceed this limit, you'll receive an HTTP 429 error.
Implement error handling in your code to manage these scenarios gracefully. Consider implementing retry logic with exponential backoff for rate limit errors to ensure your application remains robust.

Conclusion and Best Practices for Using Endear API in JavaScript
Integrating with the Endear API to create notes in JavaScript can significantly enhance your ability to manage customer interactions efficiently. By following the steps outlined in this guide, you can automate note creation and ensure that all customer interactions are documented seamlessly.
Best Practices for Secure and Efficient Endear API Integration
- Secure API Key Management: Always store your API keys securely. Avoid hardcoding them in your source code. Instead, use environment variables or secure vaults to manage sensitive information.
- Handle Rate Limits Gracefully: Be mindful of the rate limit of 120 requests per minute. Implement retry logic with exponential backoff to handle HTTP 429 errors effectively.
- Data Validation and Error Handling: Validate your data before sending it to the API and implement robust error handling to manage potential issues such as malformed requests or network errors.
- Optimize API Calls: Use batching or pagination where possible to minimize the number of API calls and improve performance.
Enhancing Integration Capabilities with Endgrate
While integrating with the Endear API directly is a powerful approach, consider leveraging Endgrate for a more streamlined integration experience. Endgrate allows you to manage multiple integrations through a single API endpoint, saving time and resources.
By using Endgrate, you can focus on your core product development while outsourcing complex integration tasks. This not only accelerates your development process but also provides an intuitive integration experience for your customers.
Explore how Endgrate can simplify your integration needs by visiting Endgrate and discover how it can help you scale your integrations efficiently.
Read More
- https://endgrate.com/provider/endear
- https://docs.endearhq.com/docs/authentication
- https://docs.endearhq.com/docs/rate-limits-status-codes-and-errors
- https://docs.endearhq.com/docs/disclaimers
- https://developers.endearhq.com/docs/graphql/objects/Note
- https://docs.endearhq.com/docs/send-your-first-record
Ready to get started?
