How to Create Notes with the Intercom API in PHP

Introduction to Intercom API
Intercom is a powerful customer communication platform that enables businesses to engage with their customers through personalized messaging, chat, and email. It offers a suite of tools designed to enhance customer support, marketing, and sales efforts, making it a popular choice for businesses aiming to improve customer interaction and satisfaction.
Developers often integrate with Intercom's API to automate and streamline customer communication processes. For example, using the Intercom API, developers can create notes on customer profiles to keep track of interactions and important information. This can be particularly useful for support teams who need to document customer issues and resolutions efficiently.
In this article, we will explore how to create notes using the Intercom API with PHP, providing a step-by-step guide to help developers enhance their customer management capabilities.
Setting Up Your Intercom Developer Account and OAuth Authentication
Before you can start creating notes with the Intercom API in PHP, you'll need to set up a developer account and configure OAuth authentication. This process ensures that your application can securely interact with Intercom's API on behalf of users.
Create an Intercom Developer Account
If you don't already have an Intercom developer account, follow these steps to create one:
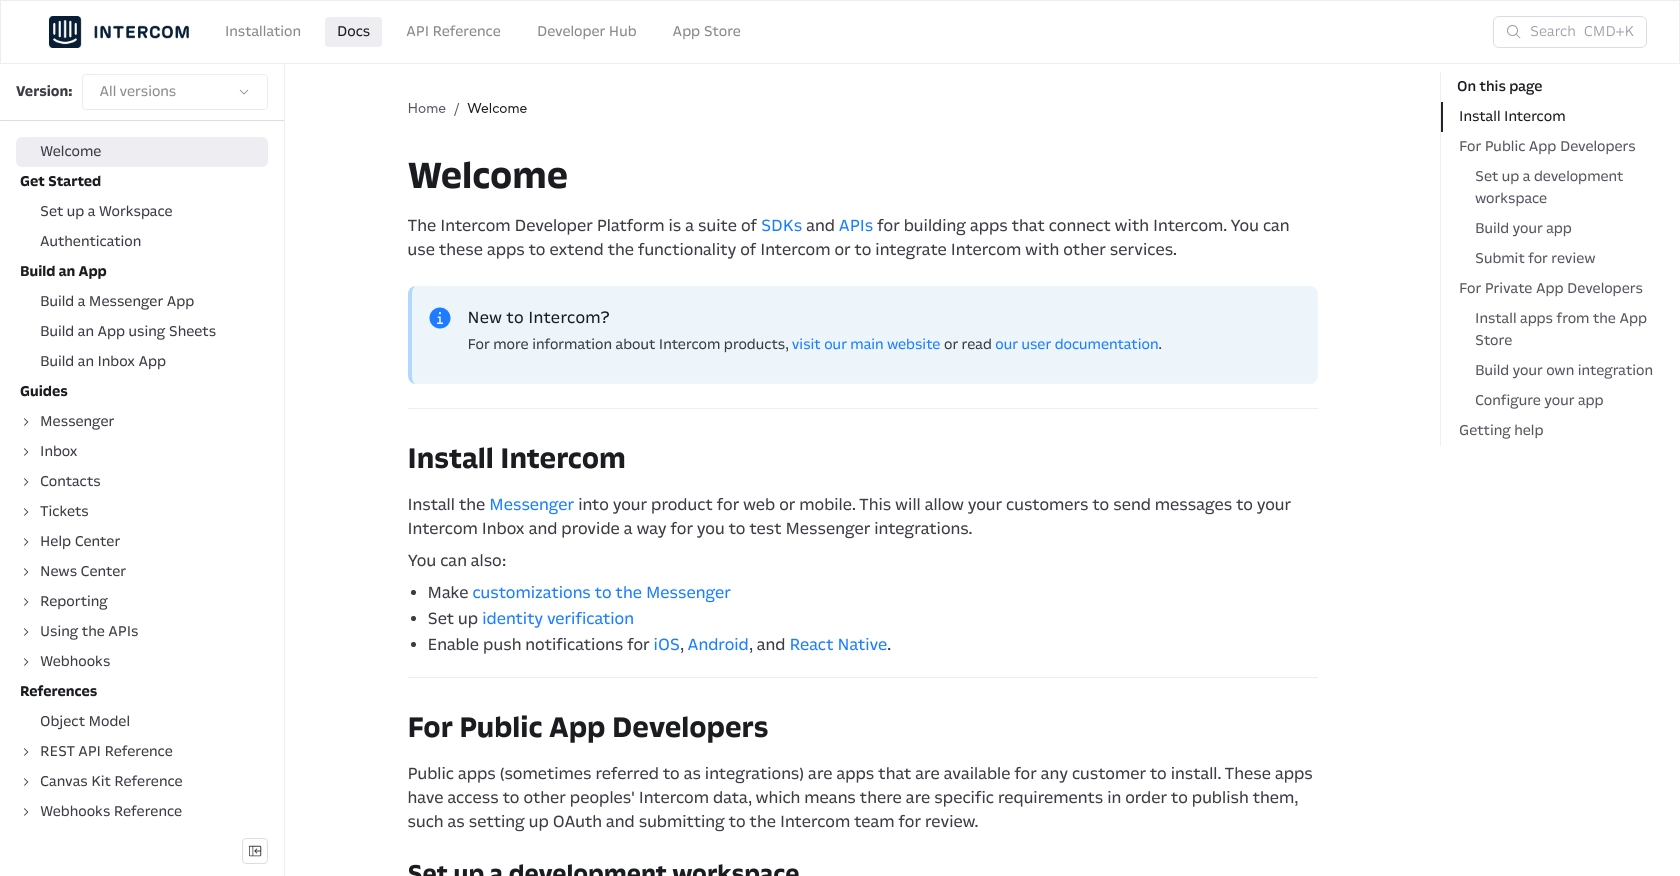
- Visit the Intercom Developer Hub and sign up for a free developer account.
- Once registered, log in to access your Developer Hub, where you can manage your applications and integrations.
Set Up a Development Workspace
To build and test your integration, you'll need a development workspace:
- In the Developer Hub, create a new development workspace. This workspace will allow you to configure and test your app without affecting live data.
- Ensure your workspace is associated with your main Intercom account to access the necessary data and features.
Configure OAuth for Your Intercom App
Intercom uses OAuth for secure authentication. Follow these steps to set it up:
- In your Developer Hub, navigate to the "Authentication" section and enable the "Use OAuth" option.
- Provide the necessary information, including:
- Redirect URLs: Specify the URL(s) where users will be redirected after authorizing your app. Ensure these URLs use HTTPS.
- Permissions: Select the scopes your app requires, such as reading and writing notes. Only request the permissions necessary for your use case.
- Save your changes to generate your
client_idandclient_secret.
For more detailed instructions, refer to the Intercom OAuth setup guide.
Generate an Access Token
With OAuth configured, you can generate an access token to authenticate API requests:
- Direct users to the authorization URL:
https://app.intercom.com/oauth?client_id=YOUR_CLIENT_ID&state=YOUR_STATE. - After users authorize your app, they will be redirected to your specified URL with a code parameter.
- Exchange this code for an access token by making a POST request to
https://api.intercom.io/auth/eagle/tokenwith the following parameters: code: The authorization code received.client_id: Your app's client ID.client_secret: Your app's client secret.
Upon successful exchange, you'll receive an access token to authenticate your API calls.

sbb-itb-96038d7
Making API Calls to Create Notes with Intercom in PHP
To interact with the Intercom API and create notes using PHP, you'll need to set up your development environment and write the necessary code to make API requests. This section will guide you through the process, ensuring you can efficiently create notes on customer profiles.
Setting Up Your PHP Environment for Intercom API Integration
Before you start coding, ensure your PHP environment is ready:
- Install PHP version 7.4 or higher.
- Ensure Composer is installed for managing dependencies.
- Install the Guzzle HTTP client, which simplifies making HTTP requests in PHP. Run the following command in your terminal:
composer require guzzlehttp/guzzleWriting PHP Code to Create Notes with Intercom API
With your environment set up, you can now write the PHP code to create notes using the Intercom API:
<?php
require 'vendor/autoload.php';

use GuzzleHttp\Client;

// Initialize the Guzzle HTTP client
$client = new Client();

// Define the API endpoint and headers
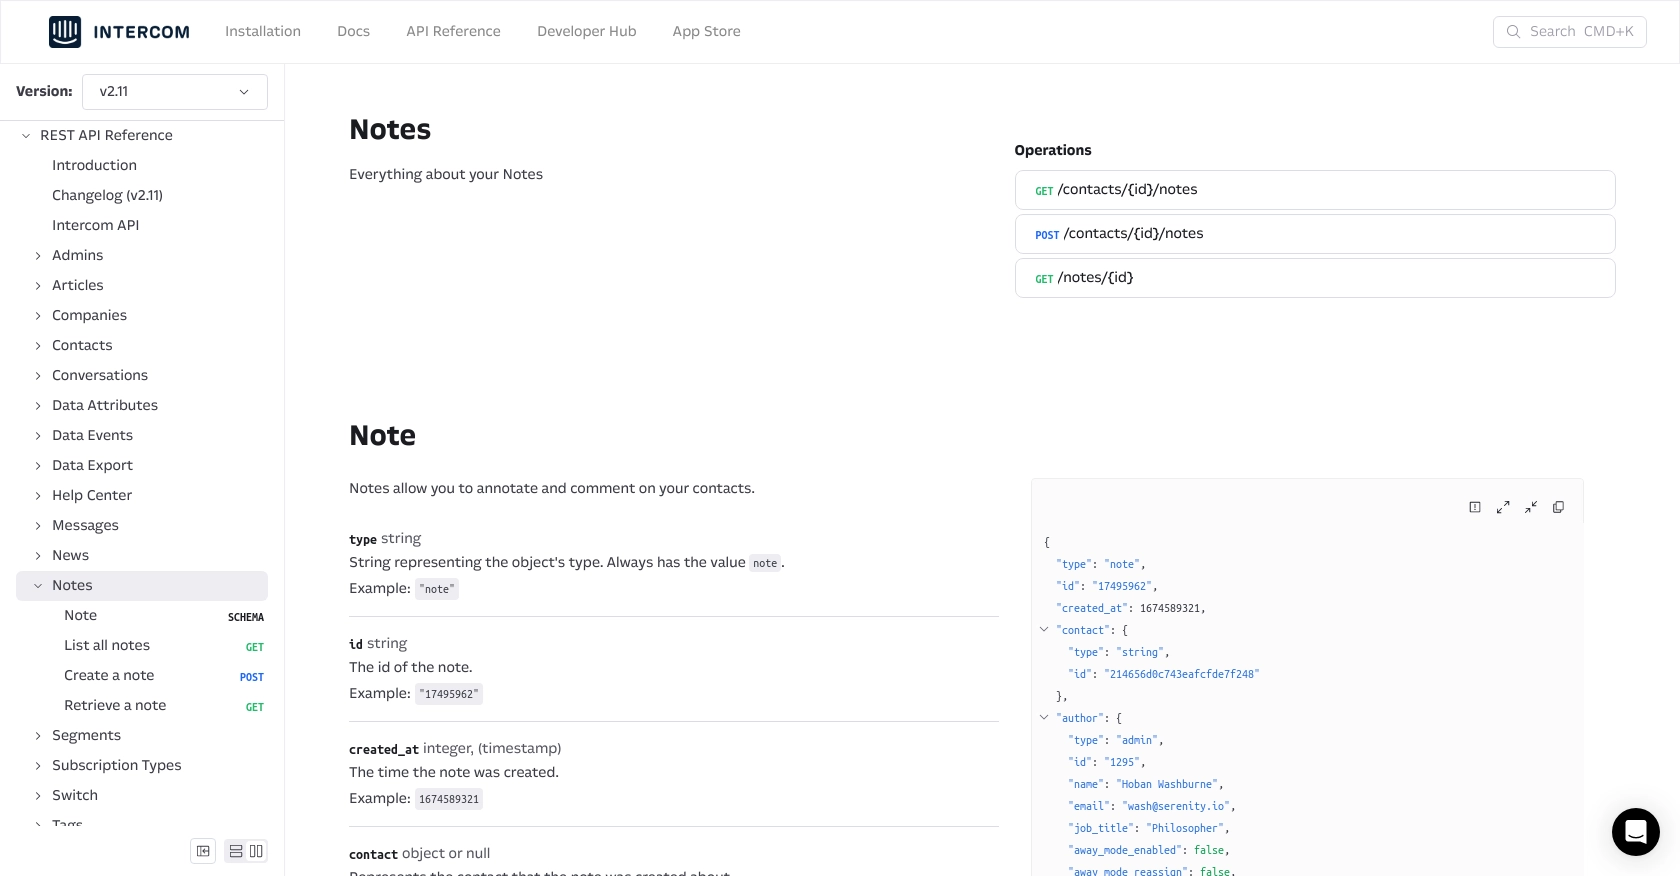
$url = 'https://api.intercom.io/contacts/{contact_id}/notes';
$headers = [
    'Authorization' => 'Bearer YOUR_ACCESS_TOKEN',
    'Content-Type' => 'application/json',
    'Intercom-Version' => '2.11'
];

// Define the note data
$data = [
    'contact_id' => 'CONTACT_ID',
    'admin_id' => 'ADMIN_ID',
    'body' => 'This is a note created via the Intercom API.'
];

// Make the POST request to create a note
$response = $client->post($url, [
    'headers' => $headers,
    'json' => $data
]);

// Output the response
echo $response->getBody();
?>
Replace YOUR_ACCESS_TOKEN, CONTACT_ID, and ADMIN_ID with your actual access token, contact ID, and admin ID, respectively.
Verifying Successful Note Creation in Intercom
After running the PHP script, you should verify that the note was successfully created:
- Check the response from the API call. A successful response will include details of the created note.
- Log in to your Intercom account and navigate to the contact profile to see the newly created note.
Handling Errors and Intercom API Error Codes
It's important to handle potential errors when making API calls. The Intercom API may return various error codes, such as:
- 401 Unauthorized: Check if your access token is valid and has the necessary permissions.
- 404 Not Found: Ensure the contact ID and endpoint URL are correct.
- 500 Internal Server Error: Retry the request or contact Intercom support if the issue persists.
Implement error handling in your PHP code to manage these scenarios gracefully.

Conclusion and Best Practices for Using Intercom API in PHP
Integrating with the Intercom API to create notes using PHP can significantly enhance your customer management capabilities. By following the steps outlined in this guide, you can efficiently document interactions and maintain comprehensive customer profiles.
Best Practices for Secure and Efficient Intercom API Integration
- Securely Store Credentials: Always store your access tokens and client secrets securely. Consider using environment variables or a secure vault to manage sensitive information.
- Handle Rate Limiting: Be mindful of Intercom's rate limits to avoid throttling. Implement retry logic with exponential backoff to manage rate limit responses gracefully.
- Data Transformation and Standardization: Ensure that the data you send and receive is consistent with your application's data models. This will help maintain data integrity across systems.
Leverage Endgrate for Simplified Integration Management
While integrating with APIs like Intercom can be powerful, managing multiple integrations can become complex and time-consuming. Endgrate offers a unified API endpoint that simplifies integration management across various platforms, including Intercom.
By using Endgrate, you can:
- Save time and resources by outsourcing integration management, allowing you to focus on your core product.
- Build once for each use case, rather than multiple times for different integrations.
- Provide an intuitive integration experience for your customers, enhancing their overall satisfaction.
Explore how Endgrate can streamline your integration processes by visiting Endgrate.
Read More
Ready to get started?
