How to Create or Update Accounts with the Outreach API in Javascript

Introduction to Outreach API Integration
Outreach is a powerful sales engagement platform that helps businesses streamline their sales processes and improve communication with prospects. It offers a comprehensive suite of tools designed to enhance productivity and drive sales growth.
Integrating with the Outreach API allows developers to automate and manage account data efficiently. For example, you can create or update account information directly from your application, ensuring that your sales team always has access to the most up-to-date data.
In this article, we will explore how to interact with the Outreach API using JavaScript to create or update accounts. This integration can help developers maintain accurate account records and enhance their sales operations.
Setting Up Your Outreach Test or Sandbox Account
Before you can begin integrating with the Outreach API, you'll need to set up a test or sandbox account. This will allow you to safely experiment with API calls without affecting live data. Outreach provides a development environment where you can create and manage your applications.
Creating an Outreach Developer Account
If you don't already have an Outreach account, you'll need to sign up for one. Visit the Outreach Developer Portal and follow the instructions to create a new account. This will give you access to the necessary tools and resources to start developing with the Outreach API.
Setting Up OAuth for Outreach API Access
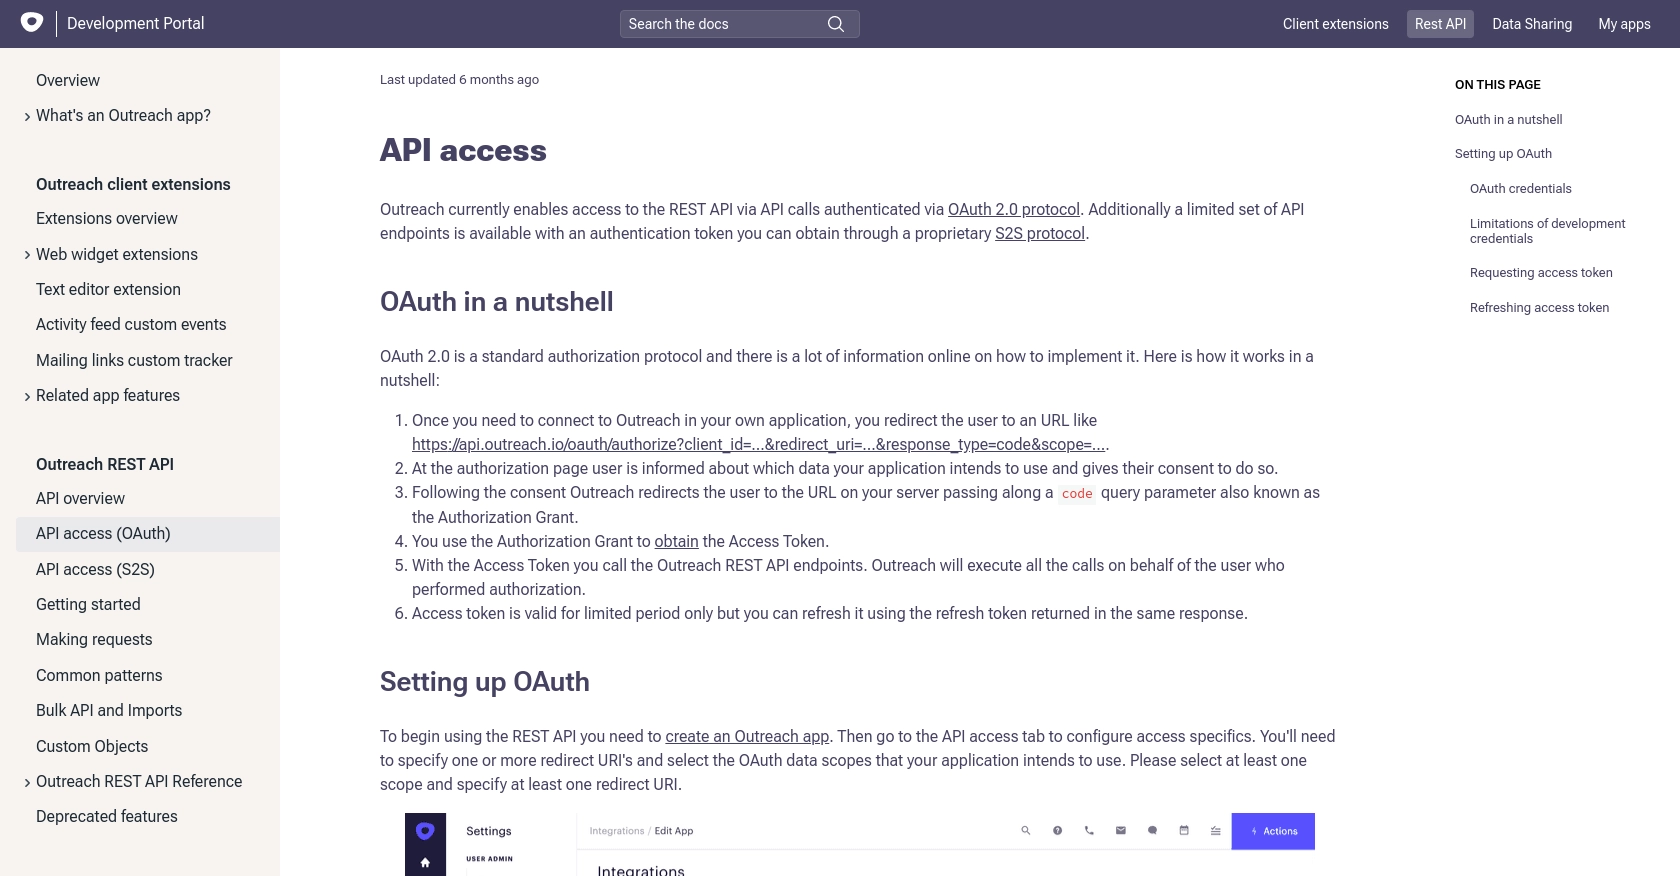
The Outreach API uses OAuth 2.0 for authentication. Follow these steps to set up OAuth for your application:
- Log in to your Outreach account and navigate to the "API Access" section.
- Create a new application by providing the required details such as the application name and description.
- Specify one or more redirect URIs that Outreach will use to send the authorization code back to your application.
- Select the OAuth scopes your application will need. Ensure you choose the appropriate scopes for creating and updating accounts.
- Save your application settings to generate your client ID and client secret. Note that the client secret will only be displayed once, so make sure to store it securely.
Generating OAuth Tokens
Once your application is set up, you can generate OAuth tokens to authenticate API requests:
- Redirect users to the Outreach authorization URL:
https://api.outreach.io/oauth/authorize?client_id=<client_id>&redirect_uri=<redirect_uri>&response_type=code&scope=<scopes>. - After the user authorizes your application, Outreach will redirect them to your specified redirect URI with an authorization code.
- Exchange the authorization code for an access token by making a POST request to
https://api.outreach.io/oauth/tokenwith the following parameters:{ client_id: "<client_id>", client_secret: "<client_secret>", redirect_uri: "<redirect_uri>", grant_type: "authorization_code", code: "<authorization_code>" } - Store the access token securely, as it will be used to authenticate your API requests. Remember that access tokens are short-lived and will need to be refreshed periodically.
By following these steps, you'll have a fully functional test environment to interact with the Outreach API using OAuth authentication. This setup ensures that your application can securely access and manage account data within Outreach.

sbb-itb-96038d7
Making API Calls to Create or Update Accounts with Outreach API in JavaScript
To interact with the Outreach API for creating or updating accounts, you'll need to use JavaScript to make HTTP requests. This section will guide you through the process of setting up your environment and executing API calls effectively.
Setting Up Your JavaScript Environment for Outreach API
Before making API calls, ensure you have the following prerequisites:
- Node.js installed on your machine.
- A package manager like npm or yarn.
Install the Axios library, which simplifies making HTTP requests:
npm install axios
Creating an Account with Outreach API Using JavaScript
To create an account, you'll need to send a POST request to the Outreach API. Here's a step-by-step guide:
- Import the Axios library in your JavaScript file.
- Set up the API endpoint and headers, including the access token for authentication.
- Define the account data you want to create.
- Send the POST request and handle the response.
const axios = require('axios');

const createAccount = async () => {
    const endpoint = 'https://api.outreach.io/api/v2/accounts';
    const headers = {
        'Authorization': 'Bearer <Your_Access_Token>',
        'Content-Type': 'application/vnd.api+json'
    };

    const accountData = {
        data: {
            type: 'account',
            attributes: {
                name: 'New Account',
                domain: 'example.com',
                industry: 'Technology'
            }
        }
    };

    try {
        const response = await axios.post(endpoint, accountData, { headers });
        console.log('Account Created:', response.data);
    } catch (error) {
        console.error('Error Creating Account:', error.response.data);
    }
};

createAccount();
Updating an Account with Outreach API Using JavaScript
To update an existing account, you'll need to send a PATCH request. Follow these steps:
- Identify the account ID you wish to update.
- Set up the API endpoint with the account ID and headers.
- Define the updated account data.
- Send the PATCH request and handle the response.
const updateAccount = async (accountId) => {
    const endpoint = `https://api.outreach.io/api/v2/accounts/${accountId}`;
    const headers = {
        'Authorization': 'Bearer <Your_Access_Token>',
        'Content-Type': 'application/vnd.api+json'
    };

    const updatedData = {
        data: {
            type: 'account',
            id: accountId,
            attributes: {
                name: 'Updated Account Name',
                industry: 'Updated Industry'
            }
        }
    };

    try {
        const response = await axios.patch(endpoint, updatedData, { headers });
        console.log('Account Updated:', response.data);
    } catch (error) {
        console.error('Error Updating Account:', error.response.data);
    }
};

updateAccount('<Account_ID>');
Handling API Responses and Errors
When making API calls, it's crucial to handle responses and potential errors effectively. The Outreach API will return status codes and messages that you can use to determine the success or failure of your requests. Common error codes include:
- 401 Unauthorized: Check your access token and ensure it's valid.
- 403 Forbidden: Verify that your OAuth scopes are correctly set.
- 422 Unprocessable Entity: Ensure your request body is correctly formatted.
By following these guidelines, you can efficiently create and update accounts using the Outreach API in JavaScript, ensuring your application maintains accurate and up-to-date account information.

Best Practices for Using Outreach API in JavaScript
When working with the Outreach API, it's essential to follow best practices to ensure efficient and secure integration. Here are some key recommendations:
- Securely Store Credentials: Always store your client ID, client secret, and access tokens securely. Avoid hardcoding them in your source code and consider using environment variables or secure vaults.
- Handle Rate Limiting: The Outreach API has a rate limit of 10,000 requests per hour. Monitor your API usage and implement logic to handle 429 error responses gracefully. Use the
X-RateLimit-RemainingandX-RateLimit-Resetheaders to manage your request flow. - Refresh Tokens Appropriately: Access tokens are short-lived. Use refresh tokens to obtain new access tokens before they expire, ensuring uninterrupted API access.
- Validate API Responses: Always check the status codes and response data to ensure successful API interactions. Implement error handling for common issues like authentication failures or invalid data formats.
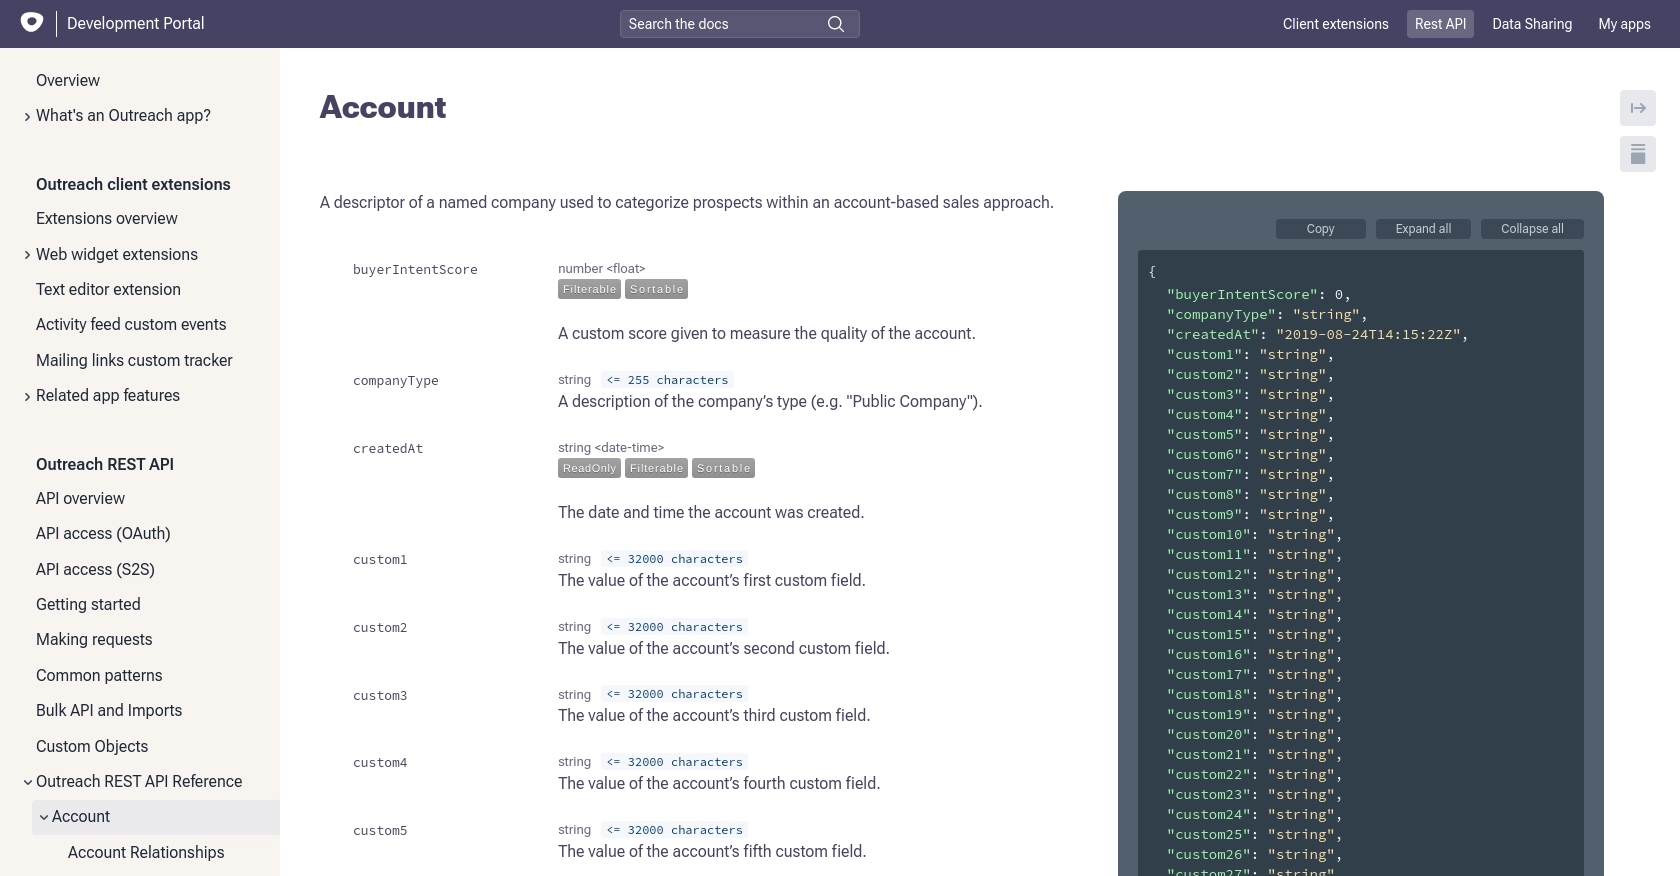
- Optimize Data Handling: When creating or updating accounts, ensure that your data is correctly formatted and validated to prevent errors. Utilize Outreach's API documentation to understand the required fields and data types.
Enhance Your Integration with Endgrate
Integrating with multiple platforms can be complex and time-consuming. Endgrate simplifies this process by providing a unified API endpoint that connects to various platforms, including Outreach. With Endgrate, you can:
- Save Time and Resources: Focus on your core product while Endgrate handles the complexities of integration.
- Build Once, Use Everywhere: Develop a single integration that works across multiple platforms, reducing development overhead.
- Improve Customer Experience: Offer your users a seamless and intuitive integration experience with minimal effort.
Visit Endgrate to learn more about how you can streamline your integration processes and enhance your application's capabilities.
Read More
Ready to get started?
