How to Create or Update Contacts with the Moneybird API in Python
Introduction to Moneybird API Integration
Moneybird is a comprehensive financial administration platform that simplifies invoicing, accounting, and financial management for businesses. With its user-friendly interface and robust features, Moneybird is a popular choice for small to medium-sized enterprises looking to streamline their financial operations.
Integrating with the Moneybird API allows developers to automate and enhance financial processes, such as managing contacts and invoices. For example, you can use the Moneybird API to create or update contact information directly from your application, ensuring that your financial records are always up-to-date and accurate.
This article will guide you through the process of using Python to interact with the Moneybird API, specifically focusing on creating and updating contacts. By following this tutorial, you'll be able to efficiently manage your contacts within the Moneybird platform, leveraging the power of automation to save time and reduce manual errors.
Setting Up Your Moneybird Sandbox Account for API Integration
Before you can start integrating with the Moneybird API, you'll need to set up a sandbox account. This allows you to test your API interactions without affecting any live data. Moneybird offers a sandbox environment that provides full access to all features, enabling you to experiment and develop your integration with confidence.
Step-by-Step Guide to Creating a Moneybird Sandbox Account
-
Create a Moneybird User Account:
If you don't already have a Moneybird account, visit the Moneybird website and sign up for a free account. If you already have an account, simply log in.
-
Access the Sandbox Creation Page:
Once logged in, navigate to the sandbox creation page. This can be found in the settings or administration section of your Moneybird account. Follow the prompts to create a new sandbox environment.
-
Configure Your Sandbox Environment:
After creating the sandbox, you can configure it to match your testing needs. This includes setting up test contacts, invoices, and other financial data that you plan to interact with using the API.
Registering Your Application for OAuth Authentication
Moneybird uses OAuth2 for secure authentication. To interact with the API, you'll need to register your application and obtain the necessary credentials.
-
Register Your Application:
Go to the application registration page in your Moneybird account. Fill in the required details to register your application.
-
Obtain Client ID and Client Secret:
Upon registration, you'll receive a Client ID and Client Secret. These are essential for authenticating your API requests. Ensure you store these credentials securely.
-
Set Up Redirect URI:
During the registration process, specify a redirect URI. This is where Moneybird will send the user after they authorize your application. Ensure it matches exactly with your application's configuration.
Generating Access Tokens for API Requests
With your application registered, you can now generate access tokens to authenticate API requests.
-
Request Authorization Code:
Direct the user to Moneybird's authorization URL with your Client ID and redirect URI. The user will authorize your application, and you'll receive an authorization code.
-
Exchange Authorization Code for Access Token:
Use the authorization code to request an access token from Moneybird. This token will allow you to make authenticated API calls on behalf of the user.
With your sandbox account and OAuth setup complete, you're ready to start integrating with the Moneybird API using Python. In the next section, we'll explore how to make API calls to create and update contacts.
sbb-itb-96038d7
Making API Calls to Create or Update Contacts with Moneybird API Using Python
In this section, we'll explore how to use Python to interact with the Moneybird API for creating and updating contacts. This involves setting up your Python environment, writing the necessary code, and handling potential errors effectively.
Setting Up Your Python Environment for Moneybird API Integration
Before making API calls, ensure your Python environment is ready. You'll need Python 3.11.1 and the requests library to handle HTTP requests.
-
Install Python:
Ensure Python 3.11.1 is installed on your machine. You can download it from the official Python website.
-
Install the Requests Library:
Open your terminal or command prompt and run the following command to install the
requestslibrary:pip install requests
Creating a New Contact with Moneybird API in Python
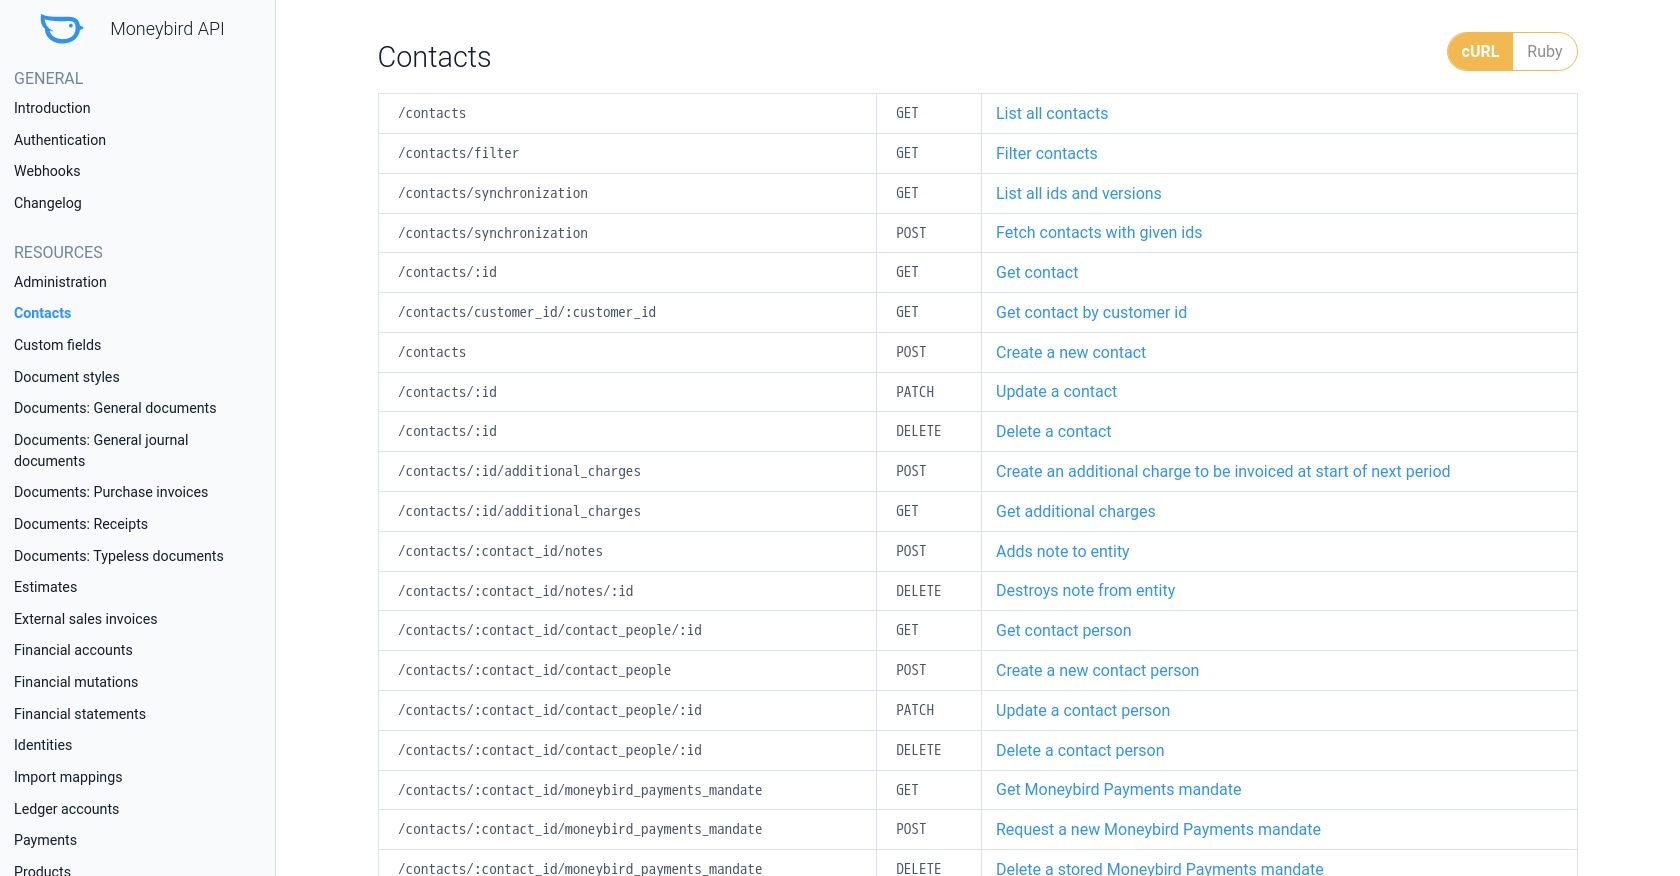
To create a new contact in Moneybird, you'll need to make a POST request to the Moneybird API. Here's how you can do it using Python:
import requests

# Define the API endpoint and headers
url = "https://moneybird.com/api/v2/{administration_id}/contacts.json"
headers = {
    "Content-Type": "application/json",
    "Authorization": "Bearer Your_Access_Token"
}

# Define the contact data
contact_data = {
    "contact": {
        "company_name": "Example Corp",
        "firstname": "John",
        "lastname": "Doe",
        "email": "john.doe@example.com"
    }
}

# Make the POST request
response = requests.post(url, json=contact_data, headers=headers)

# Check the response status
if response.status_code == 201:
    print("Contact created successfully:", response.json())
else:
    print("Failed to create contact:", response.status_code, response.json())
Replace Your_Access_Token and {administration_id} with your actual access token and administration ID. The response will include the newly created contact details if successful.
Updating an Existing Contact with Moneybird API in Python
To update an existing contact, use the PATCH method. Here's an example:
import requests

# Define the API endpoint and headers
url = "https://moneybird.com/api/v2/{administration_id}/contacts/{contact_id}.json"
headers = {
    "Content-Type": "application/json",
    "Authorization": "Bearer Your_Access_Token"
}

# Define the updated contact data
updated_contact_data = {
    "contact": {
        "company_name": "Updated Corp",
        "email": "updated.email@example.com"
    }
}

# Make the PATCH request
response = requests.patch(url, json=updated_contact_data, headers=headers)

# Check the response status
if response.status_code == 200:
    print("Contact updated successfully:", response.json())
else:
    print("Failed to update contact:", response.status_code, response.json())
Ensure you replace {contact_id} with the ID of the contact you wish to update. The response will confirm the update if successful.
Handling Errors and Verifying API Requests
When interacting with the Moneybird API, it's crucial to handle errors gracefully and verify your requests. The API provides various HTTP status codes to indicate the result of your requests:
- 200 OK: The request was successful.
- 201 Created: The contact was created successfully.
- 400 Bad Request: The request parameters are missing or malformed.
- 401 Unauthorized: Invalid or missing authentication credentials.
- 404 Not Found: The specified contact does not exist.
- 422 Unprocessable Entity: Validation errors occurred.
- 429 Too Many Requests: Rate limit exceeded. Retry after the specified time.
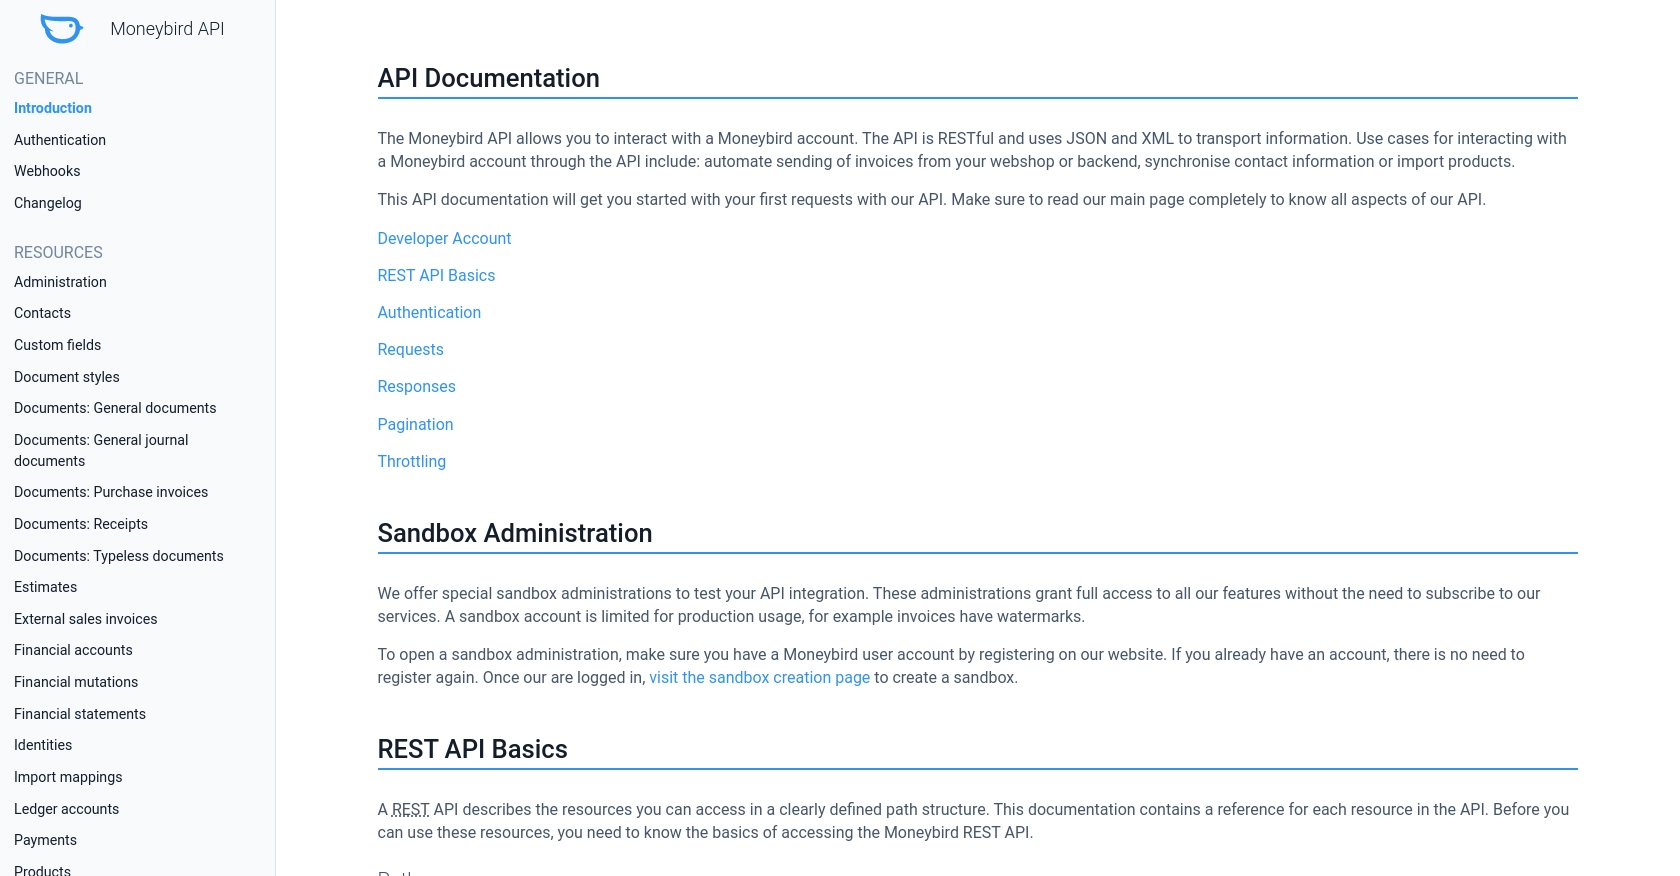
For more details on error handling, refer to the Moneybird API documentation.
Verifying API Requests in the Moneybird Sandbox
After making API calls, verify the changes in your Moneybird sandbox account. Check if the contacts are created or updated as expected. This ensures your integration works correctly before deploying it to a live environment.
Conclusion and Best Practices for Moneybird API Integration
Integrating with the Moneybird API using Python provides a powerful way to automate and streamline your financial management processes. By following the steps outlined in this guide, you can efficiently create and update contacts within the Moneybird platform, ensuring your data remains accurate and up-to-date.
Best Practices for Secure and Efficient Moneybird API Usage
- Securely Store Credentials: Always store your Client ID, Client Secret, and access tokens securely. Consider using environment variables or secure vaults to keep these credentials safe.
- Handle Rate Limiting: The Moneybird API allows 150 requests every 5 minutes. Implement logic to handle the
429 Too Many Requestserror by pausing requests and retrying after the specified time. For more details, refer to the Moneybird API documentation. - Validate Data: Ensure that the data you send to the API is correctly formatted and validated to avoid errors such as
400 Bad Requestor422 Unprocessable Entity. - Monitor API Usage: Regularly monitor your API usage and logs to identify any potential issues or unauthorized access attempts.
- Test in Sandbox: Always test your API interactions in the Moneybird sandbox environment before deploying them to production. This helps prevent any unintended changes to live data.
Streamline Your Integrations with Endgrate
While integrating with the Moneybird API can significantly enhance your financial processes, managing multiple integrations can be complex and time-consuming. Endgrate offers a unified API solution that simplifies integration management, allowing you to focus on your core product development.
With Endgrate, you can build once for each use case and leverage a single API endpoint to connect with multiple platforms, including Moneybird. This not only saves time and resources but also provides an intuitive integration experience for your customers.
Explore how Endgrate can help you streamline your integrations and enhance your product offerings by visiting Endgrate today.
Read More

Ready to get started?
