Using the Affinity API to Create or Update Organizations in Python
Introduction to Affinity API for Organization Management
Affinity is a powerful relationship intelligence platform that helps businesses manage and leverage their professional networks. By providing insights into connections and interactions, Affinity enables organizations to build stronger relationships and drive growth.
Developers may want to integrate with the Affinity API to automate the management of organizational data. For example, using the Affinity API, a developer can create or update organization records in their database, ensuring that the information is always current and accurate.
This article will guide you through using Python to interact with the Affinity API, focusing on creating and updating organizations. By following this tutorial, you will learn how to streamline your data management processes and enhance your application's functionality.
Setting Up Your Affinity API Test Account
Before you can start using the Affinity API to manage organizations, you'll need to set up a test account. This will allow you to safely experiment with API calls without affecting live data.
Create an Affinity Account
If you don't already have an Affinity account, you can sign up for a free trial on the Affinity website. Follow the instructions to complete the registration process and log in to your account.
Generate an API Key for Affinity
To interact with the Affinity API, you'll need to generate an API key. This key will be used to authenticate your requests.
- Log in to your Affinity account.
- Navigate to the Settings panel, accessible from the left sidebar.
- Under the API Keys section, click on Generate API Key.
- Copy the generated API key and store it securely, as you'll need it for API requests.
For more detailed instructions, you can refer to the Affinity API documentation.
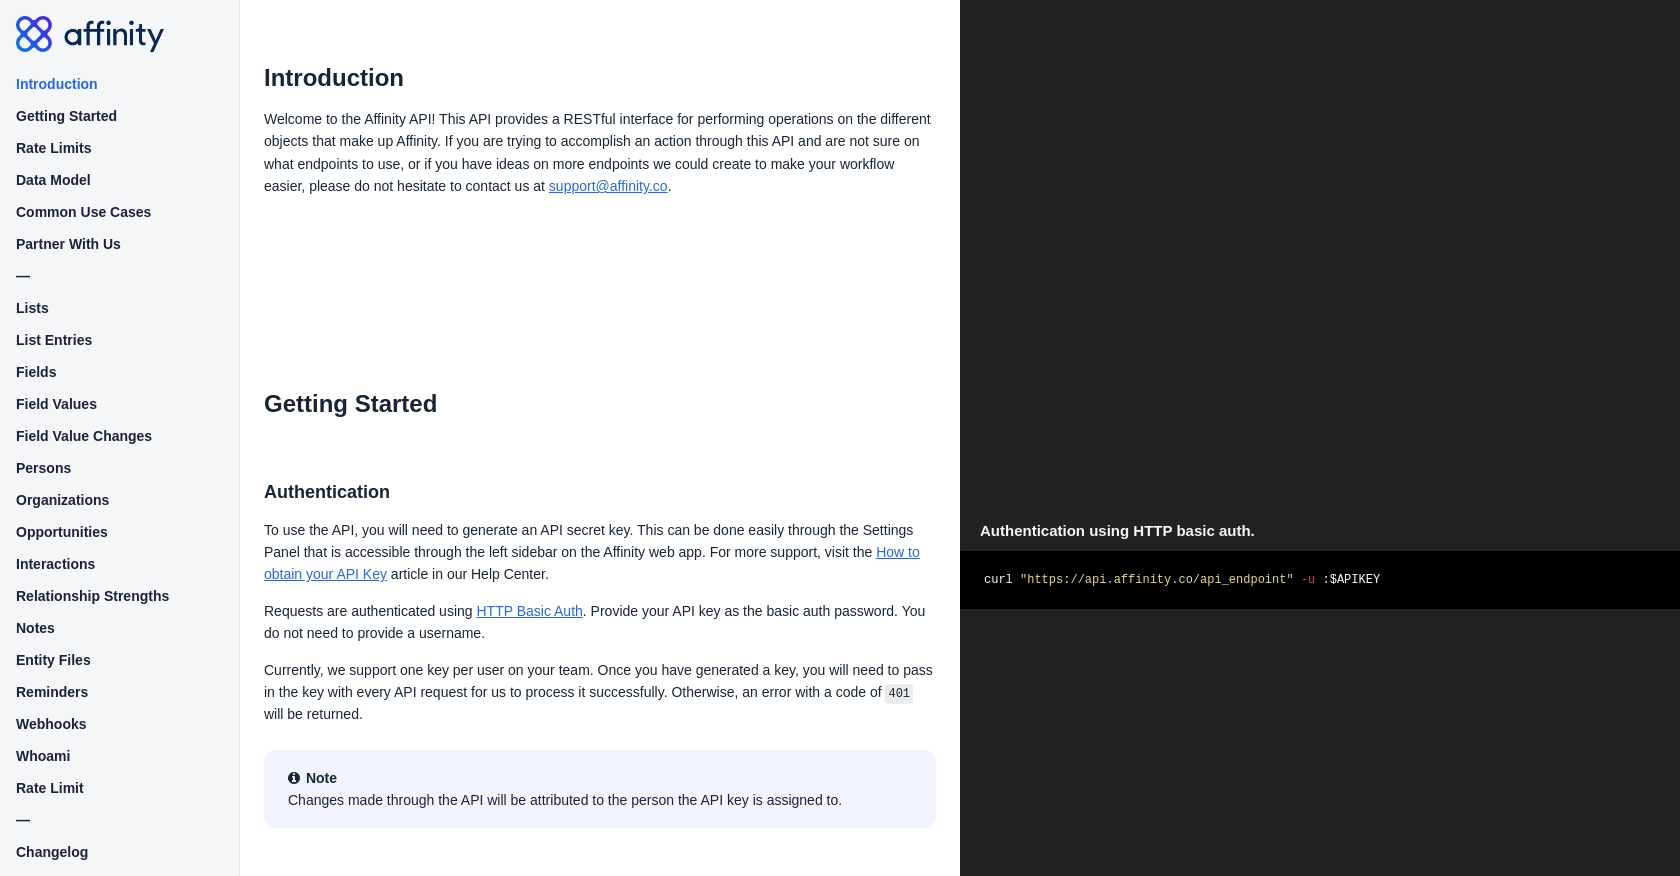
Configure API Key Authentication
The Affinity API uses HTTP Basic Auth for authentication. You will need to provide your API key as the password in your requests. No username is required.
import requests

# Define the API endpoint and headers
url = "https://api.affinity.co/api_endpoint"
headers = {
    "Authorization": "Basic :Your_API_Key"
}

# Example request
response = requests.get(url, headers=headers)
Replace Your_API_Key with the API key you generated earlier. This setup will allow you to authenticate your API requests successfully.
Understanding Affinity API Rate Limits
Affinity imposes rate limits on API requests to ensure fair usage. The current limits are:
- Per Minute Limit: 900 requests per user.
- Monthly Limit: Varies by account plan, with up to 100,000 requests for certain plans.
Exceeding these limits will result in a 429 error code. It's essential to handle these errors gracefully in your application.
For more details on rate limits, refer to the Affinity API documentation.
sbb-itb-96038d7
Making API Calls to Affinity for Organization Management Using Python
To effectively manage organizations using the Affinity API, you'll need to make specific API calls to create or update organization records. This section will guide you through the process of setting up your Python environment and executing these API requests.
Setting Up Your Python Environment for Affinity API Integration
Before making API calls, ensure you have Python installed on your machine. This tutorial uses Python 3.11.1. Additionally, you'll need the requests library to handle HTTP requests.
pip install requestsCreating an Organization with Affinity API
To create a new organization in Affinity, you'll need to send a POST request to the appropriate endpoint. Here's a step-by-step guide:
import requests

# Define the API endpoint for creating an organization
url = "https://api.affinity.co/organizations"

# Set the request headers
headers = {
    "Authorization": "Basic :Your_API_Key",
    "Content-Type": "application/json"
}

# Define the organization data
data = {
    "name": "New Organization",
    "domain": "neworg.com"
}

# Send the POST request
response = requests.post(url, headers=headers, json=data)

# Check if the request was successful
if response.status_code == 201:
    print("Organization created successfully:", response.json())
else:
    print("Failed to create organization:", response.status_code, response.text)
Replace Your_API_Key with your actual API key. This code will create a new organization with the specified name and domain.
Updating an Existing Organization with Affinity API
To update an existing organization, you'll need to know the organization's ID. Use a PUT request to modify the organization's details:
import requests

# Define the API endpoint for updating an organization
organization_id = "123456"
url = f"https://api.affinity.co/organizations/{organization_id}"

# Set the request headers
headers = {
    "Authorization": "Basic :Your_API_Key",
    "Content-Type": "application/json"
}

# Define the updated organization data
data = {
    "name": "Updated Organization Name",
    "domain": "updatedorg.com"
}

# Send the PUT request
response = requests.put(url, headers=headers, json=data)

# Check if the request was successful
if response.status_code == 200:
    print("Organization updated successfully:", response.json())
else:
    print("Failed to update organization:", response.status_code, response.text)
Ensure you replace Your_API_Key and organization_id with your API key and the organization's ID, respectively. This code updates the organization's name and domain.
Handling Errors and Verifying API Requests
It's crucial to handle potential errors when making API requests. The Affinity API may return various error codes, such as:
- 401 Unauthorized: Invalid API key.
- 403 Forbidden: Insufficient rights to a resource.
- 404 Not Found: Requested resource does not exist.
- 429 Too Many Requests: Rate limit exceeded.
Always check the response status code and handle errors gracefully in your application. For more information on error codes, refer to the Affinity API documentation.
Conclusion and Best Practices for Using Affinity API with Python
Integrating the Affinity API into your Python applications can significantly enhance your ability to manage organizational data efficiently. By automating the creation and updating of organizations, you can ensure that your data remains accurate and up-to-date, freeing up valuable time for other critical tasks.
Best Practices for Secure and Efficient API Integration
- Secure API Key Storage: Always store your API keys securely, using environment variables or a secure vault, to prevent unauthorized access.
- Handle Rate Limits Gracefully: Implement logic to handle rate limit errors (HTTP 429) by retrying requests after a delay. This ensures compliance with Affinity's rate limits and maintains smooth operation.
- Data Standardization: Ensure consistent data formats when creating or updating organizations to maintain data integrity across your systems.
- Error Handling: Implement comprehensive error handling to manage different HTTP status codes and provide meaningful feedback to users or logs for debugging.
Enhance Your Integration with Endgrate
For developers looking to streamline their integration processes further, consider using Endgrate. Endgrate offers a unified API endpoint that simplifies connecting to multiple platforms, including Affinity. By leveraging Endgrate, you can reduce development time, focus on your core product, and provide an intuitive integration experience for your users.
Explore how Endgrate can transform your integration strategy by visiting Endgrate's website.
Read More

Ready to get started?
