How to Create or Update Contacts with the Nimble API in Javascript

Introduction to Nimble CRM API Integration
Nimble is a relationship-focused CRM platform that helps businesses manage customer interactions and data efficiently. It offers customizable contact records and seamless integration with Microsoft 365 and Google Workspace, making it a versatile tool for businesses looking to streamline their workflows.
Integrating with the Nimble API allows developers to automate and enhance CRM functionalities, such as creating or updating contact information. For example, you might want to automatically update contact details in Nimble whenever a user updates their profile on your platform, ensuring that your CRM data is always current and accurate.
Setting Up Your Nimble API Test Account
Before you can start integrating with the Nimble API, you'll need to set up a test account. This will allow you to safely experiment with API calls without affecting your live data.
Create a Nimble Account
If you don't already have a Nimble account, you can sign up for a free trial on the Nimble website. This will give you access to all the features you need to test the API integration.
Generate an API Key for Nimble
Once your account is set up, you'll need to generate an API key to authenticate your requests. Follow these steps:
- Log in to your Nimble account.
- Navigate to Settings and select API Token.
- Click on Generate New Token.
- Provide a description for your token and click Generate.
- Copy the generated API key and store it securely, as you'll need it for authentication.
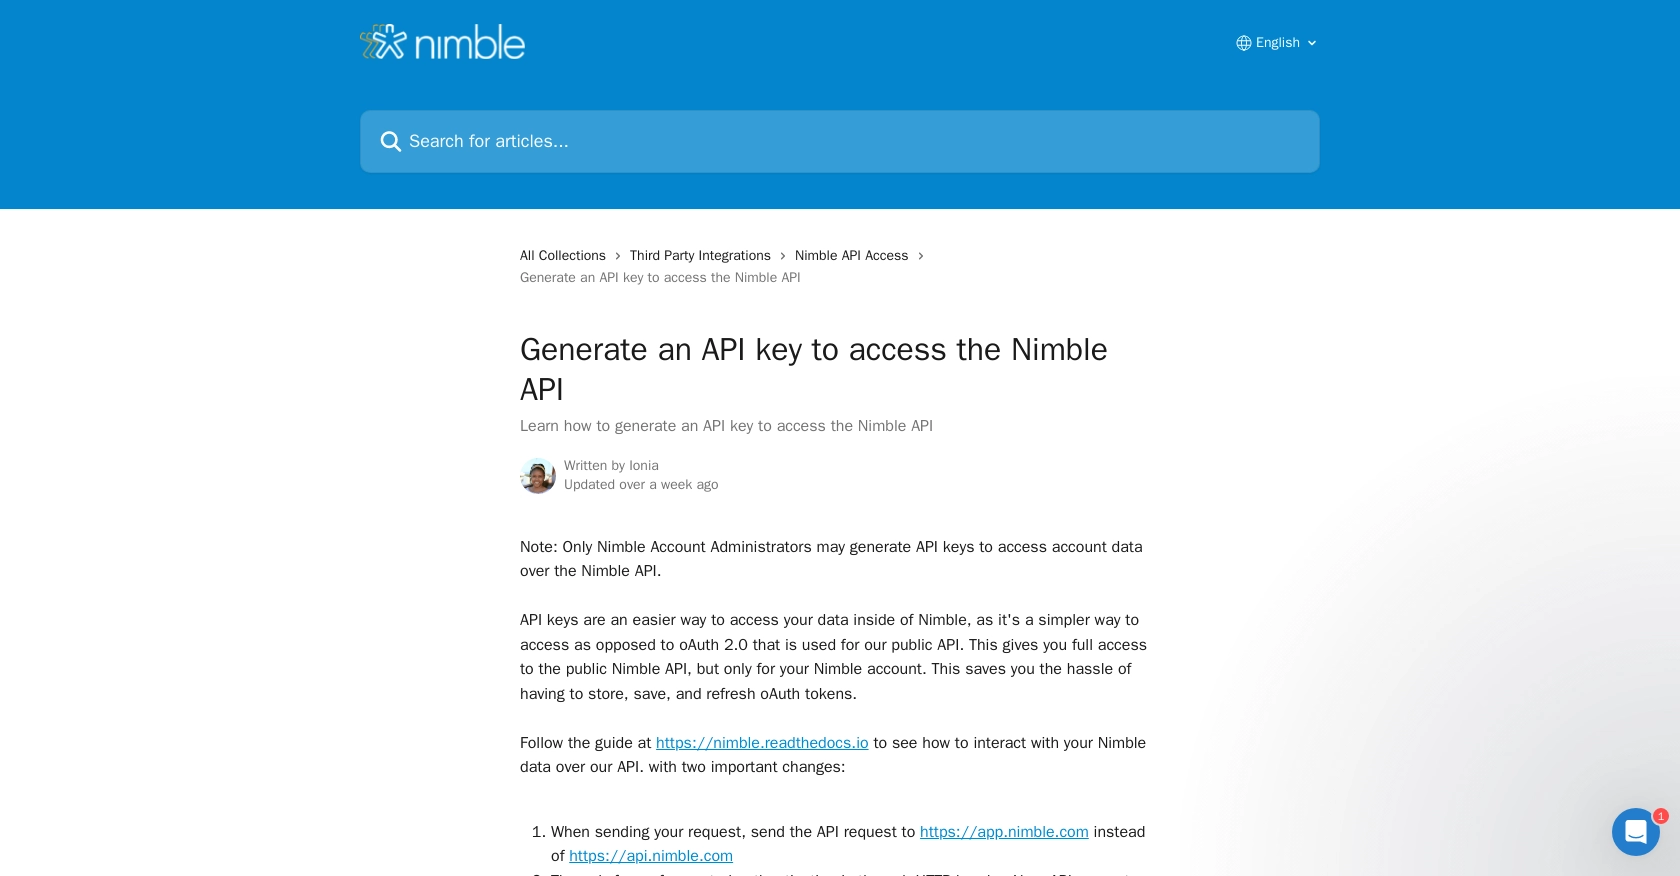
Note: Only Nimble Account Administrators can generate API keys. Ensure you have the necessary permissions or contact your account admin for access.
Configure API Access in Nimble
To ensure your API key has the appropriate permissions, you may need to configure access settings:
- Go to Settings and select Users.
- Ensure that API access is granted to the necessary users or roles.
For more detailed guidance, refer to the Nimble API documentation.

sbb-itb-96038d7
Making API Calls with Nimble in JavaScript
To interact with the Nimble API using JavaScript, you'll need to make HTTP requests to the appropriate endpoints. This section will guide you through setting up your environment and making API calls to create or update contacts in Nimble.
Setting Up Your JavaScript Environment
Ensure you have Node.js installed on your machine. You can download it from the official Node.js website. Node.js comes with npm, which you'll use to install necessary packages.
Open your terminal and create a new project directory:
mkdir nimble-integration
cd nimble-integration
npm init -y
Install the Axios library to handle HTTP requests:
npm install axiosCreating a Contact with Nimble API
To create a contact in Nimble, you'll need to send a POST request to the appropriate endpoint. Here's a sample code snippet to create a contact:
const axios = require('axios');

const apiKey = 'YOUR_API_KEY';
const endpoint = 'https://app.nimble.com/api/v1/contact';

const createContact = async () => {
  try {
    const response = await axios.post(endpoint, {
      fields: {
        'first name': [{ value: 'John' }],
        'last name': [{ value: 'Doe' }],
        email: [{ value: 'john.doe@example.com' }]
      }
    }, {
      headers: {
        'Authorization': `Bearer ${apiKey}`,
        'Content-Type': 'application/json'
      }
    });

    console.log('Contact Created:', response.data);
  } catch (error) {
    console.error('Error creating contact:', error.response.data);
  }
};

createContact();
Replace YOUR_API_KEY with the API key you generated earlier. This script sends a request to create a new contact with the specified fields.
Updating a Contact with Nimble API
To update an existing contact, you'll need to send a PUT request to the contact's specific endpoint. Here's how you can update a contact:
const updateContact = async (contactId) => {
  try {
    const response = await axios.put(`https://app.nimble.com/api/v1/contact/${contactId}`, {
      fields: {
        'first name': [{ value: 'Jane' }],
        'last name': [{ value: 'Doe' }]
      }
    }, {
      headers: {
        'Authorization': `Bearer ${apiKey}`,
        'Content-Type': 'application/json'
      }
    });

    console.log('Contact Updated:', response.data);
  } catch (error) {
    console.error('Error updating contact:', error.response.data);
  }
};

updateContact('CONTACT_ID');
Replace CONTACT_ID with the ID of the contact you wish to update. This script updates the contact's first and last name.
Handling API Responses and Errors
After making an API call, it's crucial to handle responses and potential errors. Successful responses will contain the contact data, while errors will provide details about what went wrong. Common error codes include:
- 409: Validation error, such as missing required fields.
- 402: Quota exceeded, indicating you've reached your contact creation limit.
- 500: Internal server error, suggesting an issue on Nimble's side.
Always check the response status and handle errors gracefully to ensure a robust integration.
Conclusion and Best Practices for Nimble API Integration
Integrating with the Nimble API using JavaScript provides a powerful way to automate and enhance your CRM functionalities. By following the steps outlined in this guide, you can efficiently create and update contacts, ensuring your customer data remains accurate and up-to-date.
Best Practices for Secure and Efficient Nimble API Usage
- Secure API Keys: Always store your API keys securely and avoid hardcoding them in your source code. Consider using environment variables or secure vaults.
- Handle Rate Limiting: Be mindful of Nimble's API rate limits to avoid exceeding them. Implement retry logic with exponential backoff to handle rate limit errors gracefully.
- Data Standardization: Ensure that the data you send to Nimble is standardized and validated to prevent errors and maintain data integrity.
Enhance Your Integration with Endgrate
While integrating with Nimble's API can be straightforward, managing multiple integrations can become complex. Endgrate simplifies this process by providing a unified API endpoint that connects to various platforms, including Nimble. With Endgrate, you can streamline your integration efforts, saving time and resources while focusing on your core product development.
Explore how Endgrate can enhance your integration experience by visiting Endgrate today.
Read More
Ready to get started?
