How to Create or Update Contacts with the SendGrid API in Javascript

Introduction to SendGrid API for Contact Management
SendGrid, a cloud-based email delivery service, is a powerful tool for businesses looking to manage their email communications efficiently. It offers a robust API that allows developers to integrate email functionalities into their applications seamlessly. With SendGrid, you can send transactional and marketing emails, manage contacts, and track email performance.
Integrating with SendGrid's API is beneficial for developers who need to automate email processes and manage contact lists effectively. For example, you might want to create or update contact information in your SendGrid account directly from your application, ensuring your email campaigns reach the right audience with up-to-date information.
This article will guide you through the process of using JavaScript to interact with the SendGrid API, specifically focusing on creating or updating contacts. By the end of this tutorial, you'll be equipped to manage your contact lists programmatically, enhancing your email marketing efforts.
Setting Up Your SendGrid Account for API Access
Before you can start integrating with the SendGrid API to manage contacts, you'll need to set up your SendGrid account. This involves creating an account, generating an API key, and ensuring you have the necessary permissions to interact with the API.
Create a SendGrid Account
If you don't already have a SendGrid account, you can sign up for a free account on the SendGrid website. The free plan offers sufficient features for testing and development purposes.
- Visit the SendGrid website and click on "Sign Up".
- Fill in the required details and follow the prompts to create your account.
- Once your account is created, you will be directed to the SendGrid dashboard.
Generate an API Key for SendGrid
To authenticate your API requests, you'll need to generate an API key. This key will be used to authorize your application to interact with SendGrid's API.
- Log in to your SendGrid account and navigate to "Settings" in the left-hand menu.
- Select "API Keys" from the dropdown menu.
- Click on "Create API Key" and provide a name for your key.
- Assign the necessary permissions to the key, such as "Full Access" or specific scopes related to contact management.
- Click "Create & View" to generate the key. Make sure to copy and store it securely, as you won't be able to view it again.
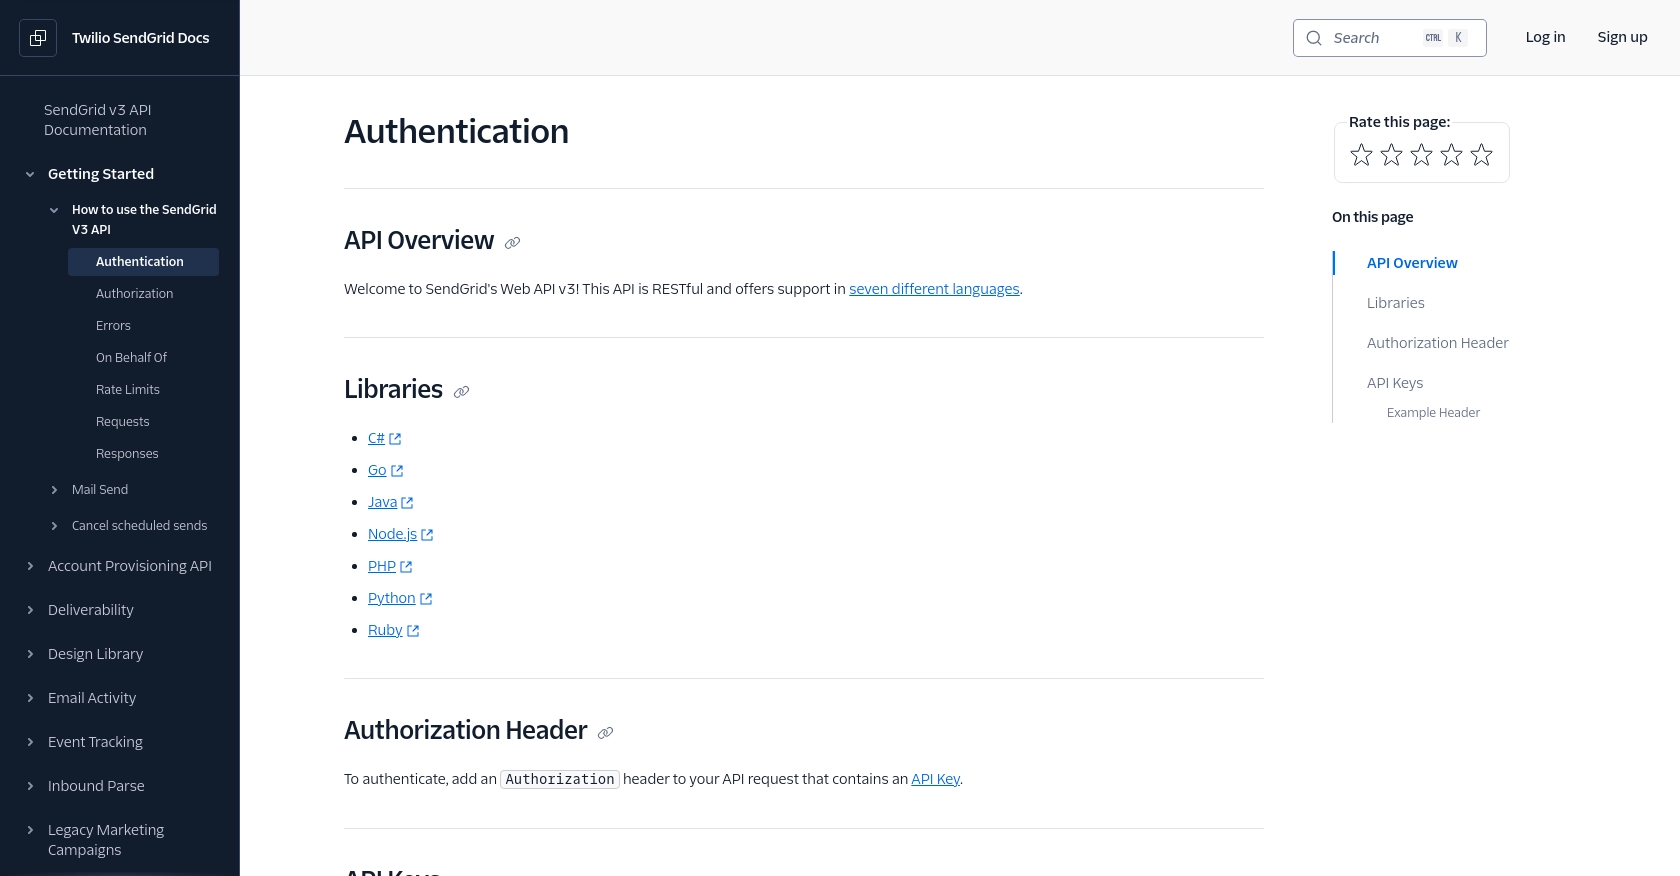
For more details on API key permissions, refer to the SendGrid API Authentication Documentation.
Verify API Key Permissions
Ensure that your API key has the correct permissions to add or update contacts. You can adjust permissions by editing the API key settings in your SendGrid dashboard.
Understanding SendGrid's Rate Limits
When interacting with the SendGrid API, it's important to be aware of rate limits to avoid exceeding the allowed number of requests. Each API request returns headers indicating your current rate limit status.
- Check the "X-RateLimit-Limit" and "X-RateLimit-Remaining" headers in your API responses to monitor usage.
- If you exceed the limit, you will receive a 429 status code. Plan your requests accordingly to avoid disruptions.
For more information, see the SendGrid Rate Limits Documentation.
sbb-itb-96038d7
How to Make API Calls to Create or Update Contacts with SendGrid in JavaScript
To interact with the SendGrid API for managing contacts, you'll need to use JavaScript to make HTTP requests. This section will guide you through the process of setting up your environment, writing the code, and handling responses effectively.
Setting Up Your JavaScript Environment for SendGrid API Integration
Before making API calls, ensure you have Node.js installed on your machine. Node.js allows you to run JavaScript code outside of a browser, which is essential for server-side operations like API requests.
- Download and install Node.js from the official website.
- Initialize a new Node.js project by running
npm init -yin your project directory. - Install the SendGrid client library by executing
npm install @sendgrid/client.
Writing JavaScript Code to Create or Update Contacts Using SendGrid API
With your environment set up, you can now write the JavaScript code to interact with the SendGrid API. The following example demonstrates how to create or update contacts.
const client = require('@sendgrid/client');
client.setApiKey('YOUR_SENDGRID_API_KEY');
const data = {
contacts: [
{
email: 'example@example.com',
first_name: 'John',
last_name: 'Doe',
custom_fields: {
w1: 'coffee'
}
}
]
};
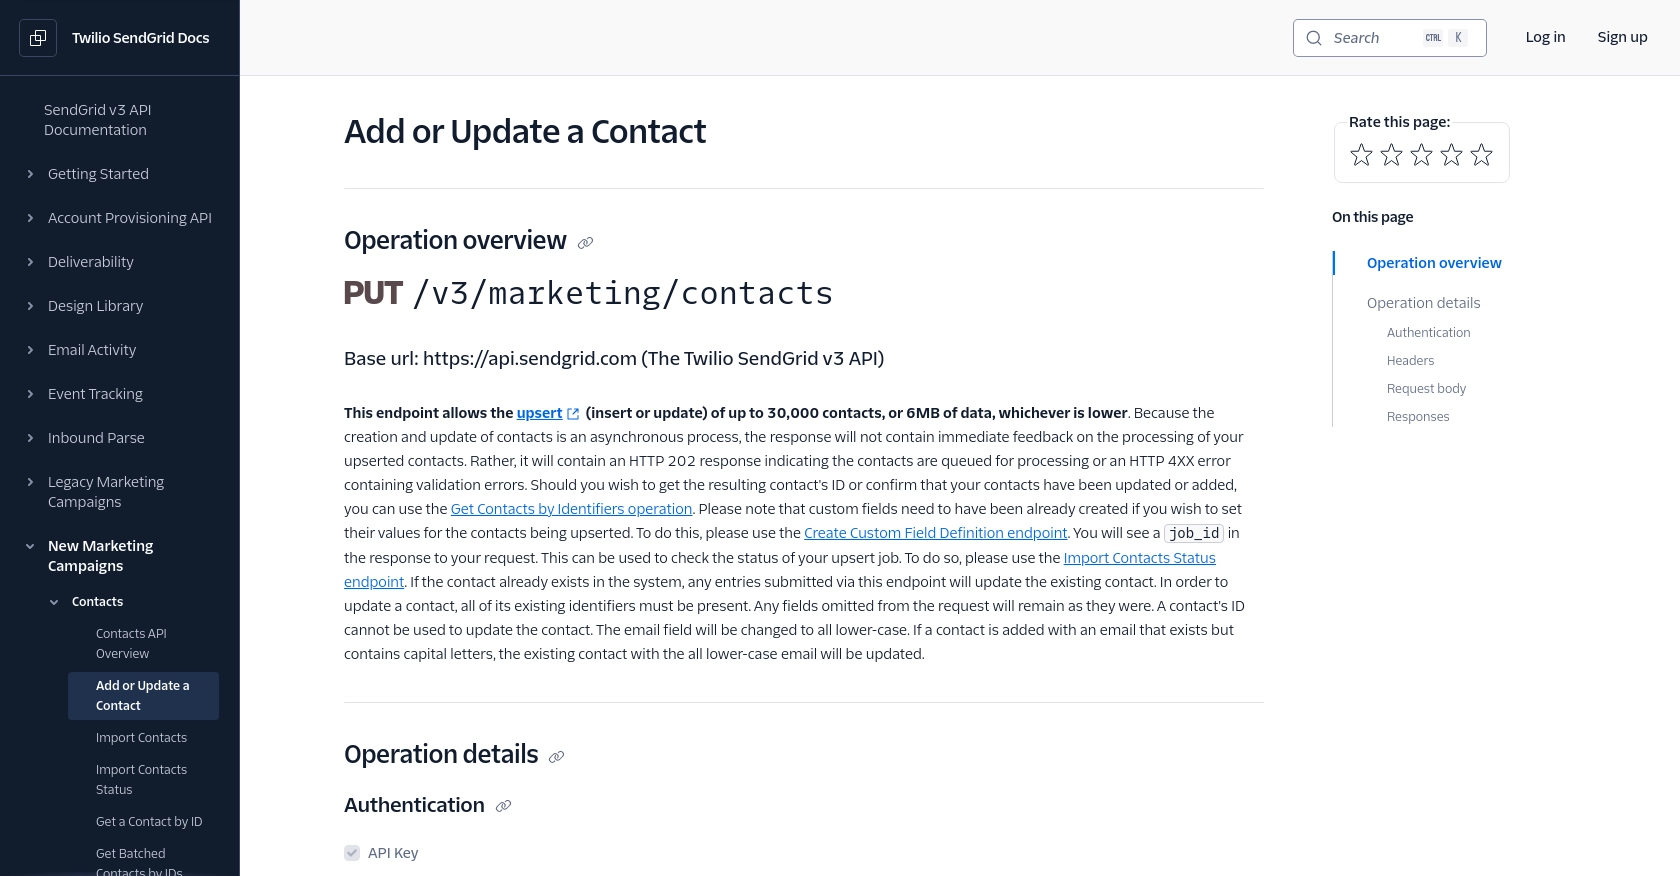
const request = {
url: '/v3/marketing/contacts',
method: 'PUT',
body: data
};
client.request(request)
.then(([response, body]) => {
console.log(response.statusCode);
console.log(response.body);
})
.catch(error => {
console.error(error);
});
Replace 'YOUR_SENDGRID_API_KEY' with the API key you generated earlier. This code sets up the SendGrid client, prepares the contact data, and sends a PUT request to the SendGrid API to create or update the contact.
Understanding the SendGrid API Response and Handling Errors
After making the API call, it's crucial to handle the response correctly. A successful request will return a status code of 202, indicating that the contacts are queued for processing. If there are errors, such as validation issues, the response will include error messages.
- Check the response status code to determine if the request was successful.
- Log any error messages to understand what went wrong and how to fix it.
For more detailed error handling, refer to the SendGrid API Documentation.
Verifying Contact Creation or Update in SendGrid
To confirm that your contacts have been successfully created or updated, you can use the "Get Contacts by Identifiers" operation. This will allow you to verify the changes in your SendGrid account.
By following these steps, you can efficiently manage your contact lists using the SendGrid API, ensuring your email communications are always up-to-date.
Best Practices for Managing Contacts with SendGrid API
When working with the SendGrid API to manage contacts, it's essential to follow best practices to ensure efficient and secure operations. Here are some key recommendations:
- Securely Store API Keys: Always store your API keys securely and avoid hardcoding them in your source code. Use environment variables or secure vaults to manage sensitive information.
- Handle Rate Limits: Be mindful of SendGrid's rate limits to prevent disruptions. Monitor the "X-RateLimit-Limit" and "X-RateLimit-Remaining" headers in API responses to manage your request flow effectively. For more details, refer to the SendGrid Rate Limits Documentation.
- Validate Data Before Sending: Ensure that the contact data you send to the API is valid and complete. This includes checking email formats and required fields to minimize errors.
- Implement Error Handling: Use robust error handling to catch and log API errors. This will help you troubleshoot issues quickly and maintain a smooth integration.
- Regularly Update Contact Information: Keep your contact lists up-to-date by regularly syncing data between your application and SendGrid. This ensures your email campaigns reach the right audience.
Enhance Your Integration Experience with Endgrate
Managing multiple integrations can be complex and time-consuming. Endgrate simplifies this process by providing a unified API endpoint that connects to various platforms, including SendGrid. By using Endgrate, you can:
- Save Time and Resources: Focus on your core product development while Endgrate handles the integration complexities.
- Build Once, Use Everywhere: Develop a single integration for each use case and apply it across different platforms effortlessly.
- Improve Customer Experience: Offer your users a seamless and intuitive integration experience, enhancing satisfaction and engagement.
Explore how Endgrate can streamline your integration processes by visiting Endgrate's website and discover the benefits of a unified integration solution.
Read More
- https://endgrate.com/provider/sendgrid
- https://www.twilio.com/docs/sendgrid/api-reference/how-to-use-the-sendgrid-v3-api/authentication
- https://www.twilio.com/docs/sendgrid/api-reference/how-to-use-the-sendgrid-v3-api/authorization
- https://www.twilio.com/docs/sendgrid/api-reference/how-to-use-the-sendgrid-v3-api/rate-limits
- https://www.twilio.com/docs/sendgrid/api-reference/contacts/add-or-update-a-contact


Ready to get started?
