How to Create or Update Credit notes with the Chargebee API in PHP
Introduction to Chargebee API for Credit Notes
Chargebee is a robust subscription management platform that simplifies billing and revenue operations for businesses. It offers a comprehensive suite of tools to manage subscriptions, invoicing, and payments, making it a popular choice for SaaS companies and other subscription-based businesses.
Integrating with Chargebee's API allows developers to automate and streamline various billing processes, such as creating or updating credit notes. Credit notes are essential for managing refunds and adjustments, helping businesses maintain accurate financial records. For example, a developer might use the Chargebee API to automatically generate a credit note when a customer returns a product, ensuring that the refund process is seamless and efficient.
Setting Up Your Chargebee Test/Sandbox Account for API Integration
Before you can start creating or updating credit notes using the Chargebee API, you need to set up a test or sandbox account. This environment allows you to safely test your API integrations without affecting your live data.
Step-by-Step Guide to Creating a Chargebee Test Account
-
Sign Up for a Chargebee Account:
Visit the Chargebee signup page and create a new account. You can choose the free trial option to explore Chargebee's features.
-
Access the Sandbox Environment:
Once your account is set up, navigate to the Chargebee dashboard. Here, you can switch to the sandbox environment, which is specifically designed for testing purposes.
-
Generate API Keys:
To interact with the Chargebee API, you'll need API keys. Go to the 'API Keys' section in the Chargebee dashboard and generate a new key for your test site. Remember, the API keys for the test site are different from those for the live site.
Setting Up OAuth Authentication for Chargebee API
Chargebee uses HTTP Basic authentication for API calls. The username is your API key, and the password is left empty. Follow these steps to configure authentication:
-
Create an App:
In the Chargebee dashboard, navigate to the 'Apps' section and create a new app. This app will be used to manage your API interactions.
-
Configure Permissions:
Ensure that your app has the necessary permissions to create and update credit notes. You can set these permissions in the app settings.
-
Save Your Client ID and Secret:
Once your app is created, Chargebee will provide you with a client ID and client secret. Store these securely, as they are required for API authentication.
Testing Your Chargebee API Integration
With your sandbox account and API keys ready, you can now test your API integration. Use the sandbox environment to simulate various scenarios, such as creating or updating credit notes, to ensure your integration works as expected.
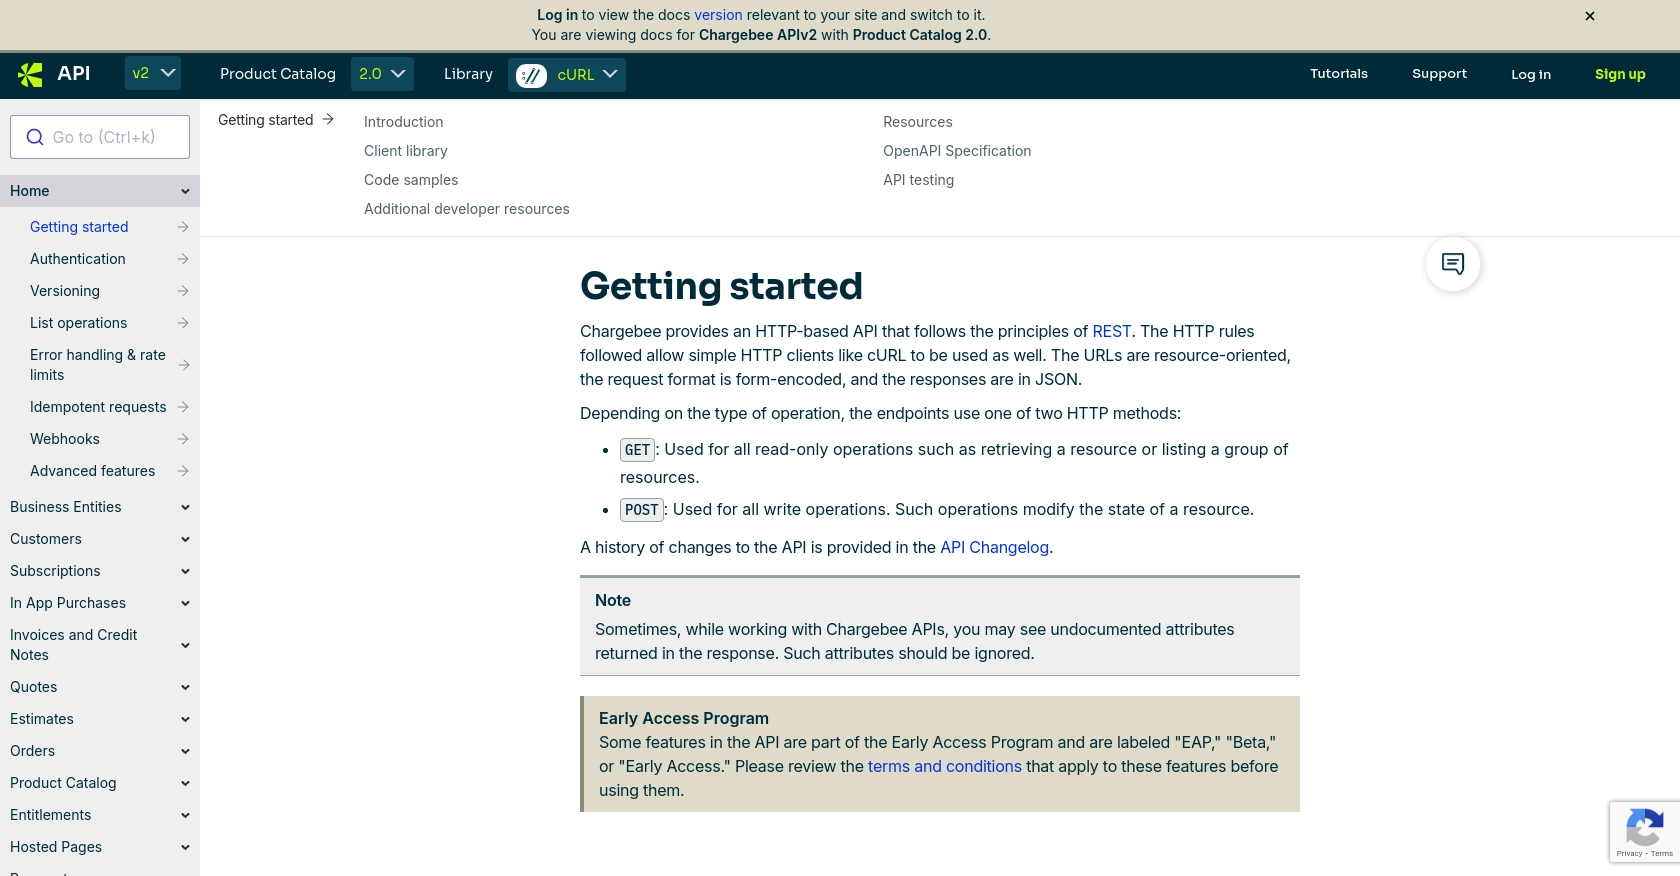
For more detailed information on setting up and using Chargebee's API, refer to the Chargebee API documentation.
sbb-itb-96038d7
How to Make API Calls to Create or Update Credit Notes with Chargebee API in PHP
To interact with the Chargebee API for creating or updating credit notes, you'll need to set up your PHP environment and write the necessary code to make API requests. This section will guide you through the process, ensuring you have the right PHP version and dependencies, and provide example code for making API calls.
Setting Up Your PHP Environment for Chargebee API Integration
Before making API calls, ensure your PHP environment is correctly configured. Follow these steps:
- PHP Version: Ensure you have PHP 7.4 or higher installed on your machine.
- Install Dependencies: Use Composer to install the required dependencies. Run the following command to install the Guzzle HTTP client:
composer require guzzlehttp/guzzleExample Code for Creating a Credit Note with Chargebee API
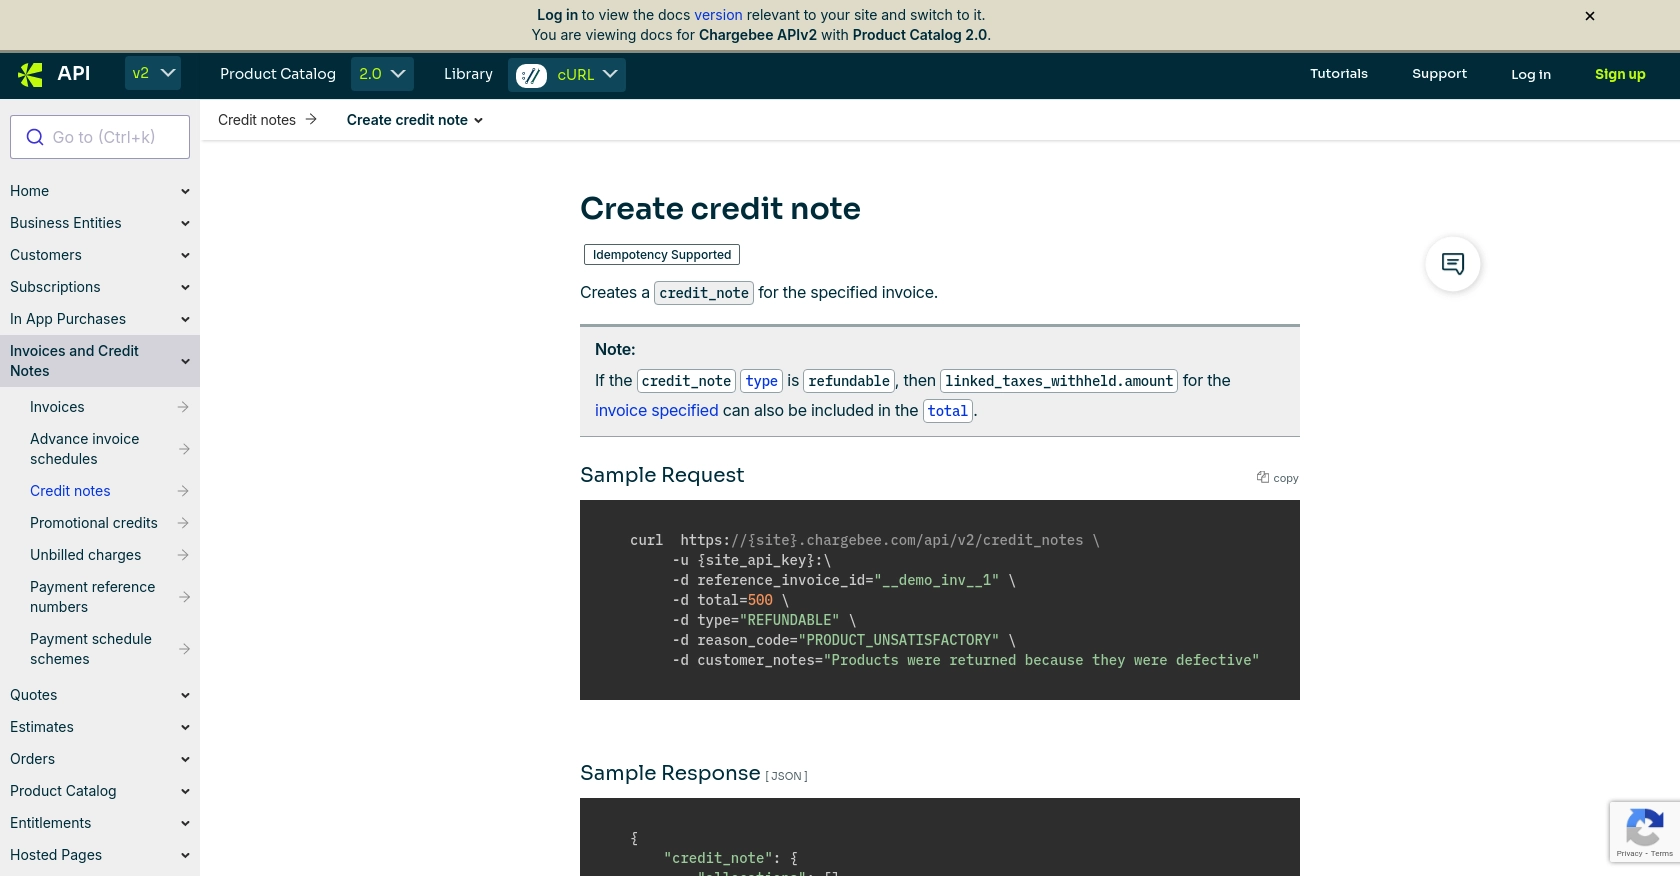
Below is a sample PHP script to create a credit note using the Chargebee API. This example demonstrates how to make a POST request to the Chargebee API endpoint.
require 'vendor/autoload.php';

use GuzzleHttp\Client;

$client = new Client();
$apiKey = 'your_api_key';
$site = 'your_site';

$response = $client->post("https://{$site}.chargebee.com/api/v2/credit_notes", [
    'auth' => [$apiKey, ''],
    'form_params' => [
        'reference_invoice_id' => '__demo_inv__1',
        'total' => 500,
        'type' => 'REFUNDABLE',
        'reason_code' => 'PRODUCT_UNSATISFACTORY',
        'customer_notes' => 'Products were returned because they were defective'
    ]
]);

$data = json_decode($response->getBody(), true);
print_r($data);
Replace your_api_key and your_site with your actual Chargebee API key and site name. This script uses Guzzle to send a POST request to create a credit note. The response is parsed and printed to the console.
Verifying API Call Success and Handling Errors
After running the script, check the response to verify the success of the API call. The response should contain the details of the created credit note. If the request fails, handle errors by checking the HTTP status code and error message.
For example, a 404 error indicates a resource not found, while a 400 error suggests a bad request. Refer to the Chargebee error handling documentation for more details on error codes and their meanings.
Testing and Debugging Your Chargebee API Integration
Use the Chargebee sandbox environment to test your API integration. Verify that the credit notes are created or updated as expected in the sandbox dashboard. Debug any issues by reviewing the API request and response logs.
For more information on making API calls with Chargebee, refer to the Chargebee API documentation.
Conclusion and Best Practices for Using Chargebee API in PHP
Integrating with the Chargebee API to create or update credit notes in PHP can significantly streamline your billing processes. By automating these tasks, you ensure accuracy and efficiency in handling refunds and adjustments, which are crucial for maintaining precise financial records.
Best Practices for Secure and Efficient Chargebee API Integration
- Secure API Keys: Store your API keys securely and avoid hardcoding them in your application. Use environment variables or secure vaults to manage sensitive information.
- Handle Rate Limits: Chargebee imposes rate limits on API requests. Ensure your application handles HTTP 429 errors gracefully by implementing retry logic with exponential backoff. For more details, refer to the Chargebee rate limiting documentation.
- Data Standardization: Ensure consistent data formats when creating or updating credit notes. This includes standardizing currency codes, date formats, and reason codes.
- Error Handling: Implement robust error handling by checking HTTP status codes and parsing error messages. This will help you diagnose issues quickly and improve the reliability of your integration.
Enhance Your Integration Experience with Endgrate
While integrating with Chargebee's API offers numerous benefits, managing multiple integrations can be complex and time-consuming. Endgrate simplifies this process by providing a unified API endpoint that connects to various platforms, including Chargebee. This allows you to focus on your core product while outsourcing integration tasks.
With Endgrate, you can build once for each use case and leverage an intuitive integration experience for your customers. Visit Endgrate to learn more about how you can streamline your integration processes and enhance your product offerings.
Read More

Ready to get started?
