Using the Outreach API to Create Opportunities in PHP
Introduction to Outreach API for Creating Opportunities
Outreach is a powerful sales engagement platform that helps businesses streamline their sales processes and improve customer interactions. It offers a comprehensive suite of tools designed to enhance productivity, manage customer relationships, and drive revenue growth.
Integrating with the Outreach API allows developers to automate and manage sales opportunities efficiently. By leveraging the API, developers can create new opportunities directly from their applications, enabling seamless integration with existing sales workflows. For example, a developer might use the Outreach API to automatically generate opportunities based on leads captured from a marketing campaign, ensuring that sales teams can act promptly on potential deals.
Setting Up Your Outreach Test/Sandbox Account
Before you can start creating opportunities using the Outreach API, you need to set up a test or sandbox account. This will allow you to safely experiment with API calls without affecting your production data.
Creating an Outreach Developer Account
If you don't already have an Outreach account, you can sign up for a free developer account on the Outreach website. This account will give you access to the necessary tools and resources to begin integrating with the Outreach API.
- Visit the Outreach Developer Portal.
- Follow the instructions to create a new account.
- Once your account is set up, log in to access the developer dashboard.
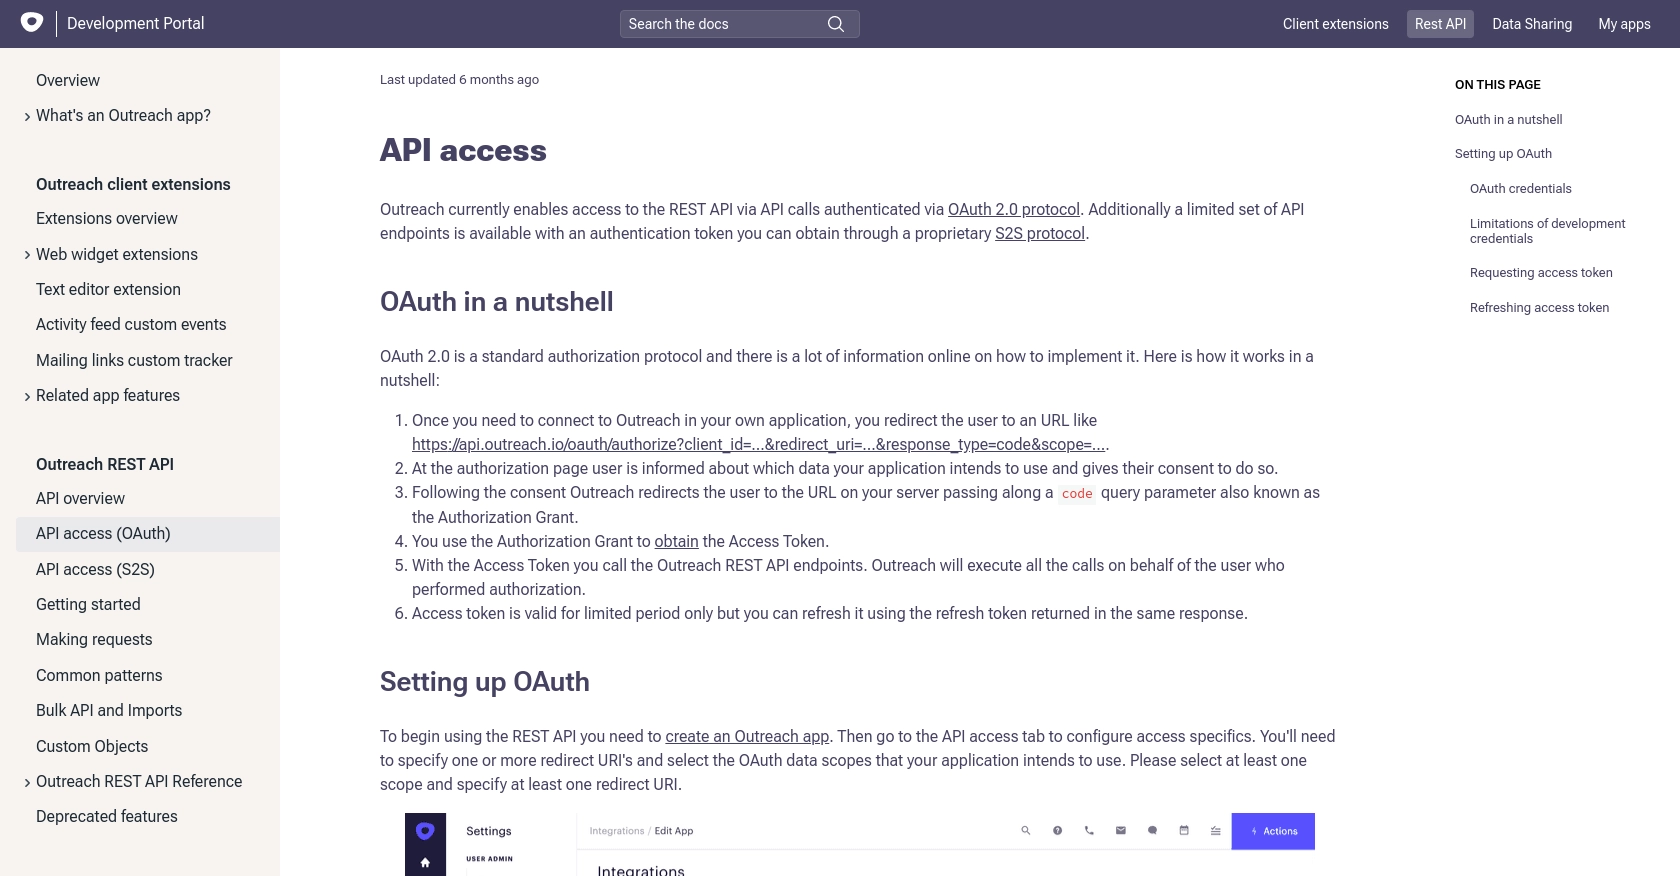
Creating an Outreach App for OAuth Authentication
To interact with the Outreach API, you'll need to create an app within your developer account. This app will provide you with the OAuth credentials required for authentication.
- Navigate to the "My Apps" section in your developer dashboard.
- Click on "Create New App" and fill in the required details such as app name and description.
- Under the "API Access" tab, configure your app's OAuth settings:
- Specify one or more redirect URIs.
- Select the necessary OAuth scopes for your application.
- Save your app to generate the client ID and client secret.
Note: Keep your client secret secure, as it will only be displayed once. If needed, you can regenerate it later.
Obtaining OAuth Tokens
With your app set up, you can now obtain OAuth tokens to authenticate API requests. Follow these steps:
- Redirect users to the following URL to obtain an authorization code:
- After user authorization, capture the authorization code from the redirect URI.
- Exchange the authorization code for an access token using a POST request:
https://api.outreach.io/oauth/authorize?client_id=YOUR_CLIENT_ID&redirect_uri=YOUR_REDIRECT_URI&response_type=code&scope=YOUR_SCOPEScurl https://api.outreach.io/oauth/token \
-X POST \
-d client_id=YOUR_CLIENT_ID \
-d client_secret=YOUR_CLIENT_SECRET \
-d redirect_uri=YOUR_REDIRECT_URI \
-d grant_type=authorization_code \
-d code=AUTHORIZATION_CODEStore the access token securely, as it will be used to authenticate your API requests. Remember that access tokens are short-lived, so you'll need to refresh them periodically using the refresh token provided in the response.
For more details on OAuth setup, refer to the Outreach OAuth Documentation.
sbb-itb-96038d7
Making API Calls to Create Opportunities in Outreach Using PHP
To create opportunities in Outreach using PHP, you'll need to make authenticated API calls. This section will guide you through setting up your PHP environment and executing the necessary API requests.
Setting Up Your PHP Environment for Outreach API Integration
Before making API calls, ensure you have the following prerequisites installed on your machine:
- PHP 7.4 or higher
- cURL extension for PHP
To install the cURL extension, you can use the following command:
sudo apt-get install php-curlCreating Opportunities with Outreach API in PHP
Once your environment is set up, you can proceed to create opportunities using the Outreach API. Follow these steps:
- Create a new PHP file named
create_opportunity.phpand add the following code: - Replace
YOUR_ACCESS_TOKENwith the access token obtained during the OAuth authentication process. - Run the script from the command line using the following command:
<?php
// Set the API endpoint
$url = "https://api.outreach.io/api/v2/opportunities";

// Set the request headers
$headers = [
    "Authorization: Bearer YOUR_ACCESS_TOKEN",
    "Content-Type: application/vnd.api+json"
];

// Define the opportunity data
$data = [
    "data" => [
        "type" => "opportunity",
        "attributes" => [
            "name" => "New Opportunity",
            "amount" => 10000,
            "closeDate" => "2023-12-31",
            "probability" => 75
        ]
    ]
];

// Initialize cURL session
$ch = curl_init($url);

// Set cURL options
curl_setopt($ch, CURLOPT_HTTPHEADER, $headers);
curl_setopt($ch, CURLOPT_POST, true);
curl_setopt($ch, CURLOPT_POSTFIELDS, json_encode($data));
curl_setopt($ch, CURLOPT_RETURNTRANSFER, true);

// Execute the request
$response = curl_exec($ch);

// Check for errors
if (curl_errno($ch)) {
    echo 'Error:' . curl_error($ch);
} else {
    echo 'Response:' . $response;
}

// Close cURL session
curl_close($ch);
?>
php create_opportunity.phpVerifying the API Call and Handling Errors
After executing the script, you should see a response indicating the success or failure of the API call. A successful response will include details of the newly created opportunity.
If the API call fails, check the error message returned by the cURL session. Common errors include invalid tokens or incorrect data formats. Refer to the Outreach API documentation for detailed error codes and troubleshooting tips.
By following these steps, you can efficiently create opportunities in Outreach using PHP, streamlining your sales processes and enhancing productivity.
Best Practices for Using Outreach API in PHP
When integrating with the Outreach API to create opportunities in PHP, it's essential to follow best practices to ensure security, efficiency, and maintainability of your application.
Securely Storing OAuth Credentials
- Store OAuth credentials, such as client ID, client secret, and access tokens, securely. Avoid hardcoding them in your source code.
- Use environment variables or secure vaults to manage sensitive information.
Handling Outreach API Rate Limits
The Outreach API enforces a rate limit of 10,000 requests per hour. To manage this effectively:
- Implement logic to track the number of API requests made and ensure you do not exceed the limit.
- Use the
X-RateLimit-Remainingheader to monitor remaining requests and adjust your application's behavior accordingly. - Handle
429 Too Many Requestserrors by implementing exponential backoff or retry mechanisms.
Transforming and Standardizing Data Fields
- Ensure that data fields sent to the API are correctly formatted and validated to prevent errors.
- Standardize data formats, such as dates and currency, to match the API's requirements.
Streamlining Integrations with Endgrate
Building and maintaining multiple integrations can be time-consuming and complex. Endgrate simplifies this process by providing a unified API endpoint that connects to various platforms, including Outreach.
With Endgrate, you can:
- Save time and resources by outsourcing integrations and focusing on your core product development.
- Build once for each use case instead of multiple times for different integrations.
- Offer an intuitive integration experience for your customers, enhancing their satisfaction and engagement.
Explore how Endgrate can transform your integration strategy by visiting Endgrate today.
Read More

Ready to get started?
