How to Create or Update Customers with the Sage 100 API in Javascript

Introduction to Sage 100 API Integration
Sage 100 is a comprehensive ERP solution designed to streamline business operations, including accounting, inventory management, and customer relationship management. It is widely used by small to medium-sized businesses to enhance efficiency and accuracy in their financial and operational processes.
Integrating with the Sage 100 API allows developers to automate and manage customer data effectively. For example, you can create or update customer records directly from your application, ensuring that your customer information is always up-to-date and synchronized across platforms. This capability is particularly useful for businesses looking to improve their customer relationship management and streamline their data handling processes.
Setting Up a Test Environment for Sage 100 API Integration
Before you can start creating or updating customers using the Sage 100 API in JavaScript, you need to set up a test environment. This involves configuring the Sage 100 ODBC driver and creating a Data Source Name (DSN) to connect to the Sage 100 ERP system. Follow the steps below to get started.
Step-by-Step Guide to Configure Sage 100 ODBC Driver
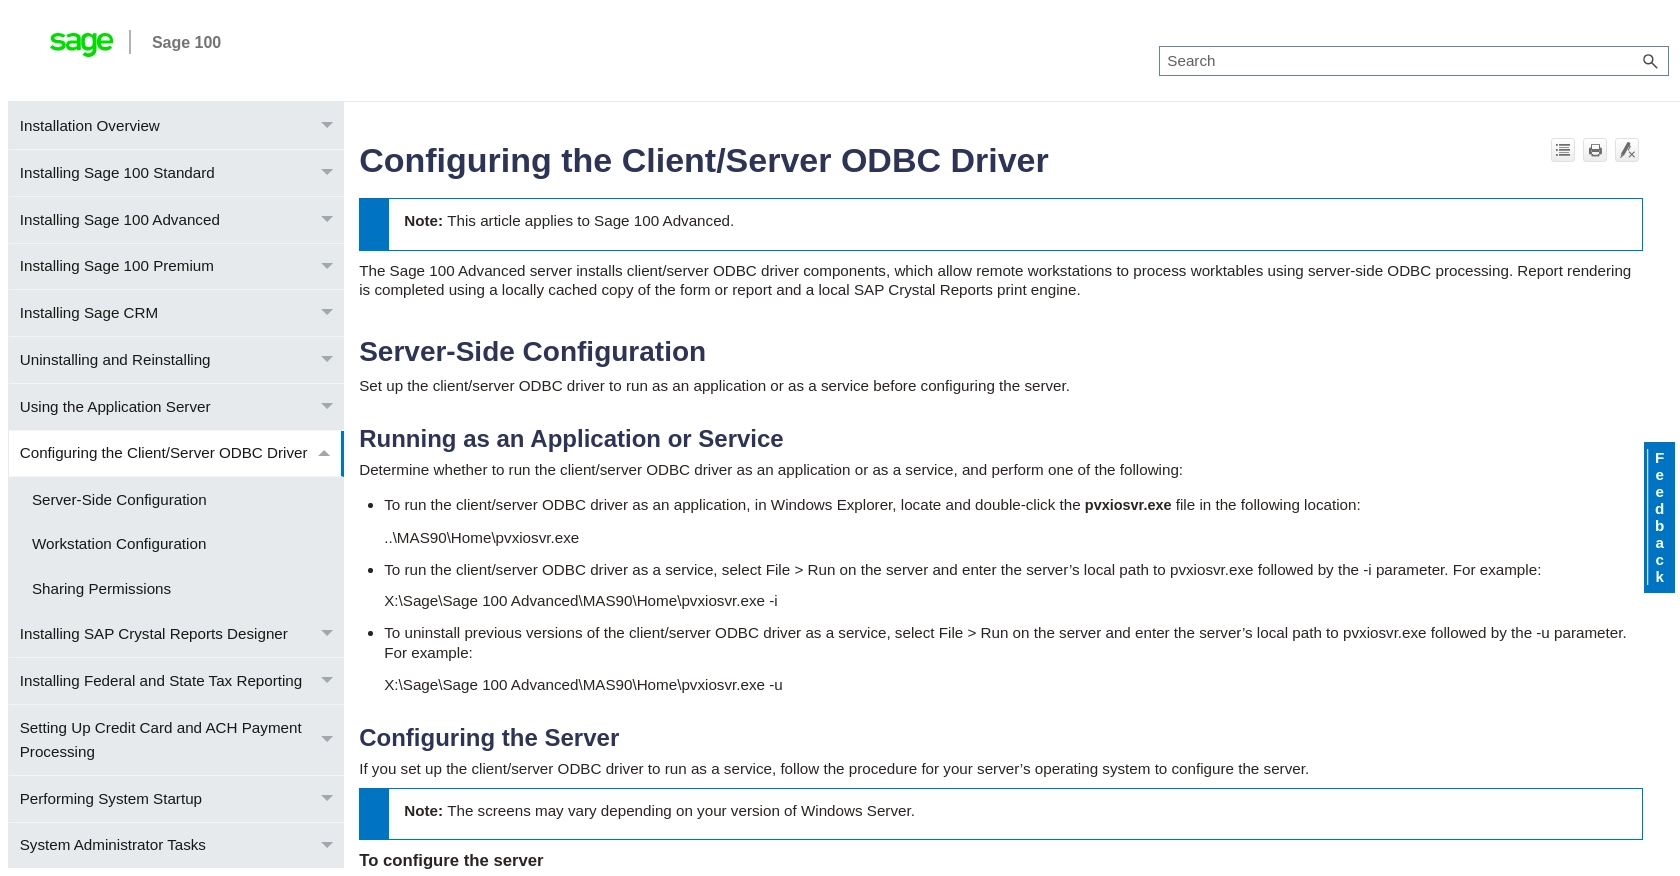
To interact with the Sage 100 API, ensure that the Sage 100 ODBC driver is installed and properly configured on your system. This setup is crucial for establishing a connection to the Sage 100 database.
- Access the ODBC Data Source Administrator on your system.
- Create a new DSN that connects to the Sage 100 ERP system using the correct server, database, and authentication settings.
- Ensure that the Sage 100 ODBC driver is running as either an application or a service. For detailed instructions, refer to the Sage 100 ODBC Driver Configuration Guide.
Creating a DSN for Sage 100
Once the ODBC driver is configured, create a DSN to facilitate communication with the Sage 100 database:
- Open the ODBC Data Source Administrator.
- Navigate to the User DSN tab and click on "Add" to create a new DSN.
- Select the Sage 100 ODBC driver from the list and click "Finish."
- Enter the necessary connection details, including server name, database name, and authentication credentials.
- Test the connection to ensure it is successful.
Setting Up Authentication for Sage 100 API
Authentication is a critical step in accessing the Sage 100 API. Ensure that you have the appropriate credentials and permissions set up:
- Use the Library Master System Configuration task in Sage 100 to enable the client/server ODBC driver.
- Enter the server name or IP address where the ODBC application or service is running.
- Configure the server port or use the default port, 20222.
- Enable the ODBC driver for all users or specific users as needed.
For more detailed instructions on configuring the server and workstation, refer to the Sage 100 ODBC Driver Configuration Guide.

sbb-itb-96038d7
Making API Calls to Create or Update Customers in Sage 100 Using JavaScript
Once your test environment is set up and authentication is configured, you can proceed to make API calls to create or update customer records in Sage 100 using JavaScript. This section will guide you through the necessary steps and provide example code to help you interact with the Sage 100 API effectively.
Prerequisites for JavaScript Integration with Sage 100 API
Before making API calls, ensure you have the following prerequisites:
- Node.js installed on your system.
- Access to the Sage 100 ODBC driver and a configured DSN.
- Authentication credentials for the Sage 100 API.
Installing Required Node.js Packages
To interact with the Sage 100 API, you need to install the odbc package, which allows you to connect to databases using ODBC drivers. Use the following command to install it:
npm install odbcExample Code to Create or Update Customers in Sage 100
Below is a sample JavaScript code snippet demonstrating how to create or update customer records in Sage 100:
const odbc = require('odbc');

async function createOrUpdateCustomer() {
    try {
        // Establish a connection to the Sage 100 database
        const connection = await odbc.connect('DSN=Your_DSN_Name;UID=Your_Username;PWD=Your_Password');

        // SQL query to create or update a customer
        const query = `
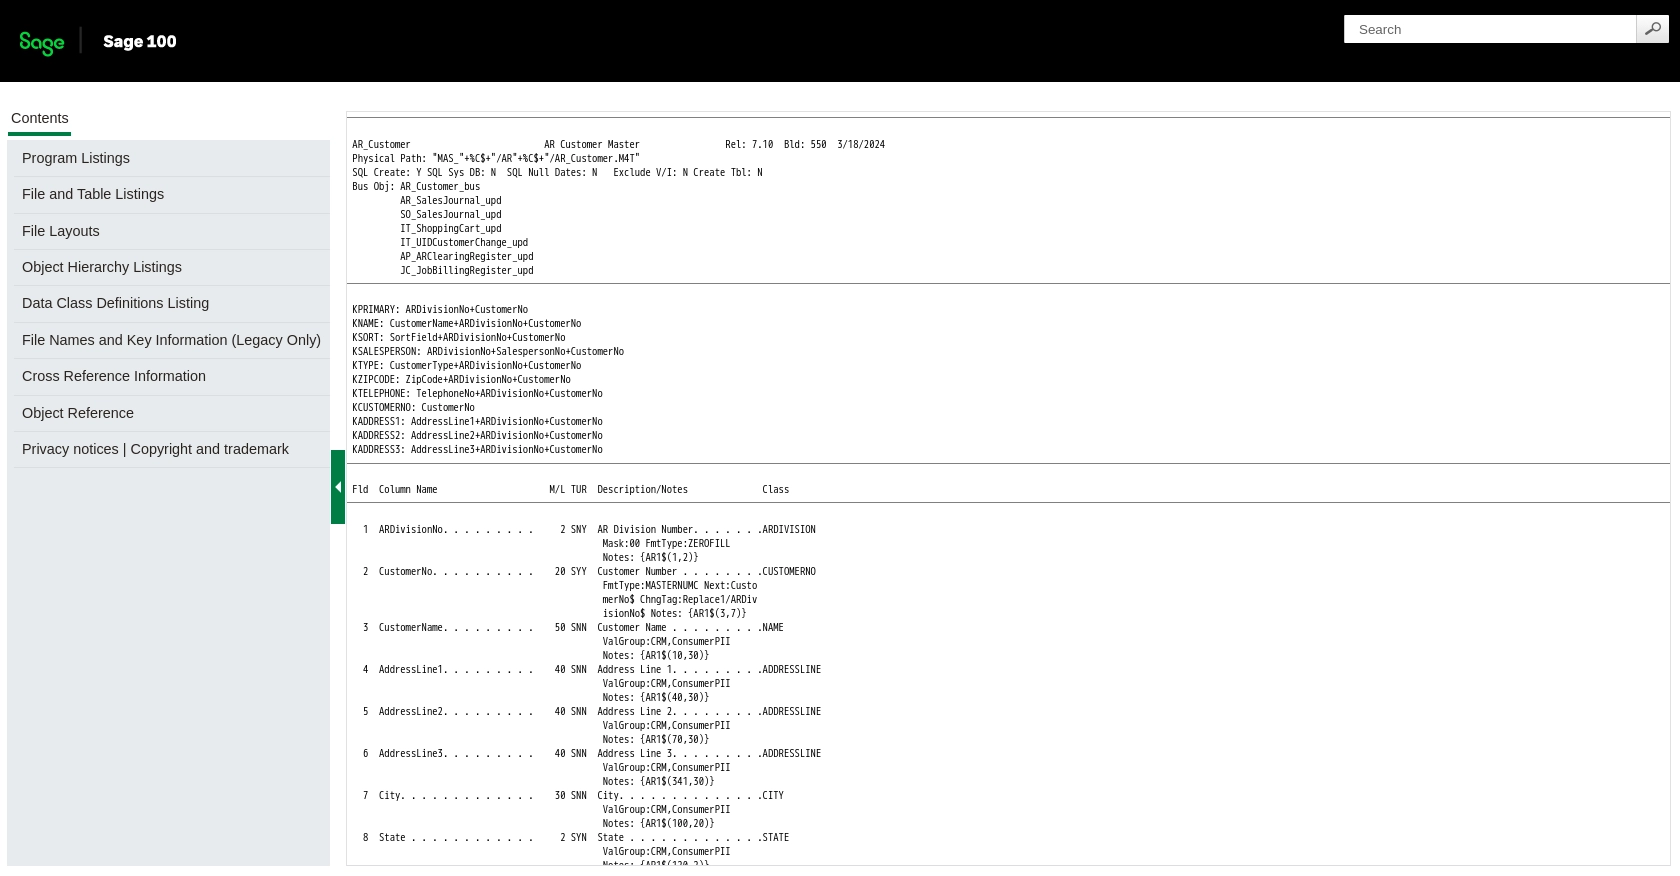
            INSERT INTO AR_Customer (CustomerNo, CustomerName, Address)
            VALUES ('CUST001', 'New Customer', '123 Main St')
            ON DUPLICATE KEY UPDATE
            CustomerName = VALUES(CustomerName),
            Address = VALUES(Address);
        `;

        // Execute the query
        const result = await connection.query(query);

        console.log('Customer record created or updated successfully:', result);

        // Close the connection
        await connection.close();
    } catch (error) {
        console.error('Error creating or updating customer:', error);
    }
}

createOrUpdateCustomer();
Replace Your_DSN_Name, Your_Username, and Your_Password with your actual DSN name and authentication credentials. The SQL query in the example uses an INSERT statement with an ON DUPLICATE KEY UPDATE clause to handle both creation and updating of customer records.
Verifying API Call Success in Sage 100
After executing the API call, verify the success of the operation by checking the customer records in your Sage 100 test environment. You should see the newly created or updated customer information reflected in the database.
Handling Errors and Exceptions
It's crucial to handle potential errors and exceptions during API calls. Use try-catch blocks to manage connection issues, query errors, and other exceptions. Log errors for troubleshooting and ensure that your application can gracefully handle failures.

Conclusion and Best Practices for Sage 100 API Integration
Integrating with the Sage 100 API using JavaScript provides a powerful way to automate and manage customer data efficiently. By following the steps outlined in this guide, you can create or update customer records seamlessly, ensuring your data remains consistent across platforms.
Best Practices for Secure and Efficient Sage 100 API Usage
- Secure Credential Storage: Always store your DSN, username, and password securely. Consider using environment variables or a secure vault to manage sensitive information.
- Handle Rate Limiting: Be mindful of any rate limits imposed by the Sage 100 API. Implement retry logic and exponential backoff strategies to handle rate limit errors gracefully.
- Data Standardization: Ensure that customer data is standardized before making API calls. This includes consistent formatting for fields like addresses and names.
- Error Handling: Implement robust error handling to manage exceptions and log errors for troubleshooting. This will help maintain the reliability of your integration.
Streamlining Integrations with Endgrate
While integrating with Sage 100 API can enhance your business operations, managing multiple integrations can be complex and time-consuming. Endgrate offers a unified API solution that simplifies the integration process, allowing you to focus on your core product development.
With Endgrate, you can build once for each use case and leverage a single API endpoint to connect with multiple platforms, including Sage 100. This not only saves time and resources but also provides an intuitive integration experience for your customers.
Explore how Endgrate can streamline your integration efforts by visiting Endgrate's website and discover the benefits of a unified API approach.
Read More
Ready to get started?
