Using the Quickbooks API to Create or Update Invoices (with Python examples)
Introduction to QuickBooks API for Invoice Management
QuickBooks is a widely-used accounting software that offers a comprehensive suite of tools for managing financial operations. It is particularly popular among small to medium-sized businesses for its ease of use and robust features, including invoicing, expense tracking, and financial reporting.
Integrating with the QuickBooks API allows developers to automate and streamline accounting processes, such as creating or updating invoices. For example, a developer could use the QuickBooks API to automatically generate invoices from an e-commerce platform, ensuring that financial records are always up-to-date and reducing manual data entry.
Setting Up Your QuickBooks Sandbox Account for API Integration
Before you can start creating or updating invoices using the QuickBooks API, you'll need to set up a sandbox account. This allows you to test your integration in a controlled environment without affecting live data.
Step 1: Sign Up for a QuickBooks Developer Account
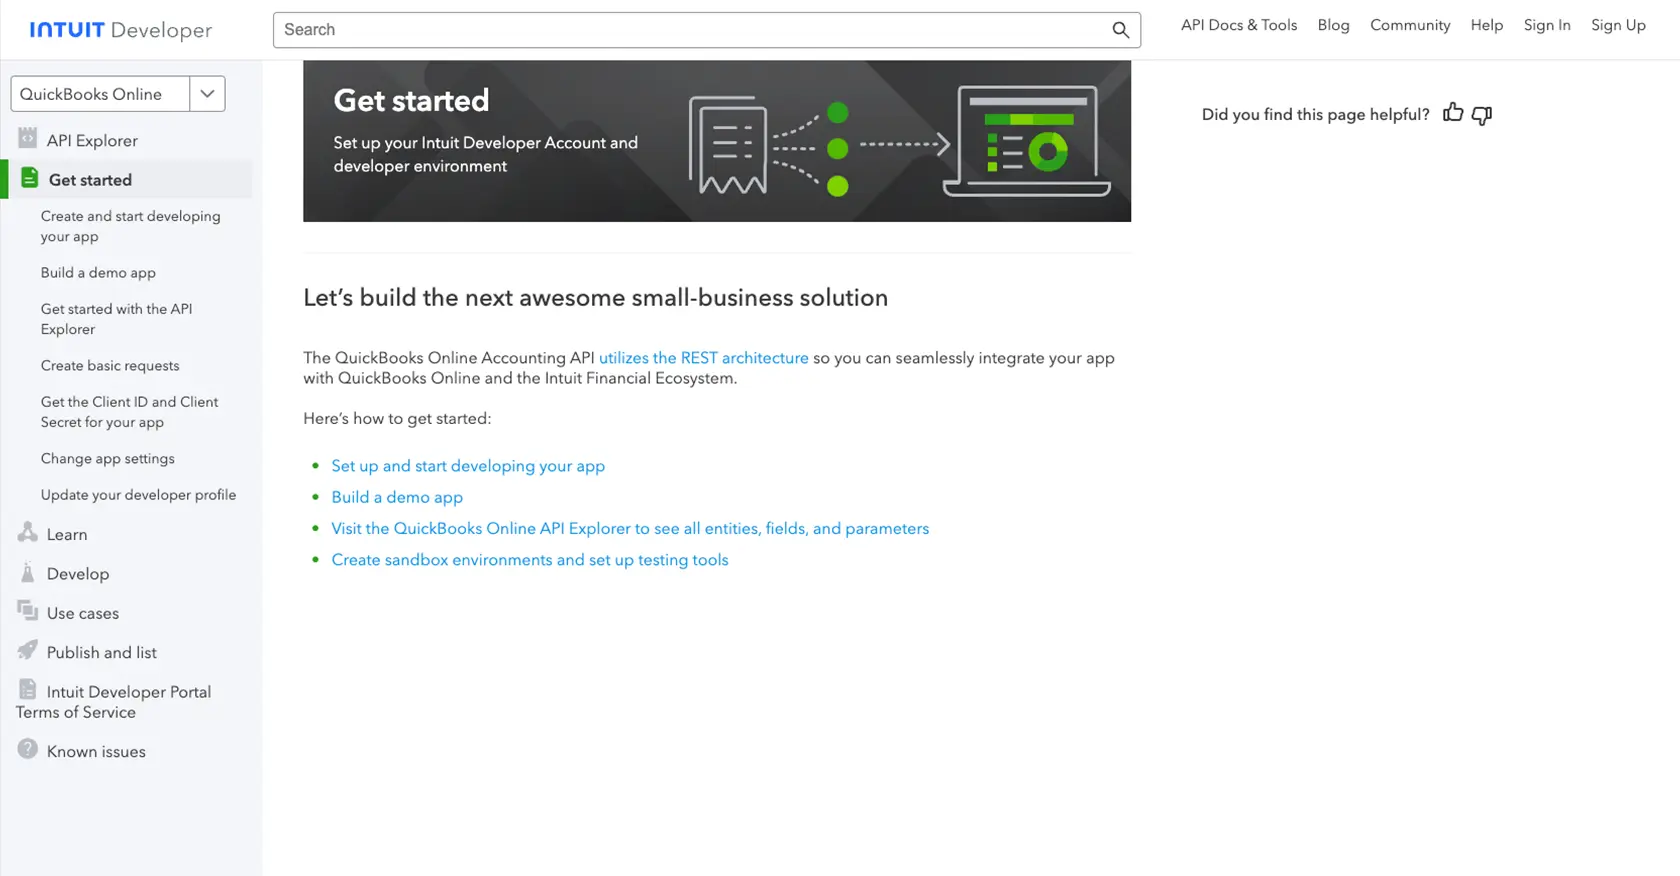
If you don't already have a QuickBooks Developer account, you'll need to create one. Visit the Intuit Developer Portal and sign up for a free account. This will give you access to the tools and resources needed to develop and test your application.
Step 2: Create a New App in the QuickBooks Developer Portal
Once you have your developer account, log in and navigate to the "My Apps" section. Click on "Create an App" to start setting up your application. You'll need to provide some basic information about your app, such as its name and the platform it will be used on.
Step 3: Obtain Your Client ID and Client Secret
After creating your app, you'll be provided with a Client ID and Client Secret. These credentials are essential for authenticating your application with the QuickBooks API. You can find these details under the "Keys & OAuth" section of your app settings. For more information, refer to the Intuit Developer Documentation.
Step 4: Configure OAuth Authentication
The QuickBooks API uses OAuth 2.0 for authentication. You'll need to set up OAuth to securely connect your application to QuickBooks. Follow the instructions in the App Settings Documentation to configure OAuth, including setting up redirect URIs and permissions.
Step 5: Access the QuickBooks Sandbox Environment
With your app configured, you can now access the QuickBooks sandbox environment. This is a testing space where you can experiment with API calls without impacting real data. Use the sandbox to test creating and updating invoices, ensuring your integration works as expected.
By following these steps, you'll be ready to start interacting with the QuickBooks API to manage invoices programmatically. In the next section, we'll dive into the specifics of making API calls using Python.
sbb-itb-96038d7
Making API Calls to QuickBooks for Invoice Management Using Python
To interact with the QuickBooks API for creating or updating invoices, you'll need to use Python, a versatile and widely-used programming language. This section will guide you through the process of setting up your environment, making API calls, and handling responses effectively.
Setting Up Your Python Environment for QuickBooks API Integration
Before you begin, ensure you have Python 3.11.1 installed on your machine, along with the necessary libraries. You can install the required dependencies using pip, the Python package installer.
pip install requestsThe requests library is essential for making HTTP requests to the QuickBooks API.
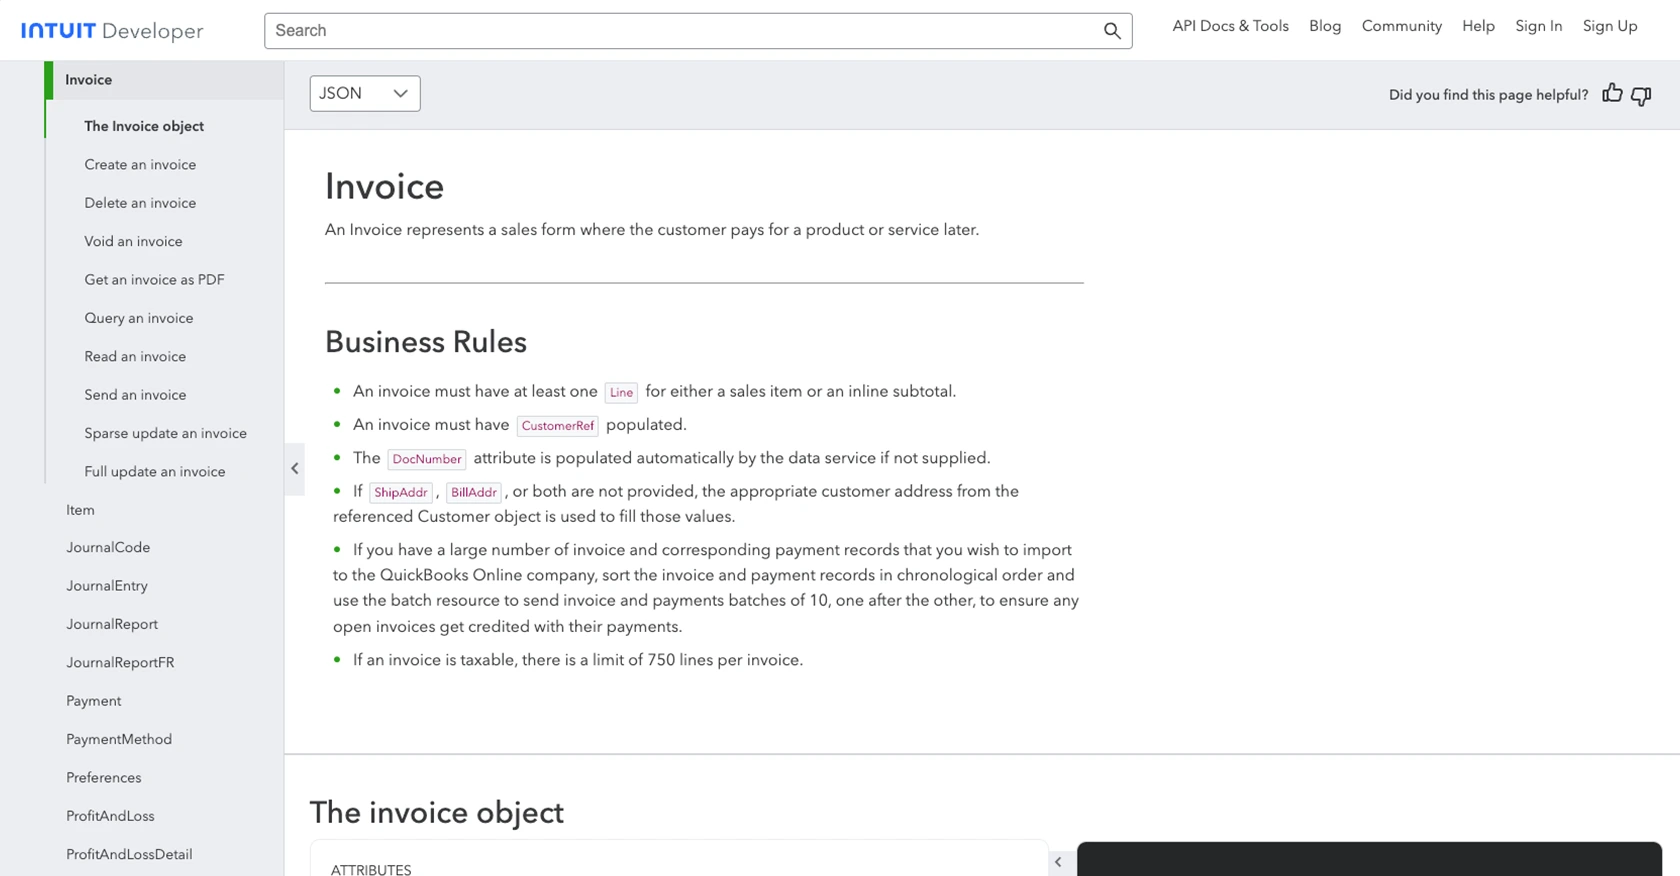
Creating or Updating Invoices with QuickBooks API Using Python
Now that your environment is set up, you can proceed to create or update invoices using the QuickBooks API. Below is a Python example demonstrating how to perform these actions.
import requests
import json

# Set the API endpoint for creating or updating invoices
url = "https://sandbox-quickbooks.api.intuit.com/v3/company/YOUR_COMPANY_ID/invoice"

# Set the request headers
headers = {
    "Content-Type": "application/json",
    "Authorization": "Bearer YOUR_ACCESS_TOKEN",
    "Accept": "application/json"
}

# Define the invoice data
invoice_data = {
    "Line": [
        {
            "Amount": 100.00,
            "DetailType": "SalesItemLineDetail",
            "SalesItemLineDetail": {
                "ItemRef": {
                    "value": "1",
                    "name": "Services"
                }
            }
        }
    ],
    "CustomerRef": {
        "value": "1"
    }
}

# Make a POST request to create an invoice
response = requests.post(url, headers=headers, data=json.dumps(invoice_data))

# Check if the request was successful
if response.status_code == 200:
    print("Invoice created or updated successfully.")
    print(response.json())
else:
    print("Failed to create or update invoice.")
    print(response.status_code, response.text)
Replace YOUR_COMPANY_ID and YOUR_ACCESS_TOKEN with your actual QuickBooks company ID and access token. The above code sends a POST request to the QuickBooks API to create or update an invoice. If successful, it prints the invoice details; otherwise, it prints the error message.
Verifying API Call Success and Handling Errors
After executing the code, verify the success of your API call by checking the response status code. A status code of 200 indicates success. You can also log in to your QuickBooks sandbox account to confirm that the invoice has been created or updated.
It's crucial to handle errors gracefully. Common error codes include 400 for bad requests and 401 for unauthorized access. Refer to the Intuit Developer Documentation for detailed error handling guidelines.
Conclusion and Best Practices for QuickBooks API Integration
Integrating with the QuickBooks API to create or update invoices can significantly streamline your accounting processes, reducing manual data entry and ensuring your financial records are always up-to-date. By following the steps outlined in this article, you can effectively leverage Python to interact with QuickBooks, automating invoice management tasks.
Best Practices for Secure and Efficient QuickBooks API Usage
- Securely Store Credentials: Always store your Client ID, Client Secret, and access tokens securely. Consider using environment variables or a secure vault to manage sensitive information.
- Handle Rate Limiting: QuickBooks API has rate limits that you must adhere to. Monitor your API usage and implement exponential backoff strategies to handle rate limit responses gracefully. Refer to the Intuit Developer Documentation for specific rate limit details.
- Standardize Data Fields: Ensure that the data you send to QuickBooks is standardized and validated to prevent errors. This includes checking data types and required fields before making API calls.
- Implement Error Handling: Implement robust error handling to manage common error codes such as 400 (Bad Request) and 401 (Unauthorized). Log errors for troubleshooting and provide meaningful feedback to users.
Streamline Your Integrations with Endgrate
While integrating with QuickBooks API directly is a powerful solution, managing multiple integrations can be complex and time-consuming. Endgrate offers a unified API endpoint that simplifies the integration process across various platforms, including QuickBooks. By using Endgrate, you can focus on your core product while outsourcing the intricacies of integration management.
Explore how Endgrate can enhance your integration strategy by providing a seamless and intuitive experience for your customers. Visit Endgrate to learn more and start optimizing your integration workflows today.
Read More
- https://endgrate.com/provider/quickbooks
- https://developer.intuit.com/app/developer/qbo/docs/get-started/start-developing-your-app
- https://developer.intuit.com/app/developer/qbo/docs/get-started/get-client-id-and-client-secret
- https://developer.intuit.com/app/developer/qbo/docs/get-started/app-settings
- https://developer.intuit.com/app/developer/qbo/docs/api/accounting/all-entities/invoice

Ready to get started?
