How to Create or Update Invoices with the Chargebee API in Javascript
Introduction to Chargebee API for Invoice Management
Chargebee is a robust subscription management and billing platform that empowers businesses to automate recurring billing, manage subscriptions, and streamline revenue operations. With its comprehensive API, Chargebee offers developers the flexibility to integrate billing functionalities into their applications seamlessly.
Integrating with Chargebee's API allows developers to efficiently manage invoices, a critical component for any subscription-based business. By automating invoice creation and updates, businesses can ensure accurate billing, reduce manual errors, and enhance customer satisfaction.
For example, a developer might use the Chargebee API to automatically generate invoices for new subscriptions or update existing invoices with additional charges or discounts. This automation not only saves time but also ensures that billing processes are consistent and reliable.
Setting Up Your Chargebee Test/Sandbox Account for Invoice Management
Before you can start integrating with the Chargebee API to manage invoices, it's essential to set up a test or sandbox account. This environment allows you to experiment with API calls without affecting live data, ensuring that your integration is smooth and error-free.
Step-by-Step Guide to Creating a Chargebee Test Account
-
Sign Up for Chargebee:
Visit the Chargebee signup page and register for a new account. Choose the option for a test account to access sandbox features.
-
Access the Chargebee Dashboard:
Once registered, log in to your Chargebee account. You will be directed to the dashboard, where you can manage your test site settings and configurations.
-
Generate API Keys:
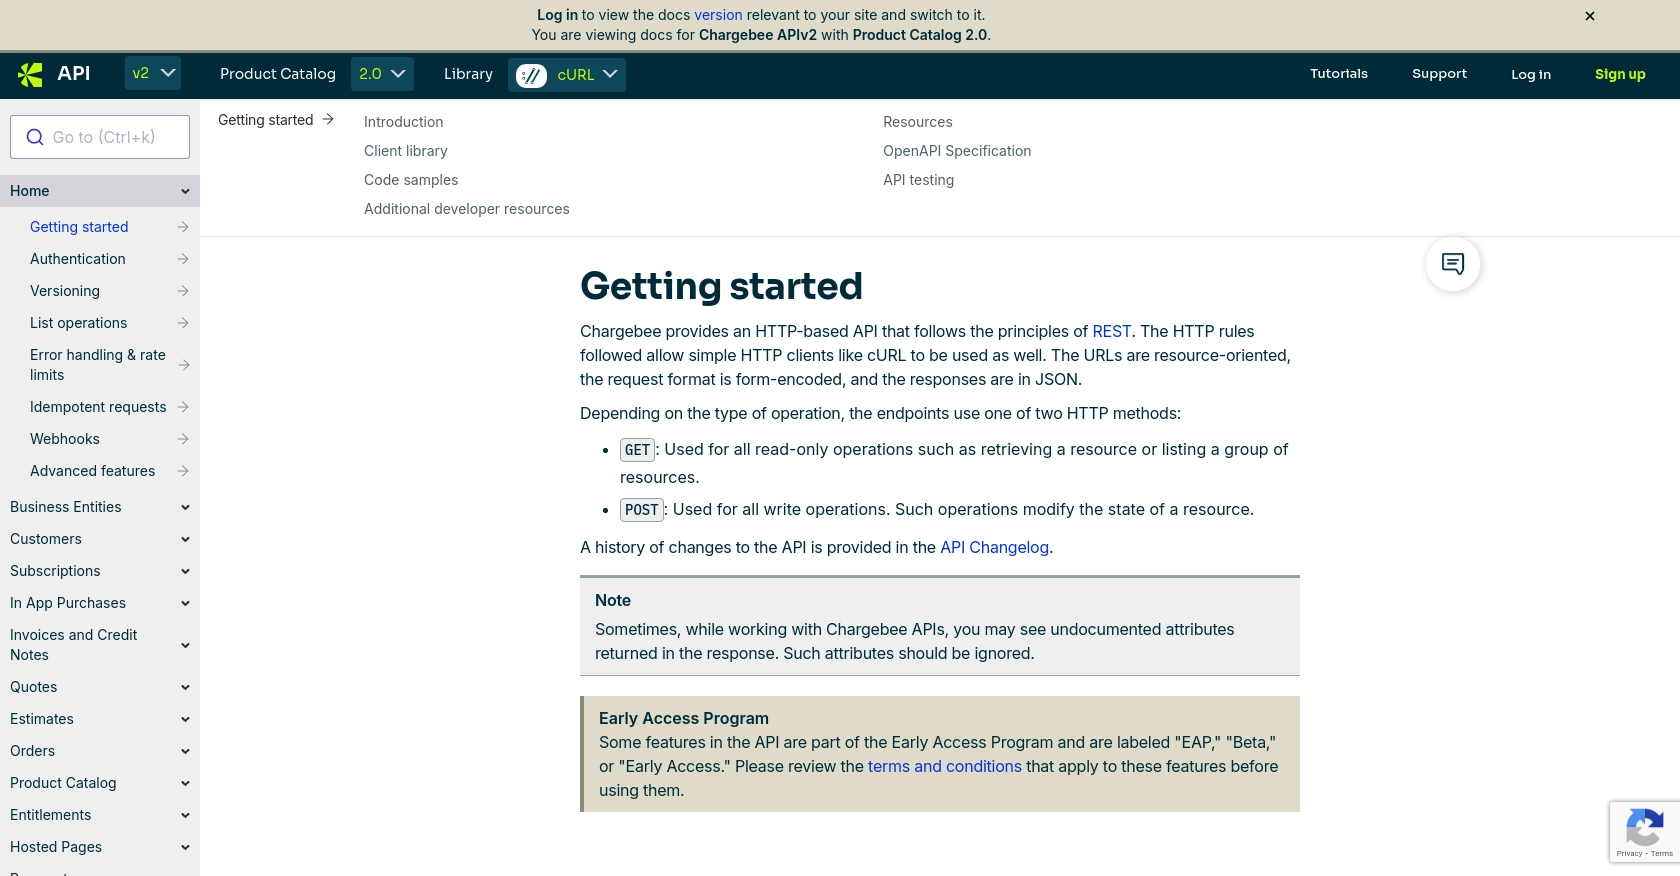
Navigate to the "API Keys" section under "Settings" in the dashboard. Generate a new API key specifically for your test environment. Remember, the API keys for test and live environments are different.
Configuring OAuth for Chargebee API Access
Chargebee uses HTTP Basic authentication for API calls. Follow these steps to configure OAuth for secure access:
-
Create a New API Key:
In the Chargebee dashboard, go to "API Keys" and click on "Create API Key." Provide a name for your key to easily identify it later.
-
Set Permissions:
Ensure that the API key has the necessary permissions to create and update invoices. You can customize the scope of access based on your integration needs.
-
Secure Your API Key:
Store your API key securely. Avoid hardcoding it in your application code. Instead, use environment variables or a secure vault to manage sensitive information.
With your Chargebee test account and API key set up, you're ready to start integrating invoice management functionalities into your application. This setup ensures that you can test and refine your integration without impacting your live data.
sbb-itb-96038d7
Making API Calls to Create or Update Invoices with Chargebee in JavaScript
Setting Up Your JavaScript Environment for Chargebee API Integration
To interact with the Chargebee API using JavaScript, ensure your development environment is ready. You'll need Node.js installed, along with the axios library for making HTTP requests.
-
Install Node.js:
Download and install Node.js from the official website. This will also install npm, which is necessary for managing packages.
-
Initialize Your Project:
Create a new directory for your project and run
npm init -yto generate apackage.jsonfile. -
Install Axios:
Run
npm install axiosto add the Axios library to your project. Axios simplifies HTTP requests and is ideal for interacting with APIs.
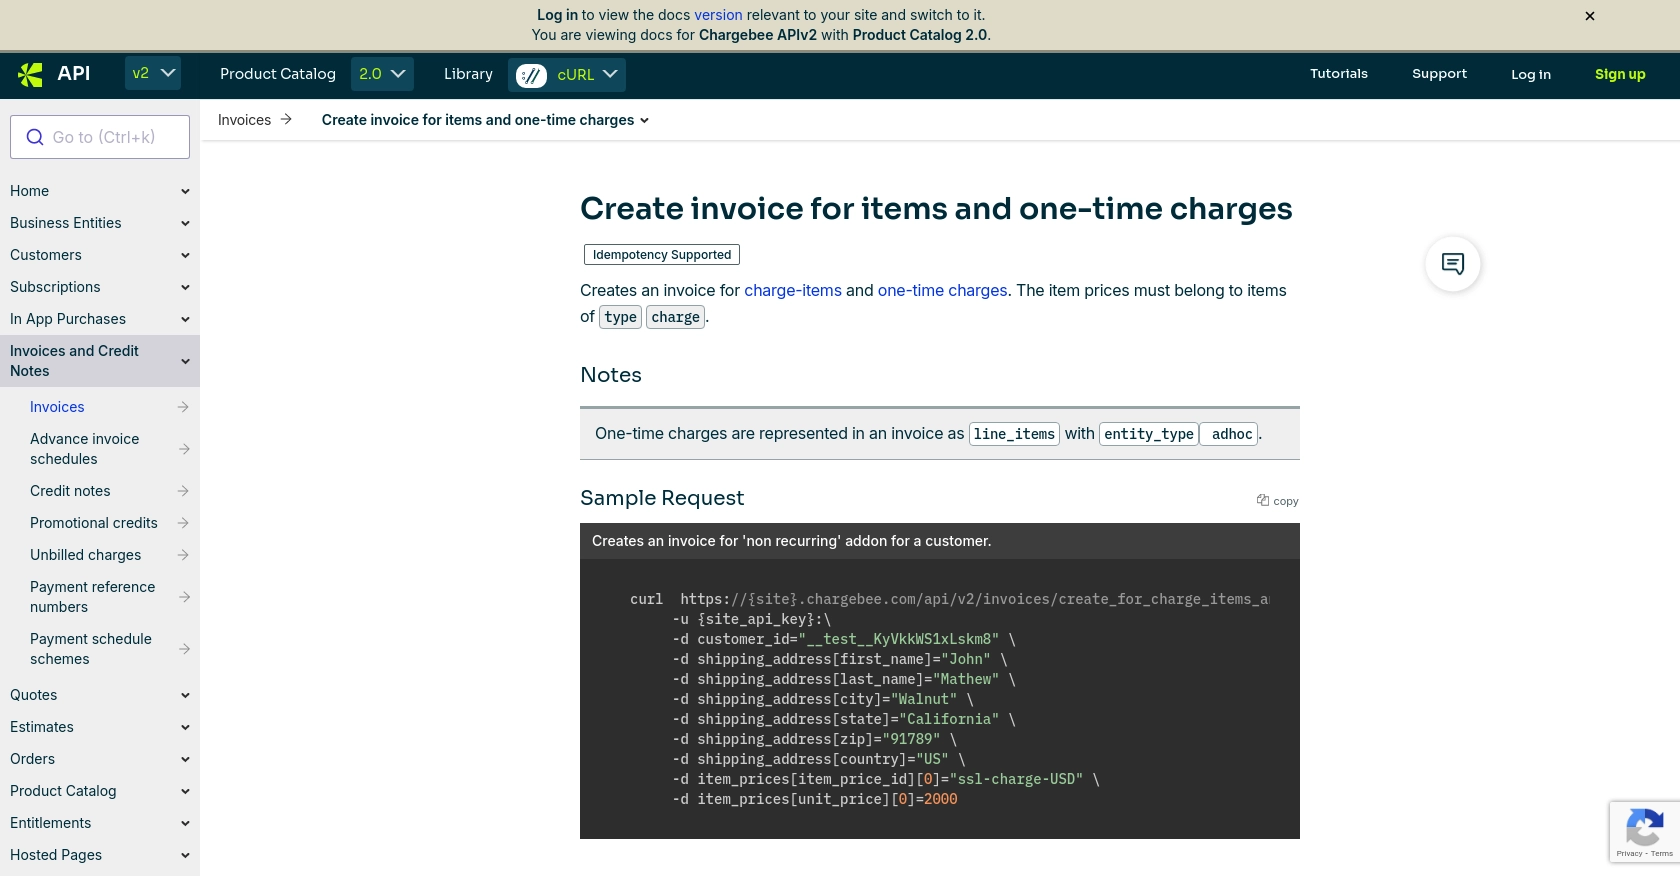
Example Code for Creating an Invoice with Chargebee API
Below is an example of how to create an invoice using the Chargebee API in JavaScript. This code demonstrates how to set up the request and handle the response.
const axios = require('axios');

const createInvoice = async () => {
    const site = 'your-site';
    const apiKey = 'your-api-key';
    const url = `https://${site}.chargebee.com/api/v2/invoices/create_for_charge_items_and_charges`;

    const data = {
        customer_id: '__test__KyVkkWS1xLskm8',
        item_prices: {
            item_price_id: ['ssl-charge-USD'],
            unit_price: [2000]
        }
    };

    try {
        const response = await axios.post(url, data, {
            auth: {
                username: apiKey,
                password: ''
            }
        });
        console.log('Invoice Created:', response.data);
    } catch (error) {
        console.error('Error creating invoice:', error.response.data);
    }
};

createInvoice();
Replace your-site and your-api-key with your Chargebee site name and API key. The customer_id and item_prices should be adjusted based on your specific requirements.
Handling API Responses and Errors
After making the API call, it's crucial to handle the response correctly. The Chargebee API returns JSON data, which you can parse to verify the success of your request.
If the request is successful, the response will include details about the created invoice. In case of an error, the response will contain error codes and messages. Refer to the Chargebee API documentation for a comprehensive list of error codes and their meanings.
Verifying Invoice Creation in Chargebee
To confirm that the invoice was created successfully, log in to your Chargebee dashboard and navigate to the "Invoices" section. The new invoice should appear in the list, reflecting the details specified in your API call.
By following these steps, you can efficiently create and manage invoices using the Chargebee API in JavaScript, streamlining your billing processes and enhancing operational efficiency.
Conclusion and Best Practices for Using Chargebee API in JavaScript
Integrating with the Chargebee API for invoice management in JavaScript can significantly enhance your billing processes, making them more efficient and reliable. By automating tasks such as invoice creation and updates, you can reduce manual errors and ensure consistent billing operations.
Best Practices for Secure and Efficient Chargebee API Integration
- Secure API Keys: Always store your API keys securely using environment variables or a secure vault. Avoid hardcoding them in your application code.
- Handle Errors Gracefully: Implement robust error handling to manage API response errors effectively. Refer to the Chargebee API documentation for error codes and handling strategies.
- Manage Rate Limits: Be mindful of Chargebee's API rate limits to avoid throttling. Implement retry logic with exponential backoff to handle rate limit errors gracefully.
- Data Standardization: Ensure that data fields are standardized and consistent across your application to prevent discrepancies in billing information.
Enhance Your Integration with Endgrate
For developers looking to streamline their integration processes further, consider using Endgrate. Endgrate allows you to save time and resources by outsourcing integrations, enabling you to focus on your core product. With Endgrate, you can build once for each use case and leverage an intuitive integration experience for your customers.
Visit Endgrate to learn more about how it can simplify your integration needs and enhance your Chargebee API experience.
Read More
- https://endgrate.com/provider/chargebee
- https://apidocs.chargebee.com/docs/api/
- https://apidocs.chargebee.com/docs/api/auth?lang=curl
- https://apidocs.chargebee.com/docs/api/error-handling?lang=curl
- https://apidocs.chargebee.com/docs/api/invoices?lang=curl#create_invoice_for_items_and_one-time_charges

Ready to get started?
