Using the Google Calendar API to Create Calendar Events (with Javascript examples)
Introduction to Google Calendar API
Google Calendar is a widely used time-management and scheduling service that allows users to create and manage events seamlessly. It integrates effortlessly with other Google services, making it a popular choice for both personal and professional use.
Developers may want to integrate with the Google Calendar API to automate event management, streamline scheduling, and enhance user experiences. For example, a developer could use the API to automatically create calendar events for scheduled meetings, ensuring that users receive timely reminders and can easily share event details with others.
This article will guide you through using JavaScript to create calendar events with the Google Calendar API, providing step-by-step instructions and code examples to help you efficiently manage calendar events within your applications.
Setting Up Your Google Calendar API Test Environment
Before you can start creating calendar events using the Google Calendar API, you need to set up a test environment. This involves creating a Google Cloud project, enabling the Google Calendar API, and configuring OAuth 2.0 for authentication. Follow these steps to get started:
Create a Google Cloud Project
- Go to the Google Cloud Console.
- Click on the Menu icon, navigate to IAM & Admin, and select Create a Project.
- Enter a descriptive name for your project and click Create.
Enable the Google Calendar API
- In the Google Cloud Console, navigate to APIs & Services and click on Library.
- Search for Google Calendar API and click on it.
- Click the Enable button to activate the API for your project.
Configure OAuth 2.0 Consent Screen
- In the Google Cloud Console, go to APIs & Services and select OAuth consent screen.
- Select the user type for your app and click Create.
- Fill out the required fields, such as App name and User support email, then click Save and Continue.
Create OAuth 2.0 Credentials
- Navigate to APIs & Services and click on Credentials.
- Click Create Credentials and select OAuth client ID.
- Choose Web application as the application type.
- Under Authorized redirect URIs, add the URI where your application will handle the OAuth 2.0 response.
- Click Create to generate your Client ID and Client Secret.
With these steps completed, you now have a Google Cloud project with the Google Calendar API enabled and OAuth 2.0 credentials set up. You can use these credentials to authenticate API requests and start creating calendar events programmatically.
For more detailed instructions, refer to the official Google documentation: Create a Google Cloud project, Enable Google Workspace APIs, Configure OAuth consent, and Create access credentials.
sbb-itb-96038d7
Making API Calls to Google Calendar Using JavaScript
To interact with the Google Calendar API and create events programmatically, you need to set up your JavaScript environment and make authenticated API calls. This section will guide you through the process of making these calls, including setting up your environment, writing the code, and handling responses.
Setting Up Your JavaScript Environment for Google Calendar API
Before making API calls, ensure you have the necessary JavaScript environment set up. You'll need:
- A modern web browser with JavaScript enabled.
- Access to the
gapiclient library for Google APIs.
Include the following script in your HTML to load the Google API client library:
<script src="https://apis.google.com/js/api.js"></script>Authenticating with Google Calendar API Using OAuth 2.0
To authenticate and authorize your application, use OAuth 2.0. Follow these steps:
- Load the
gapiclient library and initialize it: - Define the
initClientfunction to configure the client with your credentials: - Implement the
updateSigninStatusfunction to handle sign-in state changes:
gapi.load('client:auth2', initClient);function initClient() {
gapi.client.init({
apiKey: 'YOUR_API_KEY',
clientId: 'YOUR_CLIENT_ID.apps.googleusercontent.com',
discoveryDocs: ["https://www.googleapis.com/discovery/v1/apis/calendar/v3/rest"],
scope: "https://www.googleapis.com/auth/calendar"
}).then(function () {
// Listen for sign-in state changes.
gapi.auth2.getAuthInstance().isSignedIn.listen(updateSigninStatus);
// Handle the initial sign-in state.
updateSigninStatus(gapi.auth2.getAuthInstance().isSignedIn.get());
});
}function updateSigninStatus(isSignedIn) {
if (isSignedIn) {
createEvent();
} else {
gapi.auth2.getAuthInstance().signIn();
}
}Creating a Calendar Event with Google Calendar API
Once authenticated, you can create a calendar event using the events.insert method. Here's how:
function createEvent() {
    var event = {
        'summary': 'Sample Event',
        'location': '123 Main St, Anytown, USA',
        'description': 'A sample event created via Google Calendar API.',
        'start': {
            'dateTime': '2023-10-01T09:00:00-07:00',
            'timeZone': 'America/Los_Angeles'
        },
        'end': {
            'dateTime': '2023-10-01T17:00:00-07:00',
            'timeZone': 'America/Los_Angeles'
        },
        'attendees': [
            {'email': 'example@example.com'}
        ],
        'reminders': {
            'useDefault': false,
            'overrides': [
                {'method': 'email', 'minutes': 24 * 60},
                {'method': 'popup', 'minutes': 10}
            ]
        }
    };

    var request = gapi.client.calendar.events.insert({
        'calendarId': 'primary',
        'resource': event
    });

    request.execute(function(event) {
        console.log('Event created: ' + event.htmlLink);
    });
}
Handling API Responses and Errors
After executing the API call, handle the response to verify success or manage errors:
- Check the console for the event link to confirm creation.
- Implement error handling to manage issues such as authentication failures or invalid data.
For more detailed information on handling errors, refer to the Google Calendar API documentation.
Conclusion and Best Practices for Using Google Calendar API with JavaScript
Integrating the Google Calendar API into your applications can significantly enhance user experience by automating event management and scheduling. By following the steps outlined in this guide, you can efficiently create calendar events using JavaScript, ensuring seamless interaction with Google Calendar.
Best Practices for Storing User Credentials Securely
- Always store sensitive information like OAuth tokens securely, using encryption and secure storage solutions.
- Regularly rotate credentials to minimize the risk of unauthorized access.
Handling Google Calendar API Rate Limits
Google Calendar API enforces rate limits to ensure fair usage. To handle these limits effectively:
- Implement exponential backoff strategies to retry requests after receiving rate limit errors.
- Monitor your application's API usage and optimize requests to stay within the allowed limits.
Transforming and Standardizing Data Fields
Ensure that data fields such as event times and attendee information are standardized to maintain consistency across your application. Use libraries or built-in functions to handle time zones and date formats accurately.
Call to Action: Simplifying Integrations with Endgrate
While integrating with Google Calendar API can be powerful, managing multiple integrations can be complex and time-consuming. Endgrate offers a unified API solution that simplifies this process, allowing you to focus on your core product. With Endgrate, you can build once for each use case and enjoy an intuitive integration experience for your customers. Visit Endgrate to learn more about how you can streamline your integration efforts.
Read More
- https://endgrate.com/provider/googlecalendar
- https://developers.google.com/calendar/api/v3/reference
- https://developers.google.com/workspace/guides/create-project
- https://developers.google.com/workspace/guides/enable-apis
- https://developers.google.com/workspace/guides/configure-oauth-consent
- https://developers.google.com/workspace/guides/create-credentials
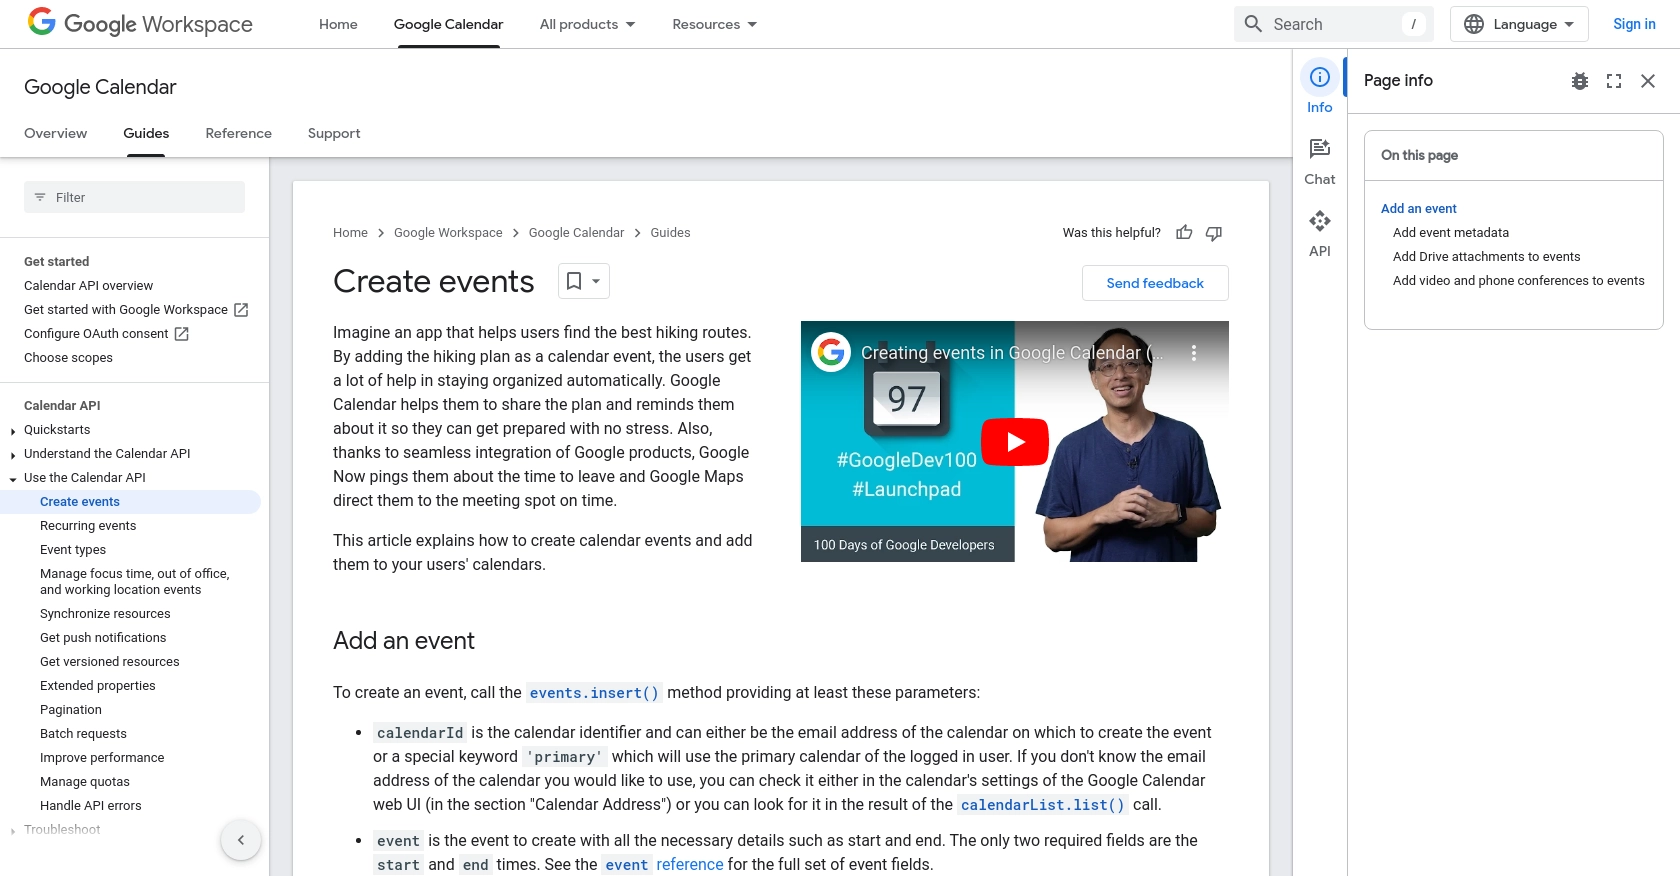
- https://developers.google.com/calendar/api/guides/create-events

Ready to get started?
