How to Create or Update Invoices with the Chargebee API in Python

Introduction to Chargebee API for Invoice Management
Chargebee is a robust subscription billing and revenue management platform that empowers businesses to streamline their billing processes. It offers a comprehensive suite of tools to manage subscriptions, invoices, and payments, making it a popular choice for SaaS companies and other subscription-based businesses.
Integrating with Chargebee's API allows developers to automate and enhance billing operations, such as creating or updating invoices. For example, a developer might use the Chargebee API to automatically generate invoices for new subscriptions or update existing invoices with additional charges, ensuring accurate and timely billing.
This article will guide you through using the Chargebee API with Python to efficiently create or update invoices, providing detailed steps and code examples to facilitate seamless integration.
Setting Up Your Chargebee Test/Sandbox Account
Before you can start integrating with the Chargebee API, you'll need to set up a test or sandbox account. This environment allows you to safely test your API interactions without affecting live data.
Creating a Chargebee Test Account
To begin, you'll need to create a Chargebee account if you haven't already. Follow these steps:
- Visit the Chargebee website and sign up for a free trial account.
- Once registered, log in to your Chargebee dashboard.
- Navigate to the Settings section and select Test Site to enable sandbox mode.
Generating API Keys for Chargebee
Chargebee uses HTTP Basic authentication for API calls, where your API key serves as the username. Here's how to obtain your API keys:
- In your Chargebee dashboard, go to Settings > API Keys.
- Click on Create a New API Key.
- Choose the appropriate permissions for your API key and save it.
- Copy the generated API key. This will be used in your API requests.
Note: Ensure you use the API key specific to your test site to avoid affecting live data.
Configuring OAuth for Chargebee API
If your integration requires OAuth, follow these steps to set it up:
- Navigate to Settings > OAuth Apps in your Chargebee dashboard.
- Click on Create a New OAuth App.
- Fill in the required details such as App Name and Redirect URL.
- Save the app to generate the Client ID and Client Secret.
- Use these credentials to authenticate your API requests.
With your Chargebee test account and API keys set up, you're ready to start integrating and testing your invoice management processes using the Chargebee API.

sbb-itb-96038d7
Making API Calls to Create or Update Invoices with Chargebee API Using Python
To interact with the Chargebee API for creating or updating invoices, you'll need to use Python. This section will guide you through the necessary steps, including setting up your environment, writing the code, and handling responses.
Setting Up Your Python Environment for Chargebee API Integration
Before making API calls, ensure your Python environment is ready:
- Install Python 3.11.1 or later.
- Use pip to install the
requestslibrary, which will help you make HTTP requests:
pip install requestsCreating an Invoice with Chargebee API in Python
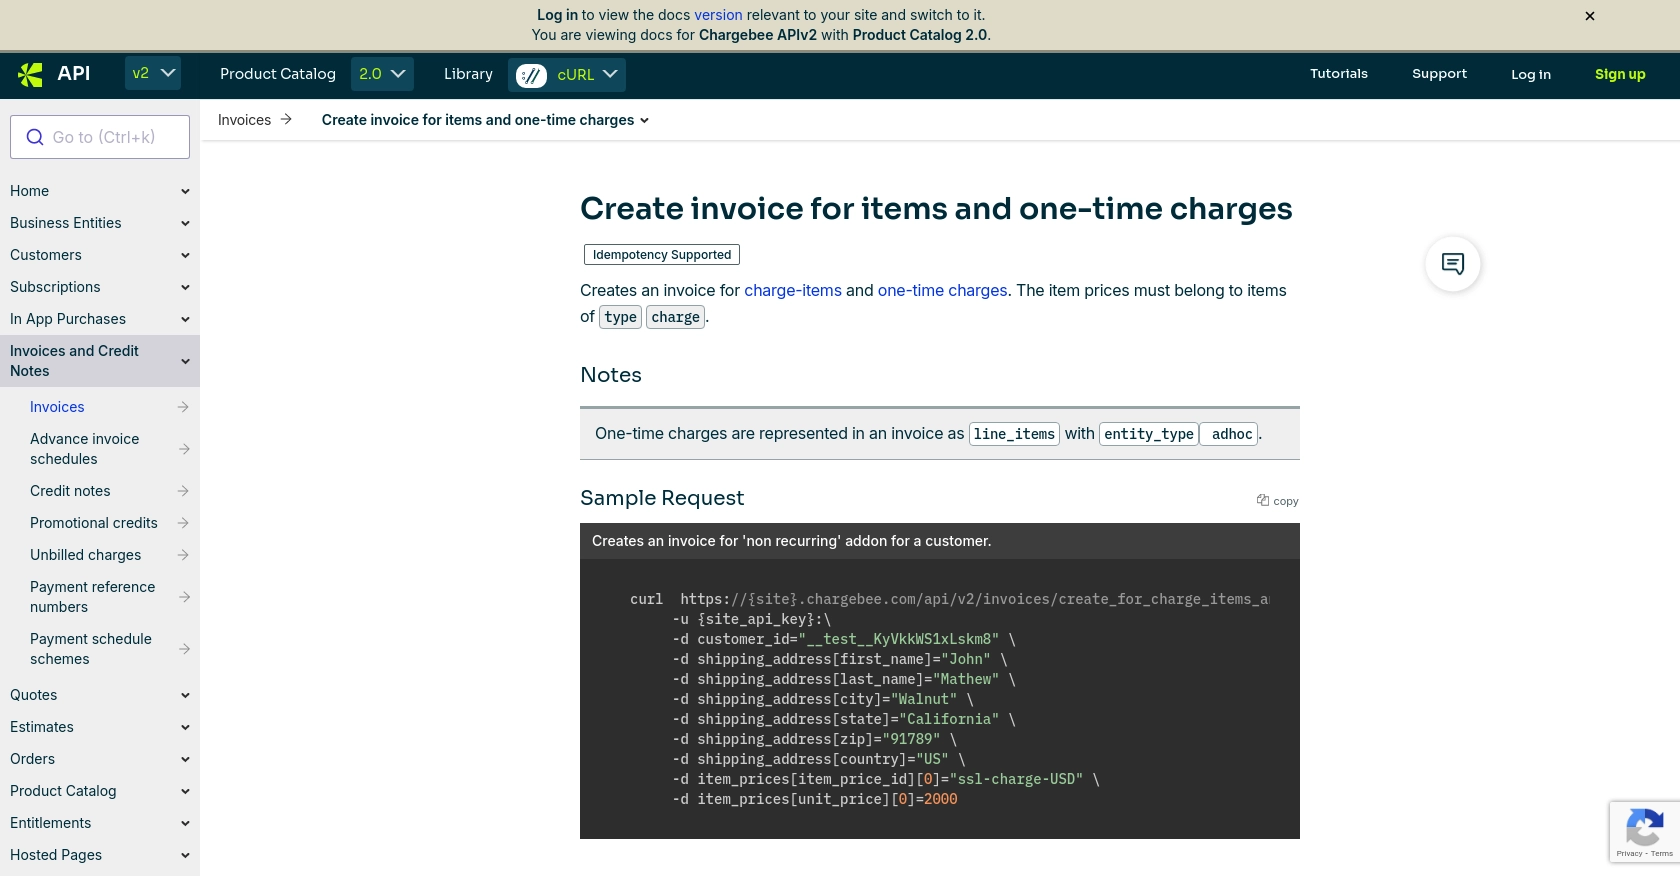
To create an invoice, you'll need to make a POST request to the Chargebee API. Here's a sample code snippet:
import requests

# Set the API endpoint
url = "https://{site}.chargebee.com/api/v2/invoices/create_for_charge_items_and_charges"

# Set the request headers
headers = {
    "Content-Type": "application/x-www-form-urlencoded",
    "Authorization": "Basic {api_key}:"
}

# Set the invoice data
data = {
    "customer_id": "__test__KyVkkWS1xLskm8",
    "item_prices[item_price_id][0]": "ssl-charge-USD",
    "item_prices[unit_price][0]": 2000
}

# Make the POST request
response = requests.post(url, headers=headers, data=data)

# Check if the request was successful
if response.status_code == 200:
    print("Invoice created successfully:", response.json())
else:
    print("Failed to create invoice:", response.status_code, response.json())
Replace {site} and {api_key} with your Chargebee site name and API key, respectively.
Updating an Invoice with Chargebee API in Python
To update an existing invoice, you can modify the invoice details using a similar approach:
import requests

# Set the API endpoint
url = "https://{site}.chargebee.com/api/v2/invoices/{invoice_id}/update_details"

# Set the request headers
headers = {
    "Content-Type": "application/x-www-form-urlencoded",
    "Authorization": "Basic {api_key}:"
}

# Set the updated invoice data
data = {
    "billing_address[first_name]": "John",
    "billing_address[last_name]": "Doe",
    "billing_address[city]": "Walnut"
}

# Make the POST request
response = requests.post(url, headers=headers, data=data)

# Check if the request was successful
if response.status_code == 200:
    print("Invoice updated successfully:", response.json())
else:
    print("Failed to update invoice:", response.status_code, response.json())
Ensure to replace {site}, {api_key}, and {invoice_id} with your Chargebee site name, API key, and the specific invoice ID you wish to update.
Handling API Responses and Errors
Chargebee API responses are in JSON format. After making an API call, always check the response status code:
- 200: Success. The request was successful, and the invoice was created or updated.
- 4XX: Client error. Check the error message for details.
- 5XX: Server error. Retry the request or contact Chargebee support.
For more detailed error handling, refer to the Chargebee API documentation.
Verifying Invoice Creation or Update in Chargebee Dashboard
After successfully creating or updating an invoice, verify the changes in your Chargebee test account:
- Log in to your Chargebee dashboard.
- Navigate to the Invoices section to view the newly created or updated invoice.
By following these steps, you can efficiently manage invoices using the Chargebee API in Python, ensuring seamless billing operations for your business.

Conclusion and Best Practices for Using Chargebee API in Python
Integrating Chargebee's API into your Python applications can significantly enhance your billing and subscription management processes. By automating invoice creation and updates, you ensure accuracy and efficiency in your financial operations.
Best Practices for Secure and Efficient Chargebee API Integration
- Secure API Keys: Store your API keys securely and avoid hardcoding them in your source code. Use environment variables or secure vaults.
- Handle Rate Limits: Chargebee imposes rate limits on API requests. Implement retry logic with exponential backoff to handle HTTP 429 errors gracefully. For more details, refer to the Chargebee API documentation.
- Data Standardization: Ensure consistent data formats when sending and receiving data from the API to avoid errors and maintain data integrity.
- Error Handling: Implement robust error handling to manage different HTTP status codes and provide meaningful feedback to users.
Enhance Your Integration with Endgrate
While integrating Chargebee's API can streamline your billing processes, managing multiple integrations can be complex and time-consuming. Endgrate simplifies this by providing a unified API endpoint that connects to various platforms, including Chargebee. This allows you to focus on your core product while outsourcing integration management.
Explore how Endgrate can enhance your integration experience by visiting Endgrate and discover how you can build once for each use case instead of multiple times for different integrations.
Read More
- https://endgrate.com/provider/chargebee
- https://apidocs.chargebee.com/docs/api/
- https://apidocs.chargebee.com/docs/api/auth?lang=curl
- https://apidocs.chargebee.com/docs/api/error-handling?lang=curl
- https://apidocs.chargebee.com/docs/api/invoices?lang=curl#create_invoice_for_items_and_one-time_charges
Ready to get started?
