How to Create Or Update Issues with the Linear API in Javascript

Introduction to Linear API Integration
Linear is a powerful project management tool designed to streamline workflows and enhance productivity for software development teams. With its intuitive interface and robust features, Linear helps teams manage tasks, track progress, and collaborate effectively.
Integrating with Linear's API allows developers to automate and enhance their project management processes. For example, you might want to create or update issues programmatically to synchronize tasks from another system, ensuring that your team always has the most up-to-date information.
This guide will walk you through how to use JavaScript to interact with the Linear API, focusing on creating and updating issues. By the end of this tutorial, you'll be able to seamlessly integrate Linear into your development workflow, saving time and reducing manual effort.
Setting Up a Linear Test or Sandbox Account for API Integration
Before you can start creating or updating issues with the Linear API using JavaScript, you'll need to set up a test or sandbox account. This will allow you to safely experiment with the API without affecting your live data.
Creating a Linear Account
If you don't already have a Linear account, you can sign up for a free trial on the Linear website. Follow the instructions to create your account and set up your workspace. This workspace will serve as your testing environment.
Configuring OAuth 2.0 Authentication for Linear API
Linear supports OAuth 2.0 authentication, which is recommended for building applications that integrate with Linear. Follow these steps to configure OAuth 2.0:
- Create an OAuth2 Application: In your Linear account, navigate to the settings and create a new OAuth2 application. Make sure to configure the redirect callback URLs to match your application.
- Redirect User Access Requests: When authorizing a user to the Linear API, redirect them to the authorization URL with the correct parameters and scopes. Use the following format:
GET https://linear.app/oauth/authorize?response_type=code&client_id=YOUR_CLIENT_ID&redirect_uri=YOUR_REDIRECT_URL&scope=read,write
For more details, refer to the Linear OAuth documentation.
Handling OAuth Redirects and Access Tokens
Once the user approves your application, they will be redirected back to your specified URL with an authorization code. Follow these steps to exchange the code for an access token:
- Exchange Code for Access Token: Use the authorization code to request an access token from Linear's API:
POST https://api.linear.app/oauth/token
Content-Type: application/x-www-form-urlencoded
Parameters:
  - code: Authorization code from the previous step
  - redirect_uri: Same redirect URI used previously
  - client_id: Your application's client ID
  - client_secret: Your application's client secret
  - grant_type: authorization_code
Upon a successful request, you'll receive an access token, which you can use to authenticate your API calls.
Generating Personal API Keys for Linear
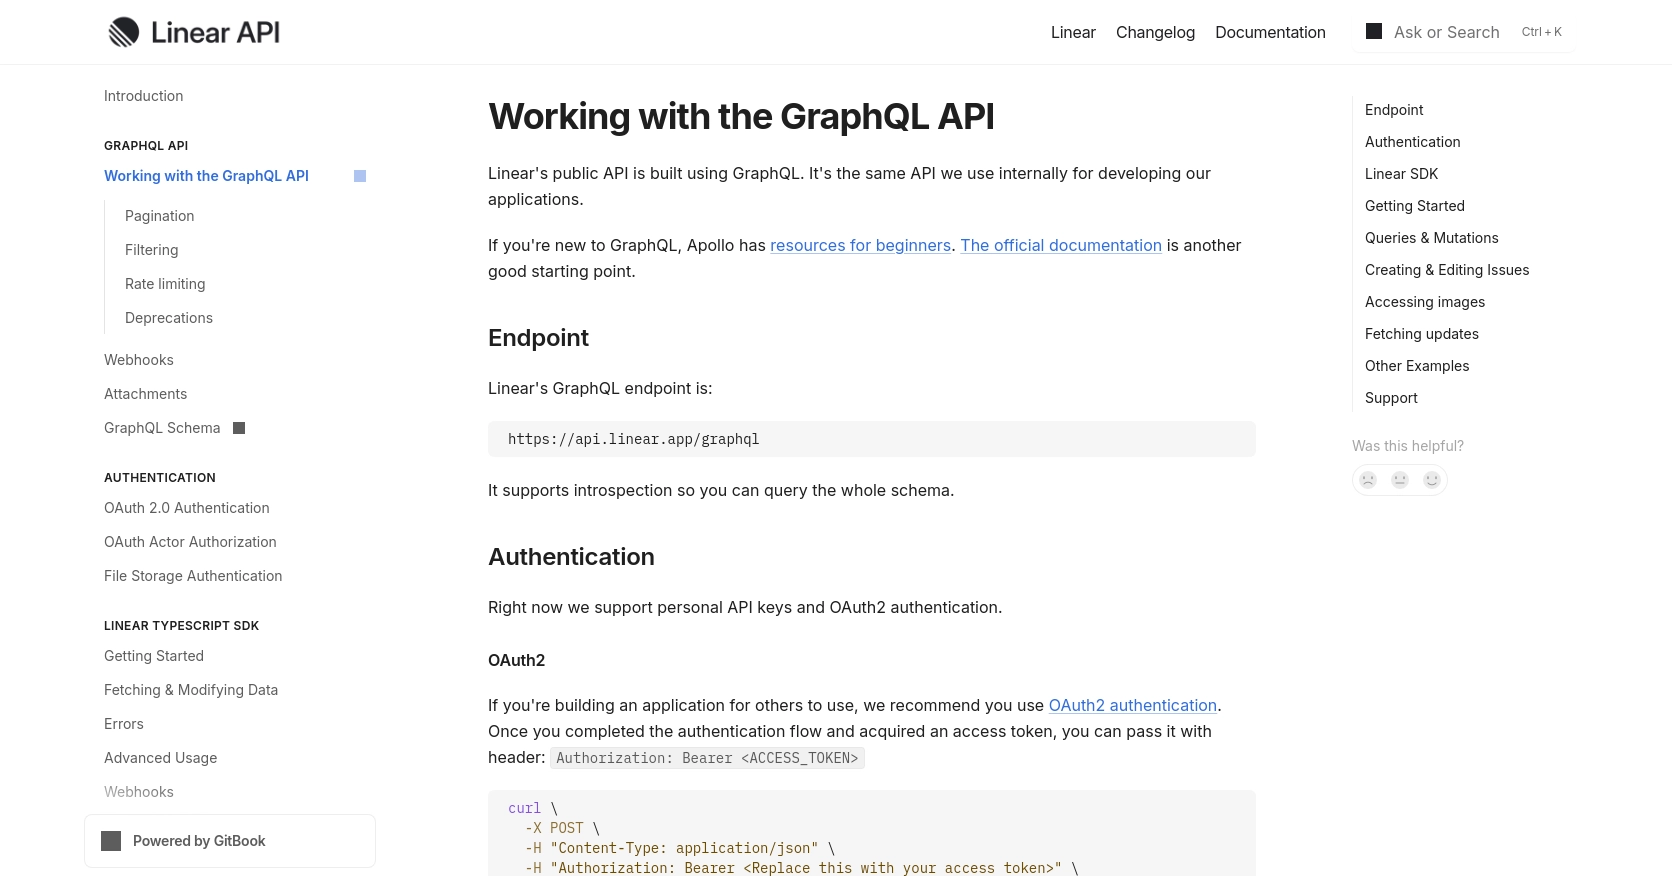
For personal scripts or testing purposes, you can also use personal API keys. These can be created in the API settings of your Linear account. Use the API key in the authorization header for your requests:
Authorization: Bearer <API_KEY>
With your Linear account and authentication set up, you're ready to start making API calls to create or update issues using JavaScript.

sbb-itb-96038d7
Making API Calls to Create or Update Issues with Linear API in JavaScript
To interact with the Linear API using JavaScript, you'll need to set up your environment and make HTTP requests to the API endpoints. This section will guide you through the process of creating and updating issues using the Linear API.
Setting Up Your JavaScript Environment for Linear API Integration
Before making API calls, ensure you have Node.js installed on your machine. You can download it from the official Node.js website. Additionally, you'll need to install the axios library, which simplifies making HTTP requests in JavaScript.
npm install axios
Creating Issues with Linear API Using JavaScript
To create an issue in Linear, you'll use a GraphQL mutation. Here's a step-by-step guide:
- Define the GraphQL Mutation: Create a mutation to specify the details of the issue you want to create.
const axios = require('axios');

const createIssue = async () => {
  const query = `
    mutation IssueCreate {
      issueCreate(
        input: {
          title: "New Issue Title"
          description: "Detailed description of the issue"
          teamId: "YOUR_TEAM_ID"
        }
      ) {
        success
        issue {
          id
          title
        }
      }
    }
  `;

  const response = await axios.post('https://api.linear.app/graphql', {
    query: query
  }, {
    headers: {
      'Content-Type': 'application/json',
      'Authorization': 'Bearer YOUR_ACCESS_TOKEN'
    }
  });

  if (response.data.data.issueCreate.success) {
    console.log('Issue Created:', response.data.data.issueCreate.issue);
  } else {
    console.error('Failed to create issue');
  }
};

createIssue();
Replace YOUR_TEAM_ID and YOUR_ACCESS_TOKEN with your actual team ID and access token.
Updating Issues with Linear API Using JavaScript
To update an existing issue, you'll use a similar approach with a different mutation:
- Define the GraphQL Mutation for Update: Specify the fields you want to update.
const updateIssue = async (issueId) => {
  const query = `
    mutation IssueUpdate {
      issueUpdate(
        id: "${issueId}",
        input: {
          title: "Updated Issue Title"
          stateId: "NEW_STATE_ID"
        }
      ) {
        success
        issue {
          id
          title
          state {
            id
            name
          }
        }
      }
    }
  `;

  const response = await axios.post('https://api.linear.app/graphql', {
    query: query
  }, {
    headers: {
      'Content-Type': 'application/json',
      'Authorization': 'Bearer YOUR_ACCESS_TOKEN'
    }
  });

  if (response.data.data.issueUpdate.success) {
    console.log('Issue Updated:', response.data.data.issueUpdate.issue);
  } else {
    console.error('Failed to update issue');
  }
};

updateIssue('ISSUE_ID');
Replace ISSUE_ID, NEW_STATE_ID, and YOUR_ACCESS_TOKEN with the relevant values.
Handling Errors and Verifying API Requests
When making API calls, it's crucial to handle potential errors. Check the response status and error messages to ensure successful operations. You can verify the creation or update of issues by checking the Linear dashboard or using additional API queries to fetch the updated data.
For more detailed information on error handling, refer to the Linear API documentation.
Conclusion and Best Practices for Linear API Integration
Integrating with the Linear API using JavaScript provides a powerful way to automate and enhance your project management workflows. By following the steps outlined in this guide, you can efficiently create and update issues, ensuring your team stays organized and informed.
Here are some best practices to consider when working with the Linear API:
- Securely Store Credentials: Always store your API keys and access tokens securely. Avoid hardcoding them in your source code. Consider using environment variables or a secure vault.
- Handle Rate Limiting: Be mindful of Linear's rate limits to avoid disruptions. Implement exponential backoff strategies to handle rate limit errors gracefully. For more details, refer to the Linear API documentation.
- Standardize Data Fields: Ensure consistency in data fields when creating or updating issues. This helps maintain data integrity across different systems.
- Monitor API Usage: Regularly monitor your API usage and logs to identify any anomalies or errors. This will help you maintain a smooth integration experience.
By leveraging Endgrate, you can further simplify your integration processes. Endgrate allows you to focus on your core product by outsourcing integrations, providing a unified API endpoint for multiple platforms, including Linear. This not only saves time and resources but also enhances the integration experience for your customers.
Explore how Endgrate can streamline your integration efforts by visiting Endgrate's website and discover the benefits of a seamless integration solution.
Read More
Ready to get started?
