How to Create Or Update Issues with the Linear API in Python
Introduction to Linear API Integration
Linear is a modern issue tracking tool designed to help software development teams manage their workflows efficiently. With its sleek interface and powerful features, Linear has become a popular choice for teams looking to streamline their project management processes.
Integrating with Linear's API allows developers to automate and enhance their issue management workflows. For example, you might want to create or update issues programmatically to synchronize tasks from another project management tool, ensuring that your team has a unified view of all tasks and priorities.
Setting Up a Linear Test or Sandbox Account for API Integration
Before you can start interacting with the Linear API, you'll need to set up a test or sandbox account. This will allow you to safely experiment with API calls without affecting your production data. Linear provides a straightforward process to create an OAuth2 application, which is essential for authenticating your API requests.
Step-by-Step Guide to Creating a Linear OAuth2 Application
- Create a Linear Account: If you don't already have a Linear account, sign up on the Linear website. You can use the free trial to explore the platform and its features.
- Access the Developer Settings: Once logged in, navigate to the settings page and locate the developer settings. Here, you can manage your API keys and OAuth applications.
- Create a New OAuth2 Application: Click on the option to create a new OAuth2 application. You'll need to provide details such as the application name and description.
- Configure Redirect URIs: Set up the redirect URIs for your application. These are the URLs to which Linear will redirect users after they authorize your application.
- Note Your Client ID and Client Secret: After creating the application, you'll receive a client ID and client secret. Keep these credentials secure, as they are necessary for authenticating API requests.
Authenticating with OAuth2 for Linear API Access
Linear supports OAuth2 authentication, which is recommended for applications that will be used by multiple users. Follow these steps to authenticate:
-
Redirect Users for Authorization: Direct users to the Linear authorization URL with the required parameters, including your client ID and desired scopes. Example URL:
GET https://linear.app/oauth/authorize?response_type=code&client_id=YOUR_CLIENT_ID&redirect_uri=YOUR_REDIRECT_URL&scope=read,write - Handle the Redirect: After users authorize your application, they will be redirected back to your specified redirect URI with an authorization code.
-
Exchange the Code for an Access Token: Use the authorization code to request an access token from Linear. This token will be used to authenticate your API requests.
POST https://api.linear.app/oauth/token
Content-Type: application/x-www-form-urlencoded
Parameters:
  - code: Authorization code from the previous step
  - redirect_uri: Same redirect URI used before
  - client_id: Your client ID
  - client_secret: Your client secret
  - grant_type: authorization_code
Once you have your access token, you can begin making authenticated requests to the Linear API. For more detailed information, refer to the Linear OAuth documentation.
sbb-itb-96038d7
Making API Calls to Create or Update Issues with Linear API in Python
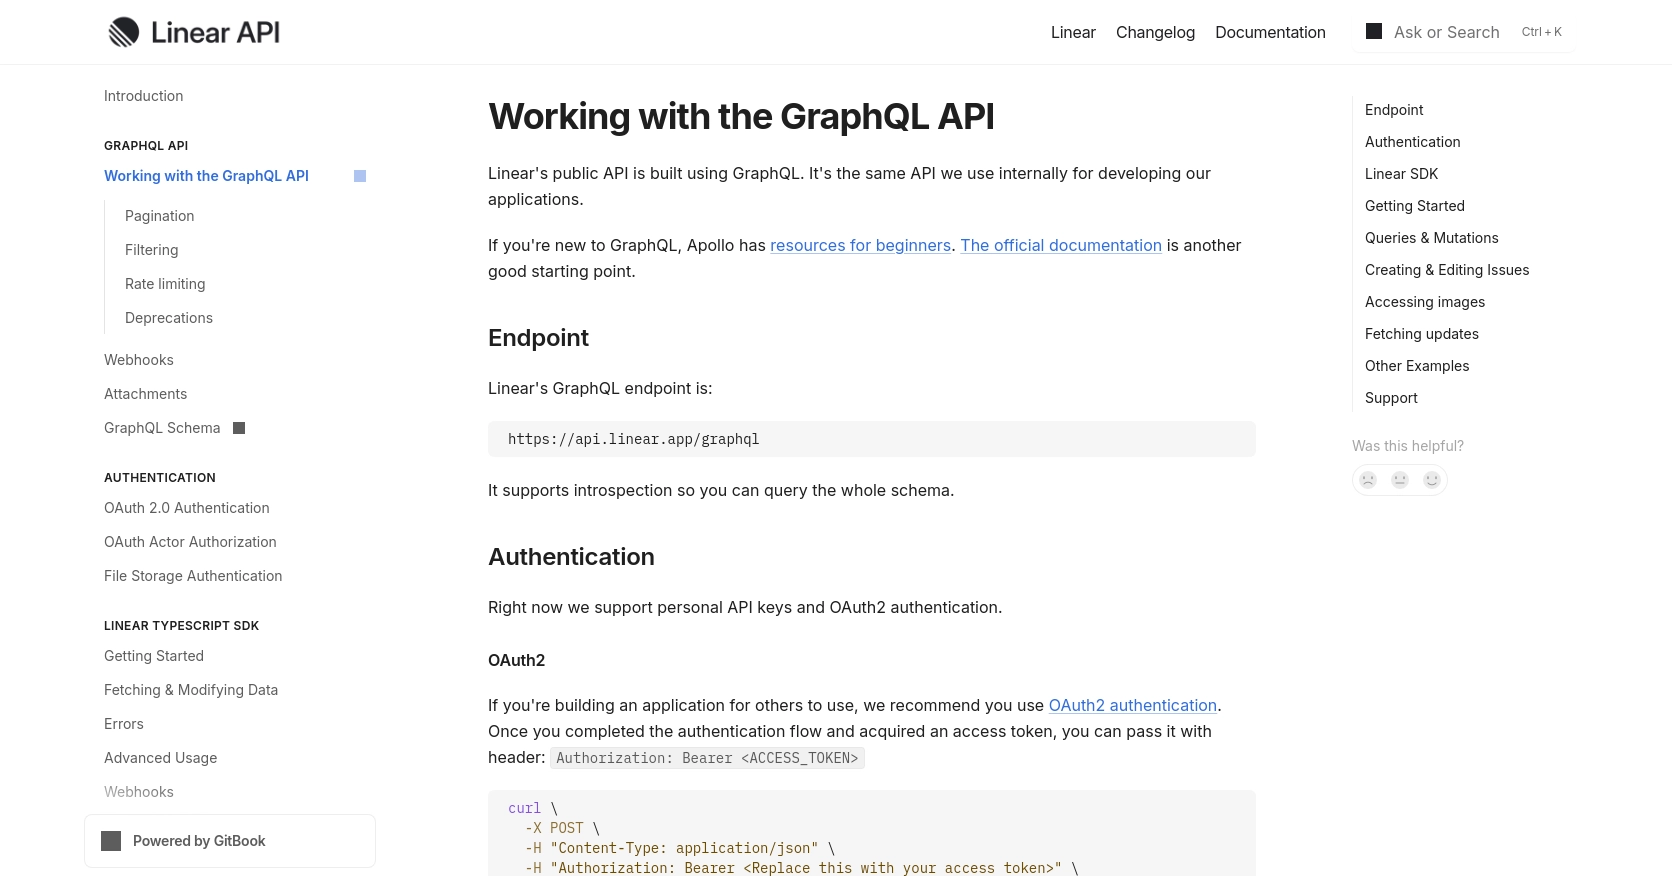
To interact with the Linear API for creating or updating issues, you'll need to use Python and make HTTP requests to the GraphQL endpoint. This section will guide you through the process, including setting up your environment, writing the necessary code, and handling responses.
Setting Up Your Python Environment for Linear API Integration
Before you start coding, ensure you have Python installed on your machine. This tutorial uses Python 3.11.1. You'll also need the requests library to handle HTTP requests.
- Install Python 3.11.1 from the official Python website if you haven't already.
- Install the
requestslibrary using pip:
pip install requestsCreating a New Issue with Linear API Using Python
To create a new issue in Linear, you'll need to perform a GraphQL mutation. Here's how you can do it:
import requests

# Define the GraphQL endpoint and headers
url = "https://api.linear.app/graphql"
headers = {
    "Content-Type": "application/json",
    "Authorization": "Bearer YOUR_ACCESS_TOKEN"
}

# Define the GraphQL mutation for creating an issue
mutation = """
mutation IssueCreate {
  issueCreate(
    input: {
      title: "New Issue Title"
      description: "Detailed description of the issue"
      teamId: "YOUR_TEAM_ID"
    }
  ) {
    success
    issue {
      id
      title
    }
  }
}
"""

# Make the POST request to the Linear API
response = requests.post(url, json={'query': mutation}, headers=headers)

# Check the response
if response.status_code == 200:
    print("Issue created successfully:", response.json())
else:
    print("Failed to create issue:", response.status_code, response.text)
Replace YOUR_ACCESS_TOKEN and YOUR_TEAM_ID with your actual access token and team ID. If successful, the response will include the new issue's ID and title.
Updating an Existing Issue with Linear API Using Python
To update an existing issue, you'll use a similar approach with a different mutation:
import requests

# Define the GraphQL mutation for updating an issue
mutation = """
mutation IssueUpdate {
  issueUpdate(
    id: "ISSUE_ID",
    input: {
      title: "Updated Issue Title"
      stateId: "NEW_STATE_ID"
    }
  ) {
    success
    issue {
      id
      title
      state {
        id
        name
      }
    }
  }
}
"""

# Make the POST request to the Linear API
response = requests.post(url, json={'query': mutation}, headers=headers)

# Check the response
if response.status_code == 200:
    print("Issue updated successfully:", response.json())
else:
    print("Failed to update issue:", response.status_code, response.text)
Replace ISSUE_ID and NEW_STATE_ID with the appropriate values. This mutation will update the issue's title and state.
Verifying API Call Success and Handling Errors
After making API calls, it's crucial to verify their success. Check the success field in the response JSON to ensure the operation was successful. If the request fails, inspect the status code and error message for troubleshooting.
For more details on error codes and handling, refer to the Linear API documentation.
Conclusion and Best Practices for Linear API Integration
Integrating with the Linear API using Python allows developers to automate and enhance their issue management workflows effectively. By following the steps outlined in this guide, you can create and update issues seamlessly, ensuring your team stays organized and efficient.
Best Practices for Secure and Efficient API Usage
- Secure Storage of Credentials: Always store your client ID, client secret, and access tokens securely. Consider using environment variables or a secure vault to manage sensitive information.
- Handling Rate Limits: Be mindful of Linear's API rate limits to avoid disruptions. Implement retry logic with exponential backoff to handle rate limit responses gracefully. For more details, refer to the Linear API documentation.
- Data Transformation and Standardization: Ensure that data fields are transformed and standardized as needed to maintain consistency across different systems and integrations.
Streamlining Integrations with Endgrate
While building integrations with Linear API can be straightforward, managing multiple integrations can become complex and time-consuming. Endgrate simplifies this process by providing a unified API endpoint that connects to various platforms, including Linear.
With Endgrate, you can save time and resources by outsourcing integrations, allowing you to focus on your core product. Build once for each use case and enjoy an intuitive integration experience for your customers. Explore how Endgrate can enhance your integration strategy by visiting Endgrate.
Read More

Ready to get started?
