How to Create or Update Leads with the Close API in Javascript
Introduction to Close CRM API
Close is a powerful CRM platform designed to help businesses streamline their sales processes and improve customer relationship management. With its robust features, Close enables sales teams to manage leads, track communications, and automate workflows efficiently.
Integrating with the Close API allows developers to enhance their applications by automating lead management tasks. For example, a developer might use the Close API to create or update leads directly from a web application, ensuring that sales teams have up-to-date information without manual data entry.
This guide will walk you through the process of creating or updating leads using the Close API with JavaScript, providing a seamless way to integrate Close's capabilities into your software solutions.
Setting Up Your Close CRM Test Account
Before you begin integrating with the Close API, you'll need to set up a test account. This will allow you to safely experiment with API calls without affecting any live data. Close provides a straightforward way to create and manage API keys, which are essential for authenticating your requests.
Creating a Close CRM Account
If you don't already have a Close account, you can sign up for a free trial on the Close website. Follow the instructions to create your account. Once your account is set up, log in to access the dashboard.
Generating an API Key for Close CRM
Close uses API keys for authentication, which are ideal for internal scripts and integrations. Follow these steps to generate your API key:
- Log in to your Close account and navigate to the Settings page.
- Under the API Keys section, click on Create API Key.
- Provide a name for your API key to help you identify it later.
- Click Create to generate the key. Make sure to copy and store it securely, as you'll need it to authenticate your API requests.
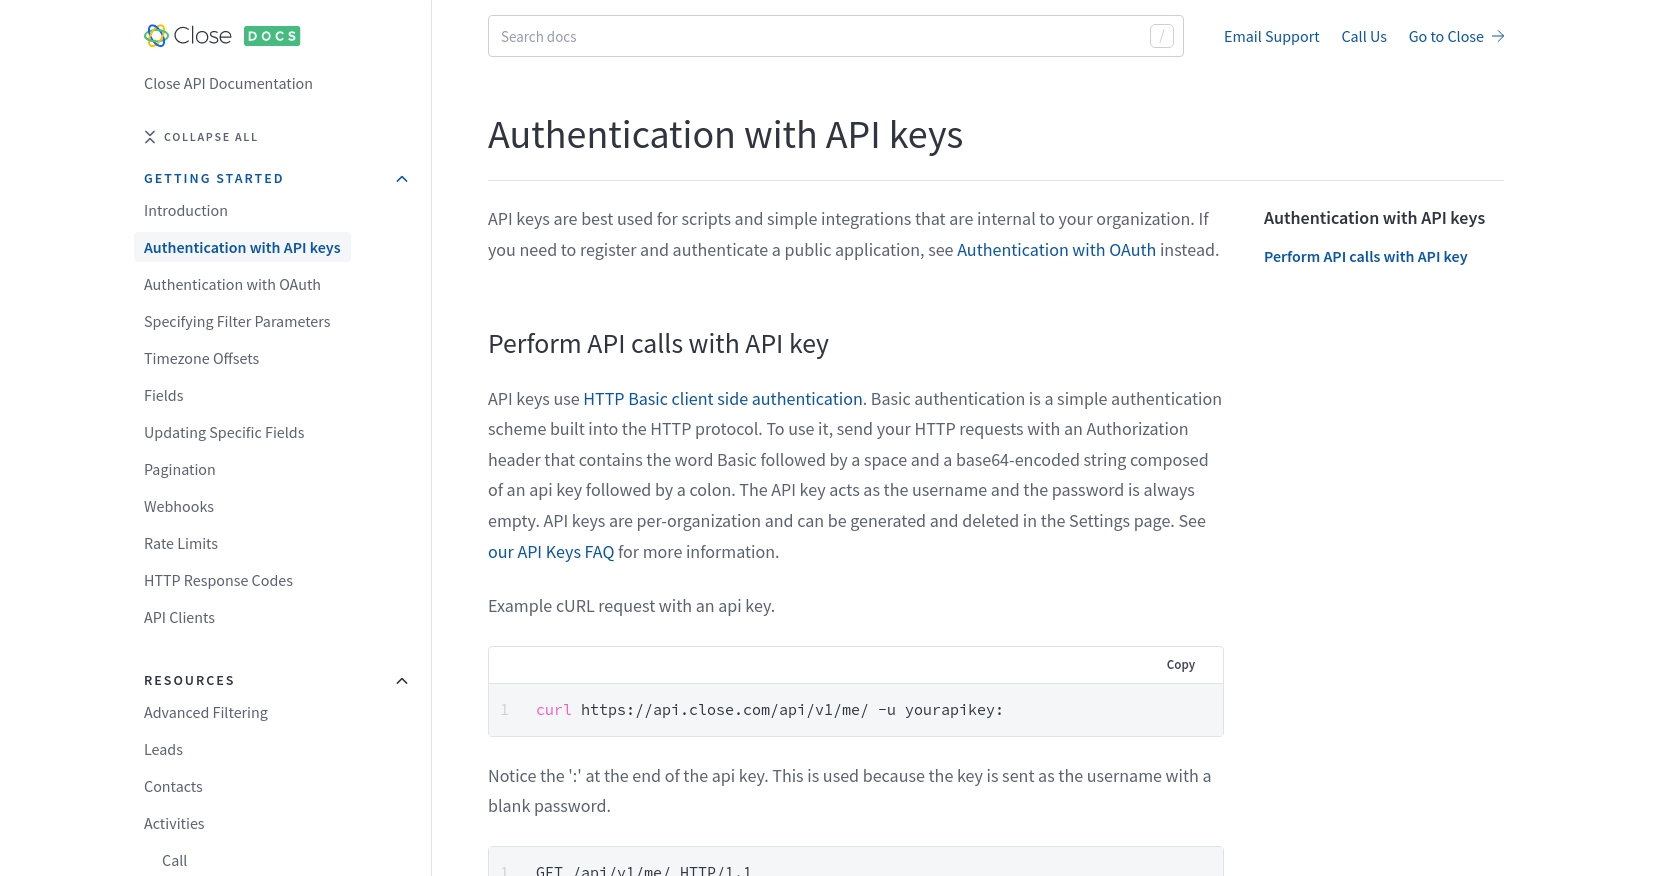
Understanding Close API Key Authentication
Close API keys use HTTP Basic authentication. When making API requests, include an Authorization header with the word Basic followed by a space and a base64-encoded string of your API key followed by a colon. The API key acts as the username, and the password is left empty.
// Example of setting up the Authorization header in JavaScript
const apiKey = 'your_api_key_here';
const headers = new Headers();
headers.append('Authorization', 'Basic ' + btoa(apiKey + ':'));
For more details, refer to the Close API Authentication Documentation.
sbb-itb-96038d7
Making API Calls to Create or Update Leads with Close API in JavaScript
To interact with the Close API for creating or updating leads, you'll need to use JavaScript to send HTTP requests. This section will guide you through the necessary steps, including setting up your environment, writing the code, and handling responses and errors.
Setting Up Your JavaScript Environment for Close API Integration
Before making API calls, ensure you have Node.js installed on your machine. You can download it from the official Node.js website. Node.js includes npm, which you'll use to install dependencies.
Open your terminal and create a new directory for your project. Navigate into the directory and initialize a new Node.js project:
mkdir close-api-integration
cd close-api-integration
npm init -y
Next, install the axios library, which will help you make HTTP requests:
npm install axiosWriting JavaScript Code to Create or Update Leads in Close CRM
Create a new file named manageLeads.js and add the following code to it:
const axios = require('axios');

// Your Close API key
const apiKey = 'your_api_key_here';

// Base64 encode the API key
const authHeader = 'Basic ' + Buffer.from(apiKey + ':').toString('base64');

// Function to create a new lead
async function createLead() {
    try {
        const response = await axios.post('https://api.close.com/api/v1/lead/', {
            name: 'New Lead Name',
            contacts: [
                {
                    name: 'Contact Name',
                    emails: [{ email: 'contact@example.com' }]
                }
            ]
        }, {
            headers: {
                'Authorization': authHeader,
                'Content-Type': 'application/json'
            }
        });
        console.log('Lead created successfully:', response.data);
    } catch (error) {
        console.error('Error creating lead:', error.response ? error.response.data : error.message);
    }
}

// Function to update an existing lead
async function updateLead(leadId) {
    try {
        const response = await axios.put(`https://api.close.com/api/v1/lead/${leadId}/`, {
            name: 'Updated Lead Name'
        }, {
            headers: {
                'Authorization': authHeader,
                'Content-Type': 'application/json'
            }
        });
        console.log('Lead updated successfully:', response.data);
    } catch (error) {
        console.error('Error updating lead:', error.response ? error.response.data : error.message);
    }
}

// Example usage
createLead();
updateLead('existing_lead_id');
Replace your_api_key_here with your actual Close API key and existing_lead_id with the ID of the lead you wish to update.
Executing the JavaScript Code and Verifying API Calls
Run the script using Node.js:
node manageLeads.jsUpon successful execution, you should see confirmation messages in your terminal indicating whether the lead was created or updated. You can verify these changes by checking your Close CRM dashboard.
Handling Errors and Understanding Close API Response Codes
When making API calls, it's crucial to handle potential errors. The Close API uses standard HTTP response codes to indicate the success or failure of a request:
- 200: Request was successful.
- 400: There was an issue with the request.
- 401: Authentication is required.
- 404: The requested resource was not found.
- 429: Too many requests; you should pause before retrying.
For more details, refer to the Close API HTTP Response Codes Documentation.
Conclusion and Best Practices for Integrating Close API with JavaScript
Integrating the Close API into your JavaScript applications can significantly enhance your ability to manage leads efficiently. By automating lead creation and updates, you ensure that your sales team always has access to the most current information, reducing manual data entry and potential errors.
Best Practices for Secure and Efficient Close API Integration
- Secure API Key Storage: Always store your API keys securely. Avoid hardcoding them in your source code. Consider using environment variables or secure vaults to manage sensitive information.
- Handle Rate Limits Gracefully: Be mindful of Close API's rate limits. If you receive a 429 status code, pause your requests as specified by the
rate_resetvalue. For more details, refer to the Close API Rate Limits Documentation. - Data Transformation: When integrating with Close, ensure that data fields are standardized and transformed as needed to maintain consistency across your applications.
- Error Handling: Implement robust error handling to manage different HTTP response codes effectively. This ensures your application can respond appropriately to various scenarios.
Streamline Your Integrations with Endgrate
While integrating with the Close API can be straightforward, managing multiple integrations can become complex and time-consuming. Endgrate offers a unified API solution that simplifies the integration process across various platforms, including Close. By using Endgrate, you can focus on your core product development while outsourcing the intricacies of integration management.
Visit Endgrate to learn more about how you can save time and resources, providing an intuitive integration experience for your customers.
Read More
- https://endgrate.com/provider/close
- https://developer.close.com/topics/authentication/
- https://developer.close.com/topics/authentication-oauth2/
- https://developer.close.com/topics/pagination/
- https://developer.close.com/topics/rate-limits/
- https://developer.close.com/topics/http-response-codes/
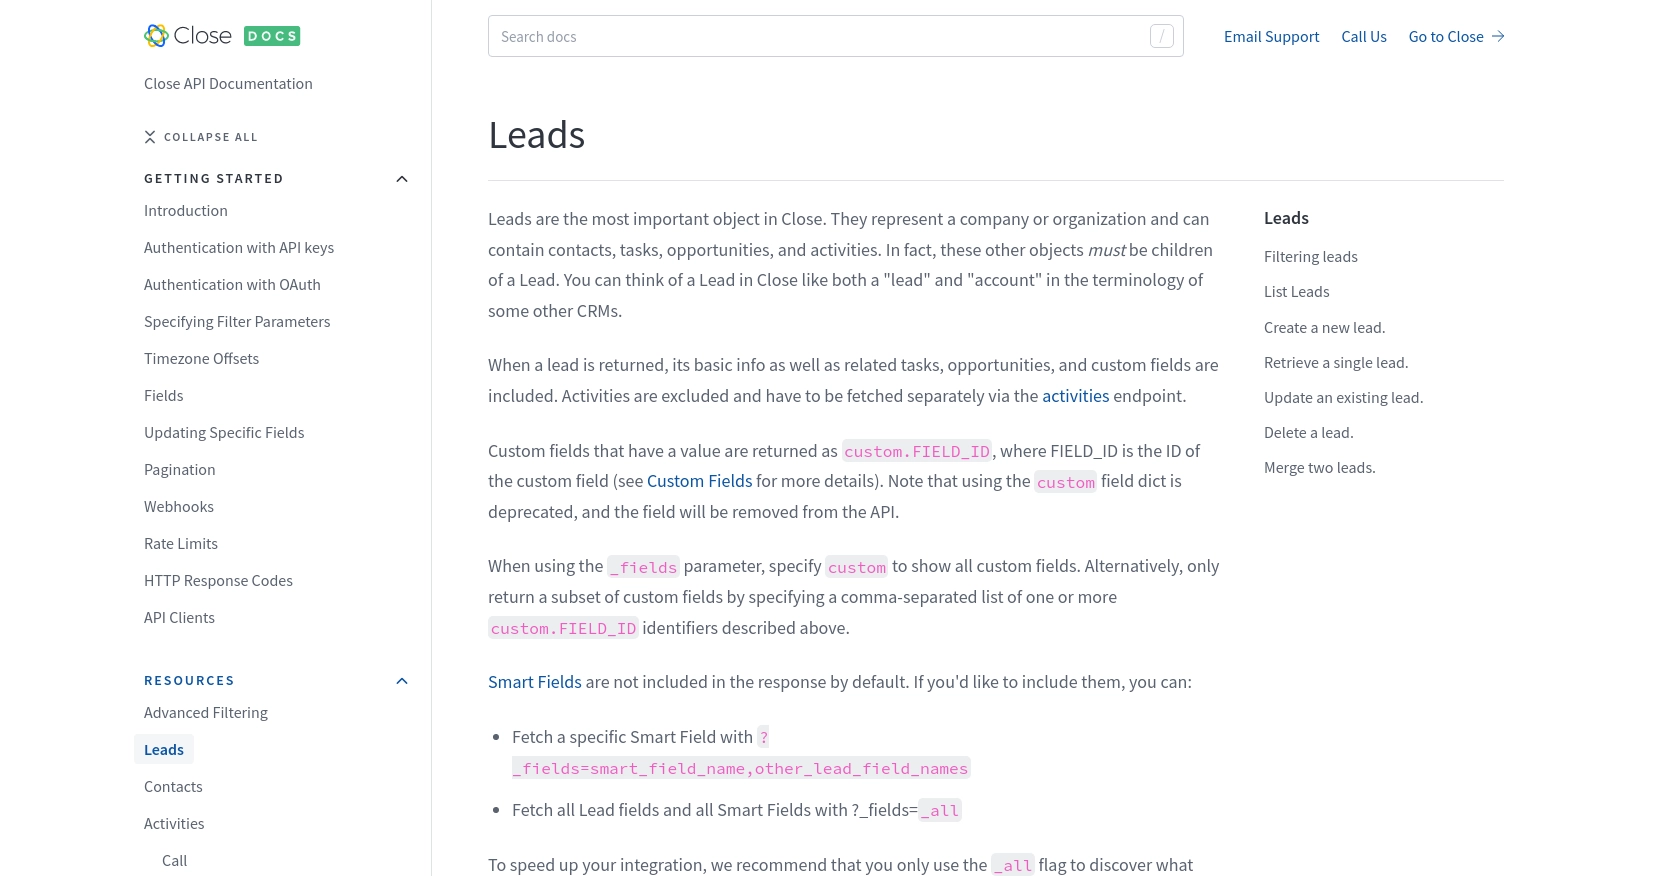
- https://developer.close.com/resources/leads/

Ready to get started?
