How to Create or Update Organizations with the Insightly API in PHP

Introduction to Insightly CRM Integration
Insightly is a powerful CRM platform designed to help businesses manage customer relationships and streamline their sales processes. With features like project management, workflow automation, and detailed reporting, Insightly is a popular choice for organizations looking to enhance their customer engagement strategies.
Integrating with the Insightly API allows developers to automate and manage various CRM tasks programmatically. For example, you might want to create or update organization records within Insightly using PHP, enabling seamless data synchronization between your application and Insightly's CRM system.
This article will guide you through the process of using PHP to interact with the Insightly API, specifically focusing on creating and updating organization records. By following this tutorial, you'll be able to efficiently manage your CRM data and improve your business workflows.
Setting Up Your Insightly Test Account
Before you can start integrating with the Insightly API, you need to set up a test account. This will allow you to safely experiment with API calls without affecting live data. Insightly offers a free trial that you can use to explore its features and test your integration.
Creating an Insightly Account
- Visit the Insightly signup page and register for a free trial account.
- Follow the instructions to complete the registration process. Once your account is created, you will be logged into the Insightly dashboard.
Generating Your Insightly API Key
Insightly uses API key-based authentication to authorize API requests. Here’s how you can obtain your API key:
- In the Insightly dashboard, click on your user profile in the upper right corner and select User Settings.
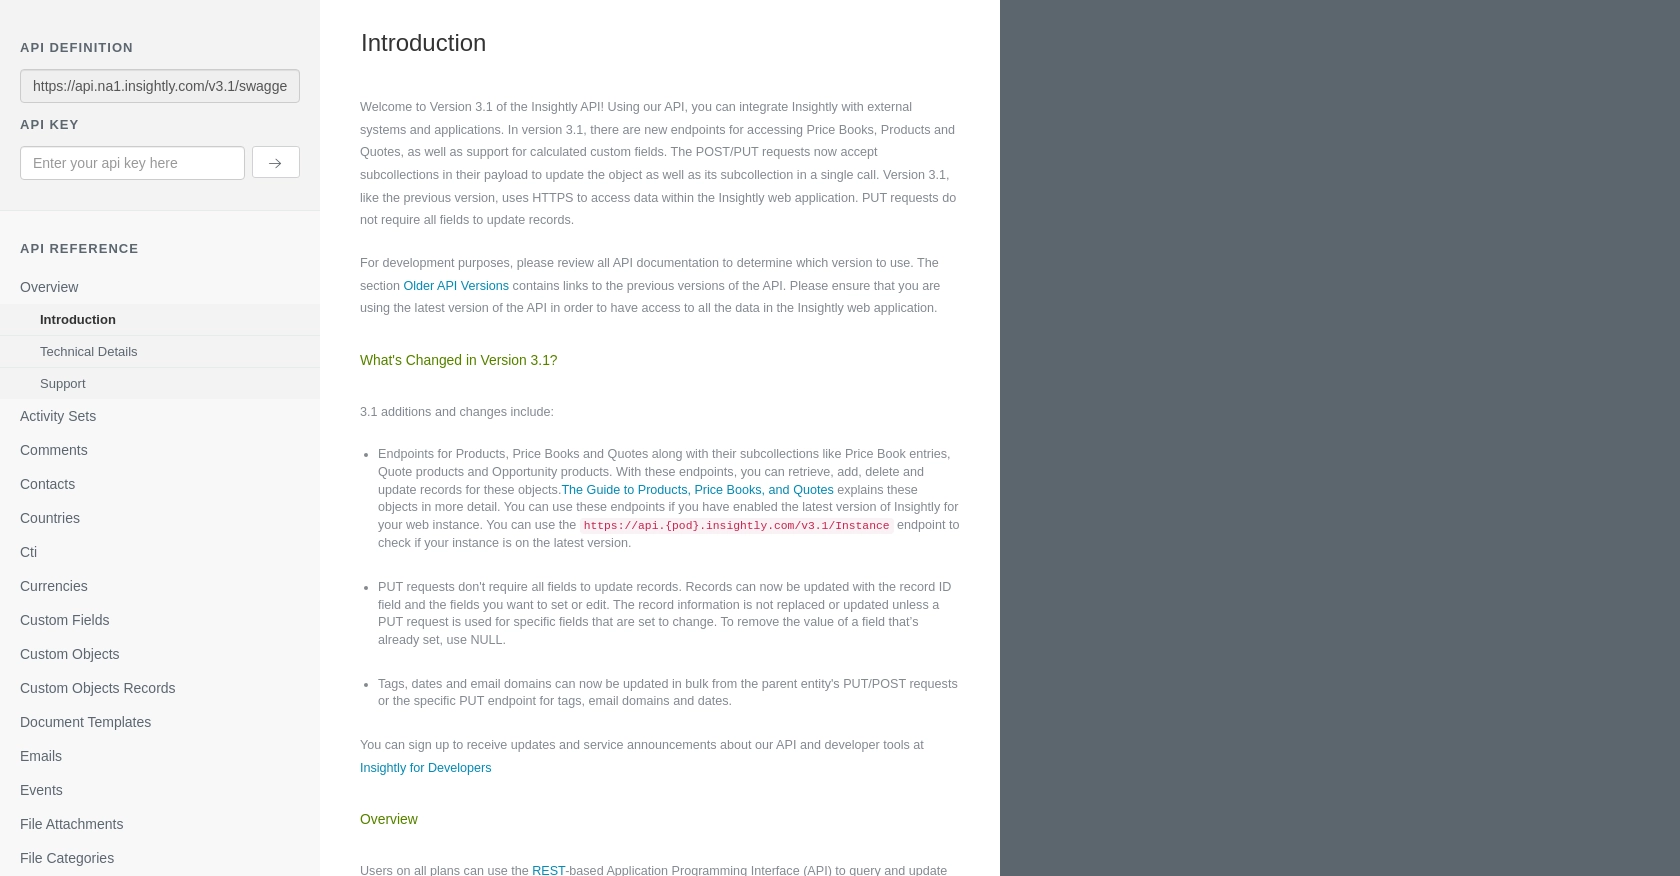
- Navigate to the API Key and URL section.
- Copy the API key displayed there. This key will be used to authenticate your API requests.
For more details, you can refer to the Insightly API key documentation.
Understanding Insightly API Authentication
Insightly uses HTTP Basic authentication, where the API key is included as the Base64-encoded username, leaving the password blank. This ensures that your API calls are authenticated and authorized.
For testing purposes, you can paste your API key directly into the API key field without Base64 encoding when using the sandbox environment.
Setting Up a Sandbox Environment
While Insightly does not provide a dedicated sandbox environment, you can use your trial account to test API interactions. Ensure that you are working with test data to avoid any unintended changes to real customer data.
By following these steps, you will be ready to start making API calls to Insightly and integrate its CRM functionalities into your PHP application.

sbb-itb-96038d7
Making API Calls to Create or Update Organizations with Insightly API in PHP
To interact with the Insightly API using PHP, you need to set up your environment and write the necessary code to make API requests. This section will guide you through the process of creating or updating organization records in Insightly using PHP.
Setting Up Your PHP Environment
Before making API calls, ensure you have the following prerequisites:
- PHP 7.4 or higher installed on your machine.
- The
cURLextension enabled in your PHP configuration.
To verify that cURL is enabled, check your php.ini file or use the phpinfo() function.
Installing Required PHP Libraries
For this tutorial, we'll use PHP's built-in cURL functions to handle HTTP requests. No additional libraries are required.
Creating or Updating Organizations with Insightly API
To create or update an organization in Insightly, you will use the POST or PUT HTTP methods. Below is a sample PHP script demonstrating how to perform these operations.
<?php
// Your Insightly API key
$apiKey = 'Your_API_Key';

// Base64 encode the API key for authentication
$authHeader = 'Authorization: Basic ' . base64_encode($apiKey . ':');

// API endpoint for organizations
$endpoint = 'https://api.na1.insightly.com/v3.1/Organisations';

// Organization data to create or update
$organizationData = [
    'ORGANISATION_NAME' => 'New Organization',
    'CUSTOMFIELDS' => [
        [
            'FIELD_NAME' => 'Custom_Field_1',
            'FIELD_VALUE' => 'Value1'
        ]
    ]
];

// Initialize cURL session
$ch = curl_init($endpoint);

// Set cURL options
curl_setopt($ch, CURLOPT_HTTPHEADER, [
    'Content-Type: application/json',
    $authHeader
]);
curl_setopt($ch, CURLOPT_RETURNTRANSFER, true);
curl_setopt($ch, CURLOPT_POSTFIELDS, json_encode($organizationData));

// Execute the request
$response = curl_exec($ch);

// Check for errors
if (curl_errno($ch)) {
    echo 'Error:' . curl_error($ch);
} else {
    // Parse and display the response
    $responseData = json_decode($response, true);
    echo 'Organization ID: ' . $responseData['ORGANISATION_ID'];
}

// Close cURL session
curl_close($ch);
?>
Verifying API Request Success
After executing the script, verify the success of your API request by checking the response. A successful creation or update will return the organization ID. You can also log into your Insightly account to confirm the changes.
Handling API Errors and Rate Limits
It's crucial to handle potential errors and respect the API's rate limits. Insightly allows up to 10 requests per second and has daily limits based on your plan. If you exceed these limits, you'll receive a 429 status code. Implement error handling in your code to manage these scenarios effectively.
For more information on rate limits, refer to the Insightly API documentation.
Conclusion and Best Practices for Insightly API Integration in PHP
Integrating with the Insightly API using PHP allows developers to automate CRM tasks, enhancing business workflows and data management. By following the steps outlined in this article, you can efficiently create or update organization records within Insightly, ensuring seamless data synchronization.
Best Practices for Secure and Efficient Insightly API Usage
- Secure API Key Storage: Always store your API keys securely, using environment variables or secure vaults, to prevent unauthorized access.
- Handle Rate Limits: Be mindful of Insightly's rate limits—10 requests per second and daily limits based on your plan. Implement retry logic to handle 429 status codes gracefully.
- Data Standardization: Ensure consistent data formats when interacting with Insightly, especially for custom fields, to maintain data integrity.
- Error Handling: Implement robust error handling to manage API errors and exceptions, logging them for future troubleshooting.
Enhance Your Integration Strategy with Endgrate
While integrating with Insightly directly can be effective, using a tool like Endgrate can streamline the process further. Endgrate offers a unified API endpoint that connects to multiple platforms, allowing you to focus on your core product while outsourcing complex integrations. This approach not only saves time and resources but also provides an intuitive integration experience for your customers.
By leveraging Endgrate, you can build once for each use case, reducing the need for multiple integrations and enhancing your product's capabilities with ease.
Read More
Ready to get started?
