How to Create or Update Payments with the Chargebee API in Python

Introduction to Chargebee API for Payment Management
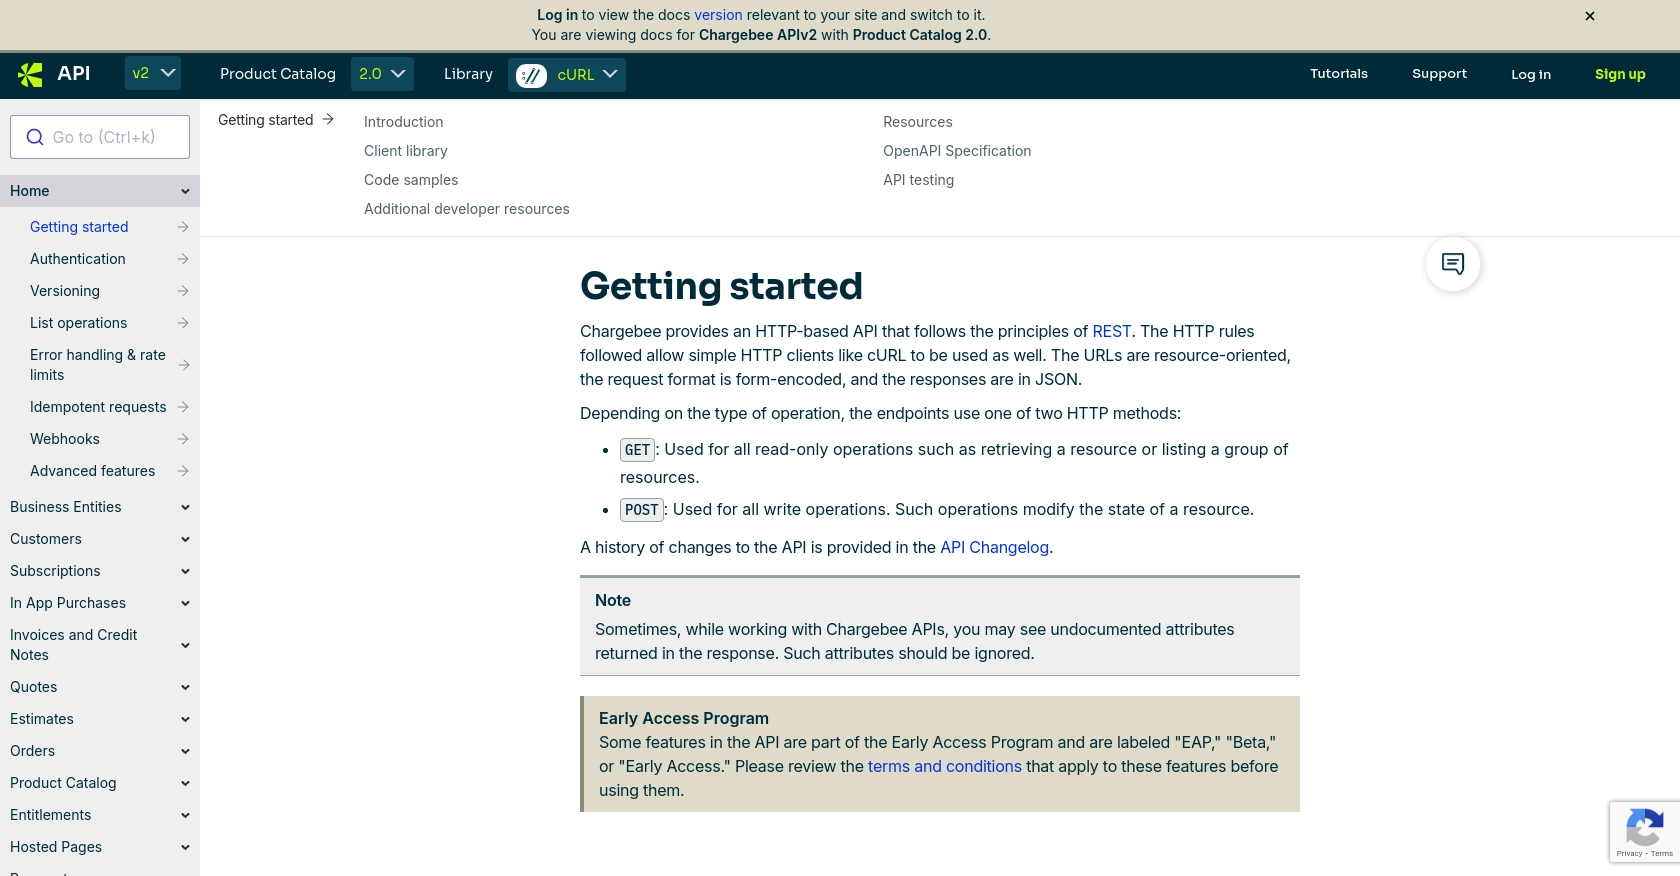
Chargebee is a robust subscription billing and revenue management platform that empowers businesses to streamline their billing processes. It offers a comprehensive suite of tools to manage subscriptions, invoicing, and payments, making it a popular choice for SaaS companies and other subscription-based businesses.
Integrating with Chargebee's API allows developers to automate and enhance payment processes, such as creating or updating payments. For example, a developer might use the Chargebee API to automate the creation of payment transactions, ensuring seamless billing operations and improved cash flow management.
This article will guide you through using Python to interact with the Chargebee API, focusing on creating or updating payments. You'll learn how to efficiently manage payment transactions, ensuring your billing system is both reliable and scalable.
Setting Up Your Chargebee Test/Sandbox Account for Payment Integration
Before you can start integrating with the Chargebee API, you'll need to set up a test or sandbox account. This environment allows you to safely test API calls without affecting live data, ensuring that your integration works seamlessly before going live.
Creating a Chargebee Test Account
If you don't already have a Chargebee account, follow these steps to create one:
- Visit the Chargebee signup page and register for a free trial account.
- Once registered, log in to your Chargebee dashboard.
- Navigate to the 'Sites' section and create a new test site. This will serve as your sandbox environment.
Generating API Keys for Chargebee Authentication
Chargebee uses HTTP Basic authentication for API calls, where the username is your API key and the password is left blank. Follow these steps to obtain your API key:
- In your Chargebee dashboard, go to 'Settings' and select 'API Keys'.
- Click on 'Create a Key' and provide a name for your key, such as "Test Key".
- Ensure you select the appropriate permissions for your API key, focusing on payment-related permissions.
- Once created, copy the API key and store it securely. Remember, the API keys for your test site are different from those for your live site.
Configuring OAuth for Chargebee API Access
While Chargebee primarily uses API keys for authentication, you may need to configure OAuth for specific use cases. Here's how you can set it up:
- In the Chargebee dashboard, navigate to 'Settings' and select 'OAuth Apps'.
- Click on 'Create an OAuth App' and fill in the required details, such as the app name and redirect URL.
- Once created, note down the client ID and client secret, which will be used for OAuth authentication.
With your Chargebee test account and API keys set up, you're ready to start integrating and testing payment transactions using the Chargebee API. This setup ensures a secure and isolated environment for development and testing.
sbb-itb-96038d7
How to Make API Calls to Create or Update Payments with Chargebee Using Python
To interact with the Chargebee API for creating or updating payments, you'll need to use Python. This section will guide you through the necessary steps, including setting up your environment, writing the code, and handling potential errors.
Setting Up Your Python Environment for Chargebee API Integration
Before making API calls, ensure your Python environment is correctly configured. You'll need Python 3.x and the requests library to handle HTTP requests.
- Ensure Python 3.x is installed on your machine. You can download it from the official Python website.
- Install the
requestslibrary by running the following command in your terminal:
pip install requestsWriting Python Code to Create or Update Payments with Chargebee API
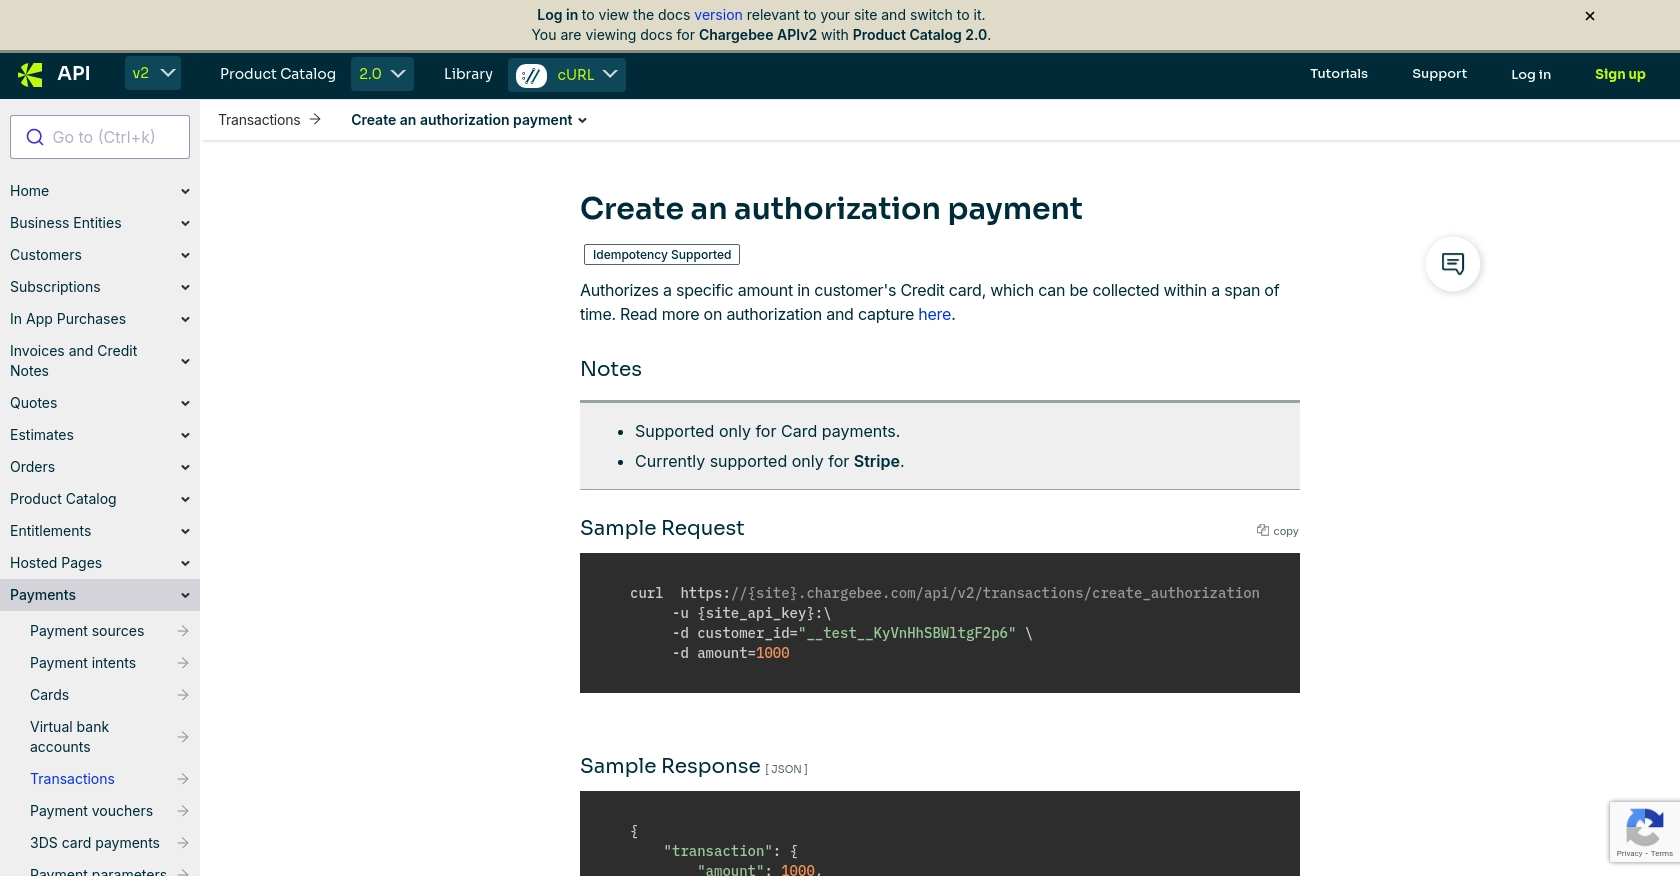
Now that your environment is set up, you can write the Python code to interact with the Chargebee API. Below is a sample script to create a payment transaction.
import requests

# Define the API endpoint and authentication
api_endpoint = "https://{your-site}.chargebee.com/api/v2/transactions"
api_key = "your_api_key"

# Set the headers for authentication
headers = {
    "Authorization": f"Basic {api_key}:"
}

# Define the payment data
payment_data = {
    "customer_id": "__test__KyVnHhSBWltgF2p6",
    "amount": 1000,  # Amount in cents
    "currency_code": "USD"
}

# Make the POST request to create a payment
response = requests.post(api_endpoint, headers=headers, data=payment_data)

# Check if the request was successful
if response.status_code == 200:
    print("Payment created successfully:", response.json())
else:
    print("Failed to create payment:", response.json())
Replace your_api_key and {your-site} with your actual Chargebee API key and site name. This script sends a POST request to create a payment transaction, specifying the customer ID, amount, and currency.
Verifying the Success of Your Chargebee API Request
After running the script, verify the success of your API call by checking the response. A successful response will include details of the payment transaction.
- If the payment is created successfully, the response will contain the transaction details, which you can log or process further.
- If the request fails, the response will contain error details. Refer to the Chargebee error handling documentation for more information.
Handling Errors and Understanding Chargebee API Error Codes
Chargebee API uses standard HTTP status codes to indicate the success or failure of an API call. Here are some common error codes you might encounter:
- 400 Bad Request: The request was invalid. Check the parameters and try again.
- 401 Unauthorized: Authentication failed. Verify your API key.
- 429 Too Many Requests: Rate limit exceeded. Refer to the rate limiting documentation for guidance.
Implement error handling in your code to manage these scenarios gracefully, ensuring a robust integration with Chargebee.
Conclusion and Best Practices for Chargebee API Integration in Python
Integrating with the Chargebee API using Python offers a powerful way to automate and manage payment processes efficiently. By following the steps outlined in this guide, you can create or update payments seamlessly, ensuring your billing operations are both reliable and scalable.
Best Practices for Secure and Efficient Chargebee API Usage
- Secure API Keys: Store your API keys securely and avoid hardcoding them in your source code. Use environment variables or secure vaults to manage sensitive information.
- Handle Rate Limits: Chargebee enforces rate limits to ensure fair usage. Implement exponential backoff strategies to handle HTTP 429 errors gracefully. For more details, refer to the Chargebee rate limiting documentation.
- Data Standardization: Ensure consistent data formats when interacting with the API. This includes standardizing currency codes and amounts to prevent errors.
- Error Handling: Implement robust error handling to manage API response errors effectively. Log errors for troubleshooting and provide user-friendly messages where applicable.
Enhance Your Integration Experience with Endgrate
While integrating with Chargebee is straightforward, managing multiple integrations can be complex and time-consuming. Endgrate simplifies this process by providing a unified API endpoint for various platforms, including Chargebee. By leveraging Endgrate, you can:
- Save time and resources by outsourcing integration management.
- Build once for each use case, eliminating the need for multiple integrations.
- Offer an intuitive integration experience for your customers.
Explore how Endgrate can streamline your integration processes by visiting Endgrate.
Read More

Ready to get started?
