How to Create or Update Product Variants with the Shopify API in PHP

Introduction to Shopify and Product Variant Management
Shopify is a leading e-commerce platform that empowers businesses to create and manage online stores with ease. It offers a robust suite of tools for managing products, processing payments, and handling shipping, making it a popular choice for businesses of all sizes.
Integrating with Shopify's API allows developers to automate and enhance various aspects of store management. One common use case is managing product variants, which represent different versions of a product, such as size or color. By using the Shopify API, developers can efficiently create or update product variants, ensuring that inventory and product details are always up-to-date.
For example, a developer might want to update the price or inventory level of a specific product variant in response to a sale or promotion. This article will guide you through the process of creating or updating product variants using the Shopify API in PHP, providing a seamless integration experience for your e-commerce solutions.
Setting Up Your Shopify Test Account for API Integration
Before you can start creating or updating product variants with the Shopify API, you need to set up a Shopify test account. This will allow you to safely experiment with API calls without affecting a live store. Shopify provides a development store option that is perfect for testing and development purposes.
Creating a Shopify Development Store
- Sign up for a Shopify Partner account if you haven't already. This will give you access to create development stores.
- Once logged in, navigate to the Stores section in your Shopify Partner dashboard.
- Click on Add store and select Development store.
- Fill in the necessary details such as store name, password, and purpose. Choose Development as the store type.
- Click Save to create your development store.
Setting Up OAuth Authentication for Shopify API
Shopify uses OAuth for authenticating API requests. Follow these steps to set up OAuth for your app:
- In your Shopify Partner dashboard, go to the Apps section and click on Create app.
- Enter your app's name and select the development store you created earlier.
- Under App setup, note down the API key and API secret key. These will be used for authentication.
- Set the Redirect URL to a URL in your application where Shopify will send the authorization code.
- Under Scopes, request the necessary permissions for managing product variants, such as
write_productsandread_products. - Save your app settings.
Generating Access Tokens
To make authenticated requests to the Shopify API, you need to exchange the authorization code for an access token:
- Direct the user to the Shopify authorization URL with your app's API key and requested scopes.
- After the user authorizes your app, Shopify will redirect them to your specified redirect URL with an authorization code.
- Use this code to request an access token from Shopify by making a POST request to the token endpoint.
// Example PHP code to exchange authorization code for access token
$shop = 'your-development-store.myshopify.com';
$api_key = 'your_api_key';
$api_secret = 'your_api_secret';
$code = 'authorization_code_from_redirect';

$url = "https://$shop/admin/oauth/access_token";
$data = array(
    'client_id' => $api_key,
    'client_secret' => $api_secret,
    'code' => $code
);

$options = array(
    'http' => array(
        'header'  => "Content-type: application/x-www-form-urlencoded\r\n",
        'method'  => 'POST',
        'content' => http_build_query($data),
    ),
);

$context  = stream_context_create($options);
$result = file_get_contents($url, false, $context);
$access_token = json_decode($result)->access_token;
With the access token, you can now make authenticated API calls to create or update product variants in your Shopify development store.

sbb-itb-96038d7
Making API Calls to Create or Update Shopify Product Variants Using PHP
Prerequisites for Shopify API Integration with PHP
Before diving into the code, ensure you have the following prerequisites set up:
- PHP 7.4 or higher installed on your development environment.
- The
cURLextension enabled in PHP for making HTTP requests. - An access token obtained from the OAuth authentication process, as described in the previous section.
Installing Required PHP Libraries for Shopify API
To interact with the Shopify API, you may want to use the Guzzle HTTP client for more robust request handling. Install it using Composer:
composer require guzzlehttp/guzzleCreating a New Product Variant with Shopify API in PHP
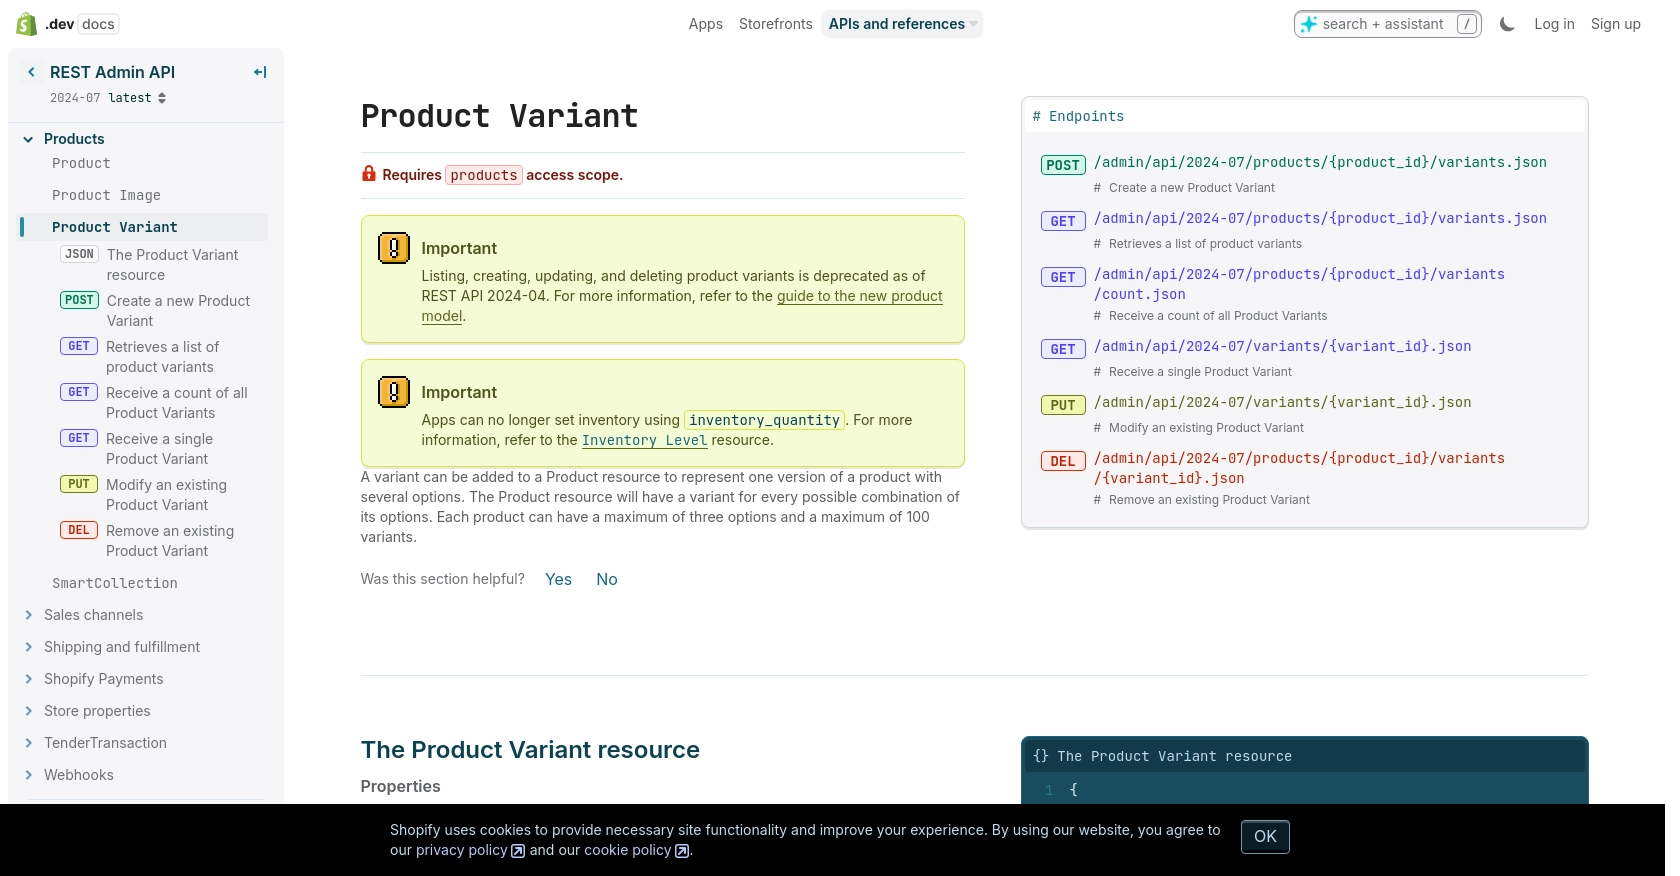
To create a new product variant, you'll need to make a POST request to the Shopify API endpoint for product variants. Here's how you can do it using PHP:
use GuzzleHttp\Client;

$client = new Client();
$shop = 'your-development-store.myshopify.com';
$access_token = 'your_access_token';
$product_id = '632910392';

$response = $client->post("https://$shop/admin/api/2024-07/products/$product_id/variants.json", [
    'headers' => [
        'X-Shopify-Access-Token' => $access_token,
        'Content-Type' => 'application/json',
    ],
    'json' => [
        'variant' => [
            'option1' => 'Yellow',
            'price' => '1.00',
        ],
    ],
]);

$data = json_decode($response->getBody(), true);
echo "New Variant ID: " . $data['variant']['id'];
Replace your-development-store.myshopify.com and your_access_token with your store's domain and access token. The $product_id should be the ID of the product you want to add a variant to.
Updating an Existing Product Variant with Shopify API in PHP
To update an existing product variant, use a PUT request. Here's an example:
$variant_id = '808950810';

$response = $client->put("https://$shop/admin/api/2024-07/variants/$variant_id.json", [
    'headers' => [
        'X-Shopify-Access-Token' => $access_token,
        'Content-Type' => 'application/json',
    ],
    'json' => [
        'variant' => [
            'price' => '2.00',
            'option1' => 'Blue',
        ],
    ],
]);

$data = json_decode($response->getBody(), true);
echo "Updated Variant ID: " . $data['variant']['id'];
Ensure you replace $variant_id with the ID of the variant you wish to update.
Verifying API Call Success and Handling Errors
After making an API call, check the response status code to verify success. A status code of 201 indicates a successful creation, while 200 indicates a successful update. Handle errors by checking for other status codes and reviewing the error message:
if ($response->getStatusCode() == 200 || $response->getStatusCode() == 201) {
    echo "Operation successful!";
} else {
    echo "Error: " . $response->getBody();
}
Refer to the Shopify API documentation for more details on error codes and handling.
Testing and Validating Changes in Shopify Development Store
After executing the API calls, verify the changes in your Shopify development store by checking the product variants. This ensures that the API interactions are functioning as expected.

Conclusion and Best Practices for Shopify API Integration
Integrating with the Shopify API to manage product variants using PHP can significantly streamline your e-commerce operations. By automating tasks such as creating and updating product variants, you ensure that your store remains responsive to changes in inventory, pricing, and promotions.
Best Practices for Secure and Efficient Shopify API Usage
- Securely Store Credentials: Always store your API keys and access tokens securely. Consider using environment variables or a secure vault to prevent unauthorized access.
- Handle Rate Limits: Shopify's API has a rate limit of 40 requests per app per store per minute. Implement logic to handle
429 Too Many Requestserrors by checking theRetry-Afterheader and pausing requests accordingly. More details can be found in the Shopify API documentation. - Data Standardization: Ensure that data fields such as prices and inventory levels are standardized across your application to maintain consistency.
- Error Handling: Implement robust error handling to manage various HTTP status codes, ensuring that your application can gracefully handle issues like authentication failures or invalid data.
Streamlining Integrations with Endgrate
While integrating directly with Shopify's API is powerful, it can be time-consuming and complex, especially if you need to manage multiple integrations. Endgrate offers a unified API solution that simplifies the integration process, allowing you to focus on your core product development. By using Endgrate, you can build once for each use case and leverage an intuitive integration experience for your customers.
Explore how Endgrate can enhance your integration strategy by visiting Endgrate's website and discover how you can save time and resources while delivering seamless integration experiences.
Read More
Ready to get started?
