How to Create Or Update Records with the Airtable API in Javascript
Introduction to Airtable API Integration
Airtable is a versatile platform that combines the simplicity of a spreadsheet with the power of a database, making it an ideal tool for organizing and managing data. Its flexible interface and robust API allow developers to create custom applications and automate workflows across various industries.
Integrating with the Airtable API can significantly enhance productivity by enabling seamless data management and synchronization. For example, developers can use the Airtable API to create or update records in real-time, facilitating dynamic data handling in applications such as project management tools or customer relationship management systems.
Setting Up Your Airtable Test or Sandbox Account
Before diving into the integration with the Airtable API, it's essential to set up a test or sandbox account. This will allow you to safely experiment with API calls without affecting live data. Airtable offers a straightforward process for creating a test environment, which is crucial for developers aiming to build and test integrations efficiently.
Creating an Airtable Account
If you don't already have an Airtable account, you can sign up for a free account on the Airtable website. Follow the registration process, which involves providing your email and creating a password. Once registered, you can log in to access your Airtable workspace.
Setting Up a Test Base in Airtable
After logging in, you can create a new base to serve as your sandbox environment. Follow these steps:
- Click on the "Add a base" button on your Airtable dashboard.
- Select "Start from scratch" to create a new base.
- Give your base a descriptive name, such as "API Test Base," and choose a color and icon if desired.
- Click "Create" to finalize your new base.
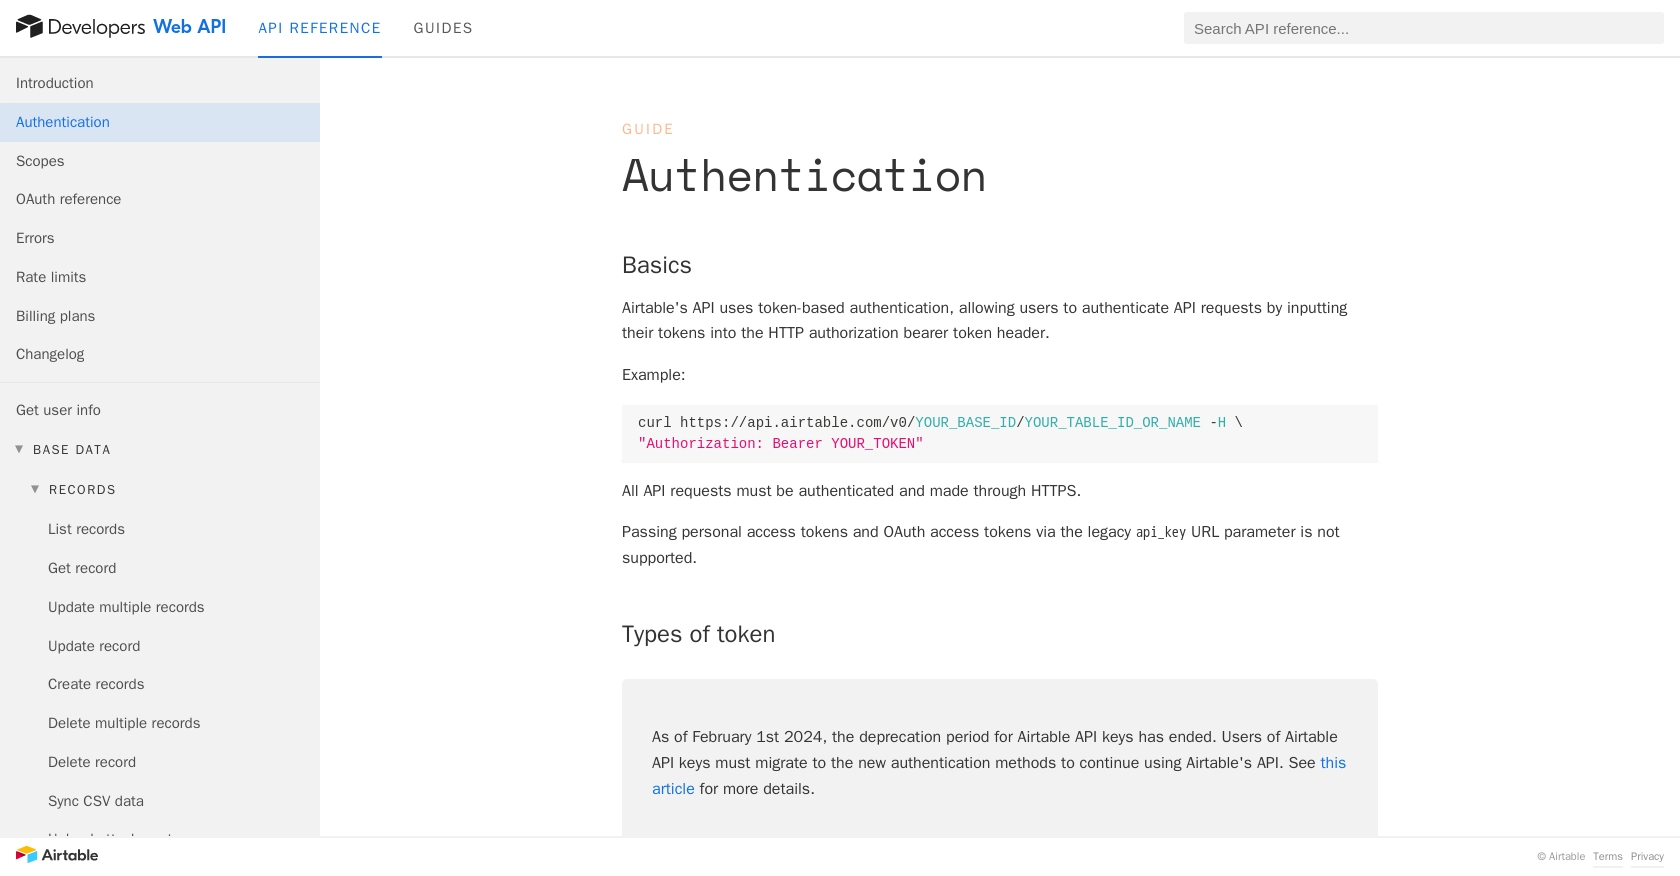
Generating an OAuth Access Token for Airtable API
Since Airtable uses OAuth for authentication, you'll need to create an OAuth app to obtain the necessary access tokens. Follow these steps:
- Navigate to the Airtable OAuth creation page.
- Register your application by providing a name, redirect URI, and other required details.
- Once registered, you'll receive a client ID and client secret.
- Use these credentials to implement the OAuth flow and obtain an access token. Refer to the OAuth reference documentation for detailed instructions.
Configuring Scopes and Permissions
Ensure that your OAuth token has the appropriate scopes to perform the desired actions, such as creating or updating records. You can configure these scopes during the OAuth app setup. For creating or updating records, the data.records:write scope is required.
With your Airtable test base and OAuth access token ready, you can now proceed to make API calls to create or update records. This setup ensures that your development and testing processes are both secure and efficient.
sbb-itb-96038d7
Making API Calls to Create or Update Records in Airtable Using JavaScript
Prerequisites for Airtable API Integration with JavaScript
Before you begin, ensure you have the following installed on your development environment:
- Node.js (version 14 or later)
- NPM (Node Package Manager)
Additionally, you will need the axios library to make HTTP requests. Install it using the following command:
npm install axiosCreating Records in Airtable with JavaScript
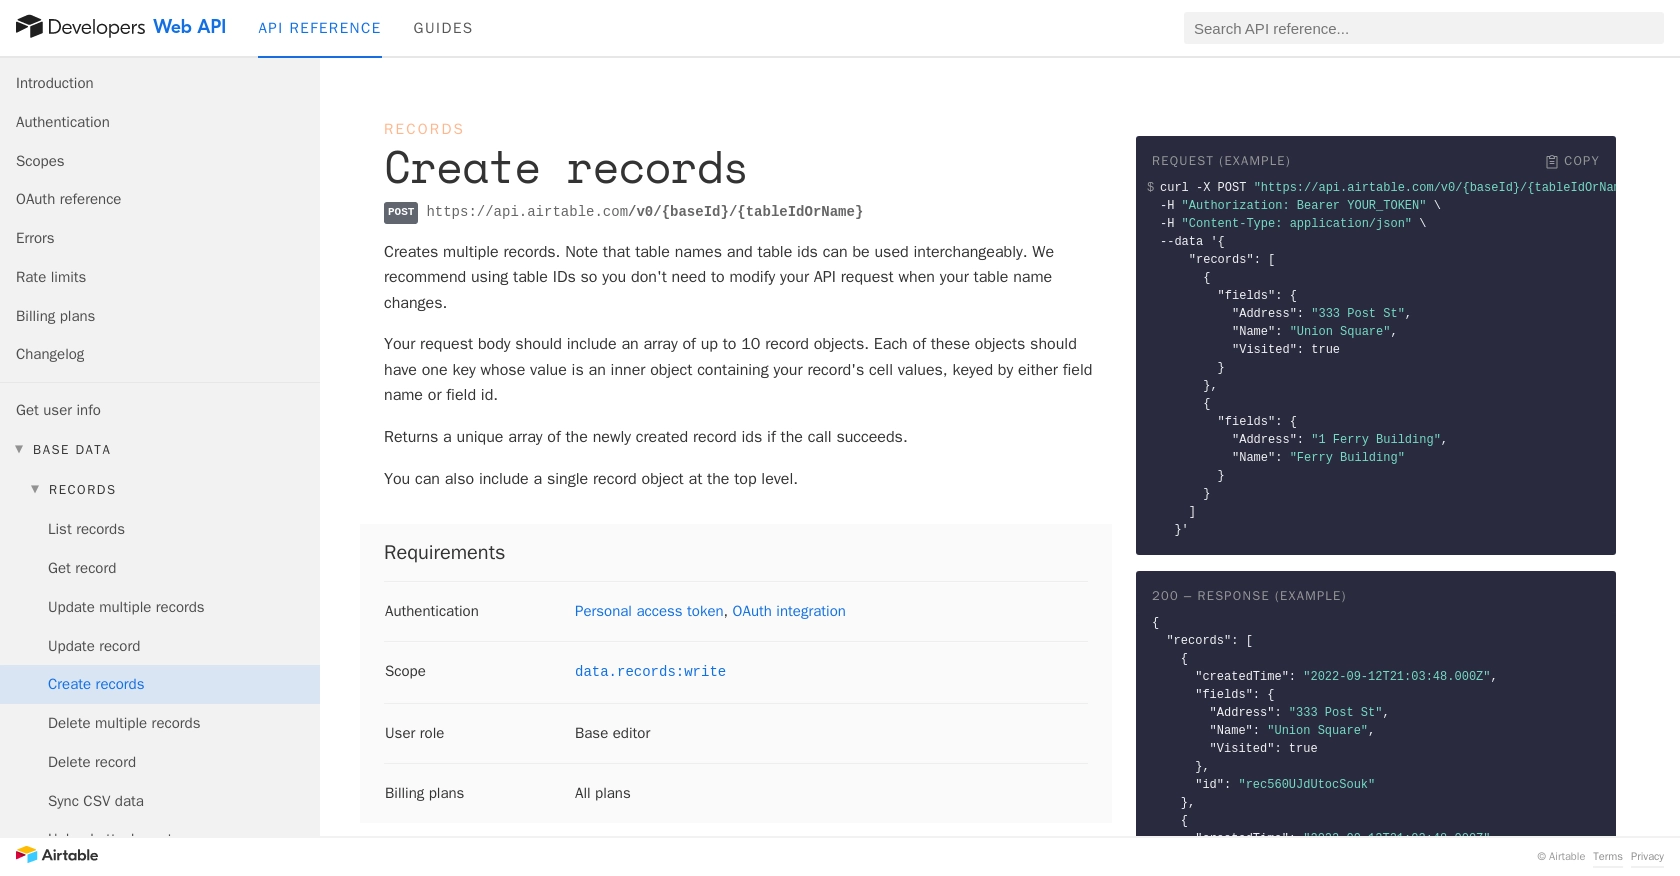
To create records in Airtable, you will use the Airtable API's POST method. Here's a step-by-step guide:
const axios = require('axios');

const createRecords = async () => {
    const url = 'https://api.airtable.com/v0/YOUR_BASE_ID/YOUR_TABLE_NAME';
    const headers = {
        'Authorization': 'Bearer YOUR_ACCESS_TOKEN',
        'Content-Type': 'application/json'
    };
    const data = {
        records: [
            {
                fields: {
                    Name: 'John Doe',
                    Email: 'john.doe@example.com'
                }
            }
        ]
    };

    try {
        const response = await axios.post(url, data, { headers });
        console.log('Records created:', response.data.records);
    } catch (error) {
        console.error('Error creating records:', error.response.data);
    }
};

createRecords();
Replace YOUR_BASE_ID, YOUR_TABLE_NAME, and YOUR_ACCESS_TOKEN with your actual Airtable base ID, table name, and OAuth access token. This script sends a POST request to create a new record with specified fields.
Updating Records in Airtable with JavaScript
To update existing records, use the PATCH method. Here's how you can do it:
const updateRecord = async (recordId) => {
    const url = `https://api.airtable.com/v0/YOUR_BASE_ID/YOUR_TABLE_NAME/${recordId}`;
    const headers = {
        'Authorization': 'Bearer YOUR_ACCESS_TOKEN',
        'Content-Type': 'application/json'
    };
    const data = {
        fields: {
            Name: 'Jane Doe',
            Email: 'jane.doe@example.com'
        }
    };

    try {
        const response = await axios.patch(url, data, { headers });
        console.log('Record updated:', response.data);
    } catch (error) {
        console.error('Error updating record:', error.response.data);
    }
};

updateRecord('YOUR_RECORD_ID');
Replace YOUR_RECORD_ID with the ID of the record you wish to update. This script updates the specified fields of an existing record.
Handling Errors and Verifying API Requests
When making API calls, it's crucial to handle potential errors. Airtable API returns various HTTP status codes to indicate success or failure:
- 200 OK: Request completed successfully.
- 400 Bad Request: Invalid request data.
- 401 Unauthorized: Invalid or missing authentication credentials.
- 429 Too Many Requests: Rate limit exceeded. Wait before retrying.
Refer to the Airtable error documentation for more details on handling errors.
Verifying Successful Record Creation or Update
After executing the API call, verify the changes by checking the Airtable base. The newly created or updated records should reflect the changes made through the API.
By following these steps, you can efficiently create or update records in Airtable using JavaScript, enhancing your application's data management capabilities.
Conclusion and Best Practices for Airtable API Integration with JavaScript
Integrating with the Airtable API using JavaScript offers a powerful way to manage and synchronize data across various applications. By following the steps outlined in this guide, developers can efficiently create and update records, enhancing the functionality of their applications.
Best Practices for Secure and Efficient Airtable API Usage
- Securely Store Credentials: Always store your OAuth access tokens securely. Avoid hardcoding them in your source code and consider using environment variables or secure vaults.
- Handle Rate Limits: Airtable imposes a rate limit of 5 requests per second per base. Implement back-off and retry logic to handle 429 status codes gracefully. For more details, refer to the Airtable rate limits documentation.
- Validate Data: Ensure that the data being sent to Airtable is validated and sanitized to prevent errors and maintain data integrity.
- Use Typecasting: Consider using the typecast parameter for automatic data conversion when integrating with third-party data sources.
Enhancing Integration Capabilities with Endgrate
If managing multiple integrations becomes overwhelming, consider leveraging Endgrate to streamline the process. Endgrate provides a unified API endpoint that simplifies integration management, allowing you to focus on your core product development. By using Endgrate, you can build once for each use case and enjoy an intuitive integration experience for your customers.
Visit Endgrate to learn more about how it can help you save time and resources while enhancing your integration capabilities.
Read More
- https://endgrate.com/provider/airtable
- https://airtable.com/developers/web/api/authentication
- https://airtable.com/developers/web/api/scopes
- https://airtable.com/developers/web/api/oauth-reference
- https://airtable.com/developers/web/api/errors
- https://airtable.com/developers/web/api/rate-limits
- https://airtable.com/developers/web/api/create-records
- https://airtable.com/developers/web/api/update-record

Ready to get started?
