How to Create or Update Records with the Salesforce API in Javascript

Introduction to Salesforce API Integration
Salesforce is a leading customer relationship management (CRM) platform that empowers businesses to manage their sales, customer service, and marketing operations effectively. With its robust suite of tools, Salesforce enables organizations to streamline their processes and enhance customer engagement.
For developers, integrating with the Salesforce API offers the opportunity to automate and customize CRM functionalities. By creating or updating records through the Salesforce API, developers can ensure that data is synchronized across platforms, enhancing operational efficiency. For example, a developer might use the Salesforce API to automatically update customer information from an external application, ensuring that the CRM always reflects the most current data.
Setting Up Your Salesforce Developer Account and Sandbox
Before you can start integrating with the Salesforce API, you'll need to set up a Salesforce Developer account and create a sandbox environment. This allows you to test your API interactions without affecting live data.
Creating a Salesforce Developer Account
If you don't already have a Salesforce Developer account, follow these steps to create one:
- Visit the Salesforce Developer Signup Page.
- Fill in the required information, including your name, email, and company details.
- Agree to the terms and conditions, then click "Sign Up."
- Check your email for a verification link from Salesforce and follow the instructions to activate your account.
Setting Up a Salesforce Sandbox Environment
Once your developer account is ready, you can create a sandbox environment to safely test your API interactions:
- Log in to your Salesforce Developer account.
- Navigate to the "Setup" area by clicking the gear icon in the top right corner.
- In the Quick Find box, type "Sandboxes" and select the "Sandboxes" option.
- Click "New Sandbox" and choose the type of sandbox that fits your needs (e.g., Developer Sandbox).
- Enter a name and description for your sandbox, then click "Create."
- Wait for the sandbox creation process to complete, which may take a few minutes.
Configuring OAuth Authentication for Salesforce API
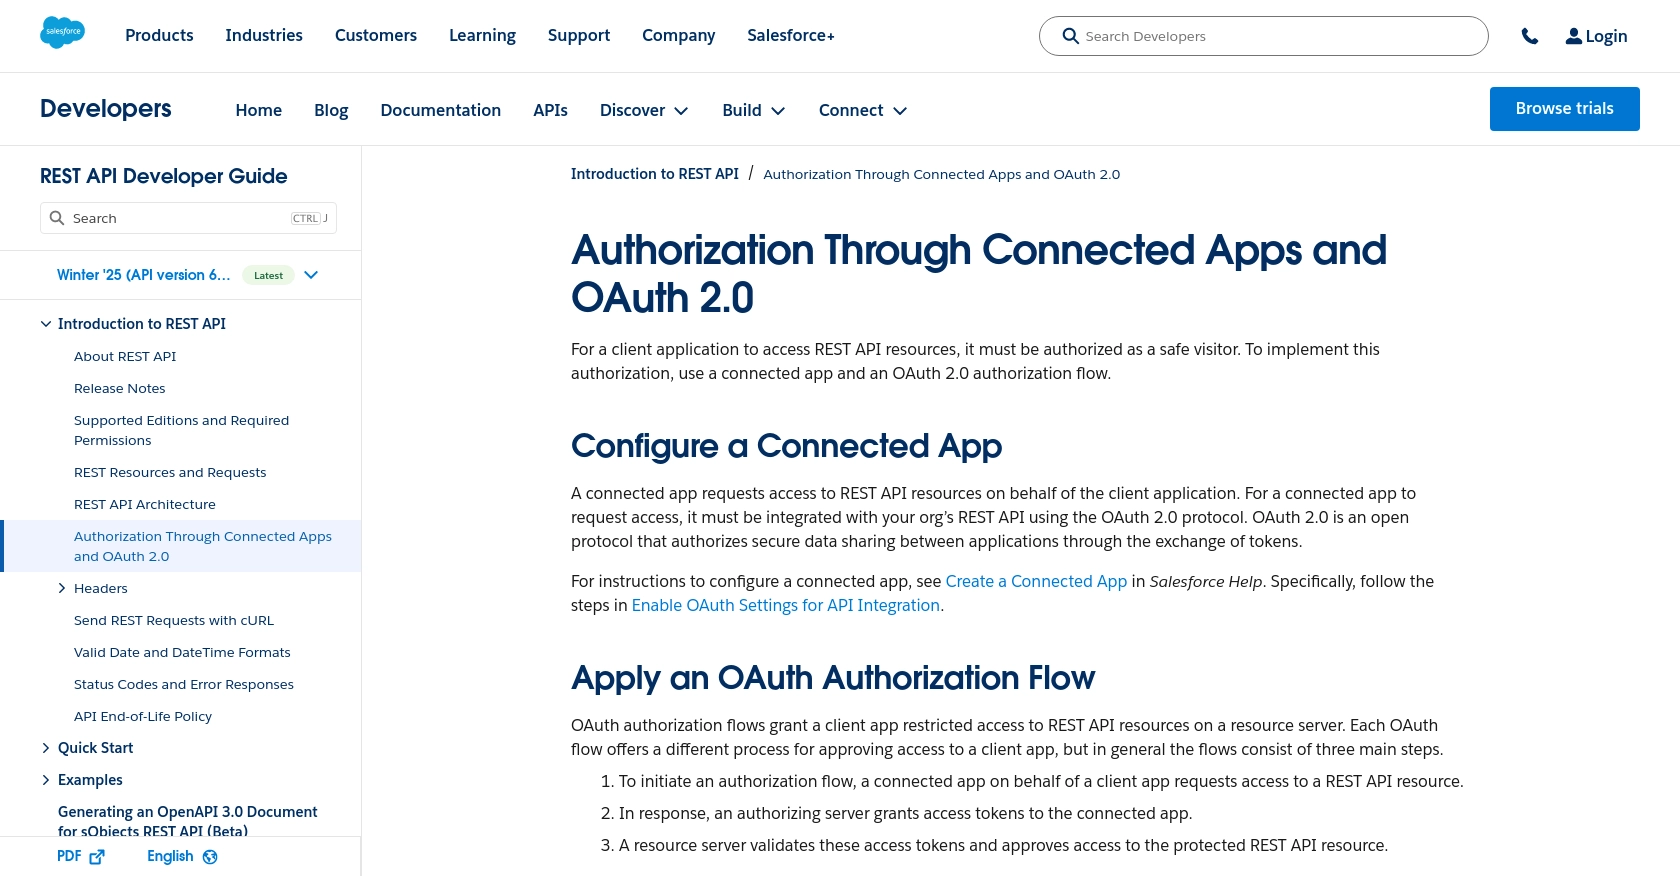
Salesforce uses OAuth 2.0 for secure API authentication. To set this up, you'll need to create a connected app:
- In the "Setup" area, enter "App Manager" in the Quick Find box and select "App Manager."
- Click "New Connected App" in the top right corner.
- Fill in the required fields, such as the connected app name and contact email.
- Under "API (Enable OAuth Settings)," check "Enable OAuth Settings."
- Enter a callback URL (e.g.,
https://localhost/callback) and select the OAuth scopes your app requires. - Save your connected app and note the "Consumer Key" and "Consumer Secret" for use in your API calls.
For more detailed information on OAuth setup, refer to the Salesforce OAuth Documentation.

sbb-itb-96038d7
Making API Calls to Create or Update Salesforce Records Using JavaScript
To interact with Salesforce's API using JavaScript, you'll need to ensure your environment is set up correctly. This section will guide you through the necessary steps, including setting up your JavaScript environment, installing dependencies, and writing the code to create or update records in Salesforce.
Setting Up Your JavaScript Environment
Before making API calls, ensure you have Node.js installed on your machine. Node.js provides the runtime environment needed to execute JavaScript code outside a browser.
- Download and install Node.js from the official website.
- Verify the installation by running
node -vandnpm -vin your terminal or command prompt.
Installing Required Dependencies
You'll need the axios library to make HTTP requests to the Salesforce API. Install it using npm:
npm install axiosWriting JavaScript Code to Create or Update Salesforce Records
With your environment ready, you can now write the JavaScript code to interact with Salesforce's API. Below is an example of how to create or update a record:
const axios = require('axios');

// Salesforce API endpoint for creating or updating records
const endpoint = 'https://yourInstance.salesforce.com/services/data/vXX.X/sobjects/YourObjectName/';

// Access token obtained from OAuth authentication
const accessToken = 'Your_Access_Token';

// Function to create or update a record
async function createOrUpdateRecord(recordData) {
    try {
        const response = await axios({
            method: 'patch', // Use 'post' for creating new records
            url: `${endpoint}${recordData.Id}`, // Use the record ID for updates
            headers: {
                'Authorization': `Bearer ${accessToken}`,
                'Content-Type': 'application/json'
            },
            data: recordData
        });

        console.log('Record successfully created or updated:', response.data);
    } catch (error) {
        console.error('Error creating or updating record:', error.response ? error.response.data : error.message);
    }
}

// Example record data
const recordData = {
    Id: '001xx000003DGbIAAW', // Use an existing ID for updates, omit for new records
    Name: 'Updated Account Name',
    // Add other fields as needed
};

// Call the function
createOrUpdateRecord(recordData);
In this code, replace yourInstance with your Salesforce instance URL, XX.X with the API version, and YourObjectName with the object you are working with (e.g., Account, Contact). The recordData object should contain the fields you want to create or update.
Verifying API Call Success in Salesforce Sandbox
After running the code, verify the success of your API call by checking the Salesforce sandbox environment. Navigate to the object you interacted with and confirm that the record has been created or updated as expected.
Handling Errors and Error Codes
When making API calls, it's crucial to handle potential errors. The example code includes a try-catch block to catch and log errors. Salesforce API errors often include a status code and message, which can help diagnose issues. For more details on error codes, refer to the Salesforce API Documentation.
Conclusion and Best Practices for Salesforce API Integration
Integrating with the Salesforce API using JavaScript provides developers with powerful tools to automate and enhance CRM functionalities. By following the steps outlined in this guide, you can efficiently create or update records, ensuring that your Salesforce data remains accurate and up-to-date.
Best Practices for Secure and Efficient Salesforce API Usage
- Securely Store Credentials: Always store your OAuth credentials, such as the access token, securely. Consider using environment variables or a secure vault to protect sensitive information.
- Handle Rate Limiting: Be aware of Salesforce's API rate limits to avoid exceeding them. Implement retry logic with exponential backoff to manage rate-limited responses gracefully.
- Data Standardization: Ensure that data fields are standardized and validated before making API calls. This helps maintain data integrity across systems.
Streamlining Integrations with Endgrate
While integrating with Salesforce directly is powerful, managing multiple integrations can be complex and time-consuming. Endgrate offers a unified API endpoint that simplifies integration processes across various platforms, including Salesforce. By leveraging Endgrate, you can focus on your core product development while ensuring seamless integration experiences for your customers.
Explore how Endgrate can help you save time and resources by visiting Endgrate's website and discover the benefits of a streamlined integration strategy.
Read More
- https://endgrate.com/provider/salesforce
- https://developer.salesforce.com/docs/atlas.en-us.api_rest.meta/api_rest/intro_oauth_and_connected_apps.htm
- https://developer.salesforce.com/docs/atlas.en-us.api_rest.meta/api_rest/quickstart_dev_org.htm
- https://developer.salesforce.com/docs/atlas.en-us.api_rest.meta/api_rest/resources_list.htm
Ready to get started?
