How to Create Or Update Records with the Snowflake API in PHP

Introduction to Snowflake API Integration
Snowflake is a cloud-based data warehousing platform renowned for its scalability, performance, and ease of use. It enables businesses to store, manage, and analyze vast amounts of data efficiently. Snowflake's architecture separates storage and compute, allowing for flexible scaling and cost management.
For developers, integrating with the Snowflake API can unlock powerful data management capabilities. By connecting with Snowflake, developers can automate data operations, such as creating or updating records, directly from their applications. For example, a developer might use the Snowflake API to update customer records in real-time as new data is collected from various sources, ensuring that the data warehouse remains current and accurate.
Setting Up Your Snowflake Test Account
Before you can start integrating with the Snowflake API, you'll need to set up a test account. Snowflake offers a free trial that allows developers to explore its features and capabilities. This trial is ideal for testing API interactions without incurring costs.
Follow these steps to create your Snowflake test account:
- Visit the Snowflake sign-up page and register for a free trial account.
- Complete the registration form with your details and submit it.
- Once registered, you'll receive an email with instructions to activate your account. Follow the link in the email to activate.
- Log in to your Snowflake account using the credentials you set up during registration.
Creating a Snowflake App for OAuth Authentication
Snowflake uses OAuth for secure API authentication. To interact with the Snowflake API, you'll need to create an app and obtain the necessary credentials.
- In your Snowflake account, navigate to the OAuth section under Security.
- Create a new OAuth app by providing the required details such as app name and redirect URL.
- Once the app is created, note down the Client ID and Client Secret. These will be used to generate the OAuth token.
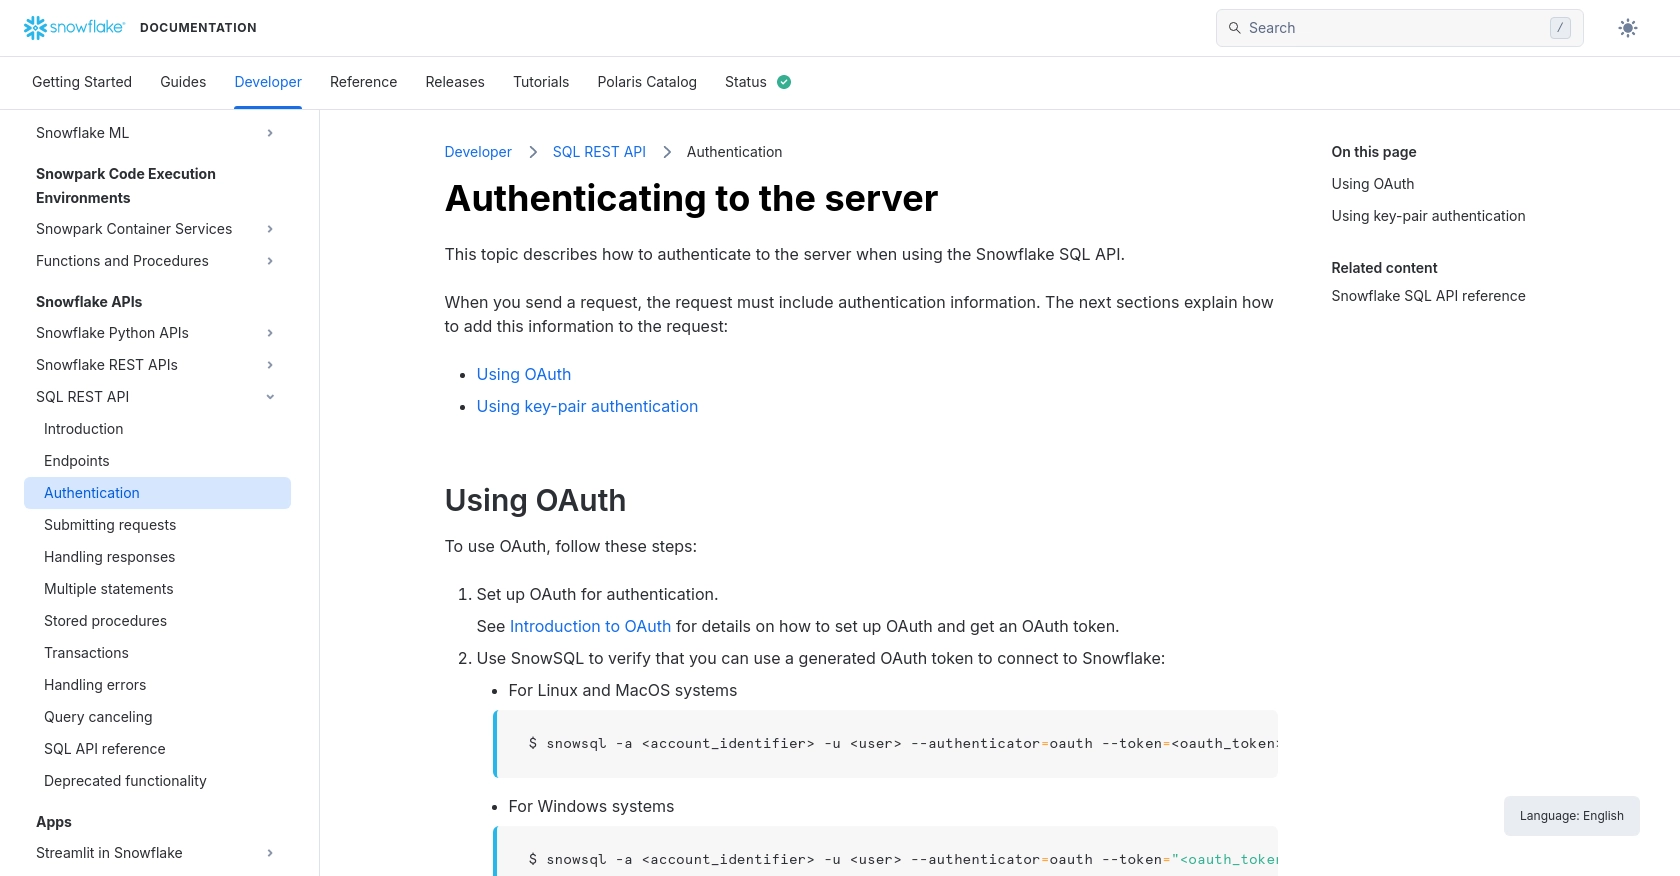
Generating an OAuth Token for Snowflake API Access
With your app set up, you can now generate an OAuth token to authenticate API requests.
- Use a tool like SnowSQL to verify your OAuth setup:
- Replace
<account_identifier>,<user>, and<oauth_token>with your specific details. - In each API request, include the following headers:
$ snowsql -a <account_identifier> -u <user> --authenticator=oauth --token=<oauth_token>Authorization: Bearer <oauth_token>
X-Snowflake-Authorization-Token-Type: OAUTHFor more detailed instructions, refer to the Snowflake Authentication Documentation.
sbb-itb-96038d7
Making API Calls to Create or Update Records with Snowflake in PHP
To interact with the Snowflake API using PHP, you'll need to set up your environment and write the necessary code to create or update records. This section will guide you through the process, including setting up PHP, installing dependencies, and writing the code to make API calls.
Setting Up Your PHP Environment
Before making API calls, ensure that you have PHP installed on your machine. You can download it from the official PHP website. Additionally, you'll need the Composer package manager to handle dependencies.
- Install Composer by following the instructions on the Composer website.
- Once Composer is installed, use it to install the Guzzle HTTP client, which will help you make HTTP requests:
composer require guzzlehttp/guzzleWriting PHP Code to Interact with the Snowflake API
With your environment set up, you can now write the PHP code to create or update records in Snowflake. The following example demonstrates how to make a POST request to the Snowflake API using the Guzzle HTTP client.
require 'vendor/autoload.php';

use GuzzleHttp\Client;

$client = new Client();

$accountIdentifier = 'your_account_identifier';
$oauthToken = 'your_oauth_token';
$endpoint = "https://$accountIdentifier.snowflakecomputing.com/api/v2/statements/";

$headers = [
    'Authorization' => "Bearer $oauthToken",
    'X-Snowflake-Authorization-Token-Type' => 'OAUTH',
    'Content-Type' => 'application/json'
];

$data = [
    'statement' => 'INSERT INTO your_table_name (column1, column2) VALUES (value1, value2)'
];

try {
    $response = $client->post($endpoint, [
        'headers' => $headers,
        'json' => $data
    ]);

    if ($response->getStatusCode() == 200) {
        echo "Record created or updated successfully.";
    } else {
        echo "Failed to create or update record.";
    }
} catch (Exception $e) {
    echo "Error: " . $e->getMessage();
}
Replace your_account_identifier, your_oauth_token, your_table_name, and the SQL statement with your specific details. This code sets up the necessary headers for authentication and sends a POST request to the Snowflake API to execute a SQL statement.
Verifying API Call Success and Handling Errors
After executing the API call, you can verify its success by checking the response status code. A status code of 200 indicates success. If the request fails, handle errors gracefully by catching exceptions and displaying error messages.
Refer to the Snowflake Error Handling Documentation for more information on handling specific error codes, such as 408 for timeouts and 422 for execution errors.
Conclusion and Best Practices for Snowflake API Integration in PHP
Integrating with the Snowflake API using PHP allows developers to efficiently manage and manipulate data within the Snowflake platform. By following the steps outlined in this guide, you can create or update records seamlessly, ensuring your data operations are both automated and reliable.
Best Practices for Secure and Efficient Snowflake API Usage
- Securely Store Credentials: Always store your OAuth tokens and other sensitive credentials securely. Consider using environment variables or secure vaults to protect this information.
- Handle Rate Limiting: Be mindful of API rate limits to avoid service disruptions. Implement retry logic with exponential backoff to manage rate limits effectively.
- Standardize Data Formats: Ensure that data being sent to Snowflake is standardized and validated to prevent errors during API calls.
- Error Handling: Implement comprehensive error handling to manage different response codes, such as 408 for timeouts and 422 for execution errors. Refer to the Snowflake Error Handling Documentation for detailed guidance.
Streamlining Integrations with Endgrate
For developers looking to simplify their integration processes, Endgrate offers a unified API solution that connects to multiple platforms, including Snowflake. By leveraging Endgrate, you can focus on your core product while outsourcing complex integrations, saving both time and resources.
Explore how Endgrate can enhance your integration experience by visiting Endgrate's website and discover how you can build once for each use case instead of multiple times for different integrations.
Read More

Ready to get started?
