How to Create or Update Sales Orders with the Xero API in Python

Introduction to Xero API for Sales Orders
Xero is a powerful cloud-based accounting software platform designed to help small and medium-sized businesses manage their finances efficiently. With features like invoicing, payroll, and expense tracking, Xero provides a comprehensive solution for businesses looking to streamline their financial operations.
For developers, integrating with the Xero API offers the opportunity to automate and enhance financial processes. By connecting to the Xero API, developers can create or update sales orders, allowing businesses to manage their sales transactions seamlessly. For example, a developer might use the Xero API to automatically generate sales orders from an e-commerce platform, ensuring that all sales data is accurately recorded in Xero without manual intervention.
Setting Up Your Xero Test or Sandbox Account for API Integration
Before you can start creating or updating sales orders with the Xero API, you'll need to set up a test or sandbox account. This environment allows you to safely experiment with the API without affecting real data.
Creating a Xero Developer Account
To begin, you'll need a Xero developer account. If you don't have one, follow these steps:
- Visit the Xero Developer Portal.
- Click on "Sign Up" and fill in the required details to create your account.
- Once registered, log in to your developer account.
Setting Up a Xero Sandbox Organization
Next, you'll need to create a sandbox organization within Xero:
- Navigate to the "My Apps" section in the Xero Developer Portal.
- Select "Add a new app" and choose "Demo Company" to create a sandbox organization.
- This demo company will serve as your testing environment for API calls.
Configuring OAuth 2.0 for Xero API Access
The Xero API uses OAuth 2.0 for authentication. Follow these steps to configure it:
- In the "My Apps" section, click on "Create App" to start a new application.
- Provide a name and select the "Web App" option.
- Enter the redirect URI, which is the URL where users will be redirected after authentication.
- Once the app is created, note down the client ID and client secret, which you'll use for authentication.
For more details on OAuth 2.0, refer to the Xero OAuth 2.0 Overview.
Assigning Scopes for Sales Orders
To interact with sales orders, you'll need to assign the appropriate scopes to your app:
- Go to the "Scopes" section of your app settings.
- Select the necessary scopes related to sales orders, such as "accounting.transactions" for creating and updating orders.
For more information on scopes, visit the Xero Scopes Documentation.
Connecting Your App to the Xero Sandbox
Finally, connect your app to the sandbox organization:
- Use the client ID and client secret to authenticate your app via OAuth 2.0.
- Authorize your app to access the sandbox organization, allowing it to perform API operations.
With your Xero sandbox account set up and your app configured, you're ready to start making API calls to create or update sales orders.

sbb-itb-96038d7
Making API Calls to Create or Update Sales Orders with Xero in Python
To interact with the Xero API for creating or updating sales orders, you'll need to use Python. This section will guide you through the necessary steps, including setting up your environment, writing the code, and handling potential errors.
Setting Up Your Python Environment for Xero API Integration
Before making API calls, ensure you have Python installed on your machine. This tutorial uses Python 3.11.1. Additionally, you'll need the following Python packages:
requests: For making HTTP requests.requests-oauthlib: For handling OAuth 2.0 authentication.
Install these packages using pip:
pip install requests requests-oauthlibCreating or Updating Sales Orders with Xero API
Now, let's write the Python code to create or update sales orders using the Xero API. Start by creating a file named sales_orders.py and add the following code:
import requests
from requests_oauthlib import OAuth2Session

# Replace with your client ID and client secret
client_id = 'YOUR_CLIENT_ID'
client_secret = 'YOUR_CLIENT_SECRET'

# OAuth 2.0 token URL and redirect URI
token_url = 'https://identity.xero.com/connect/token'
redirect_uri = 'YOUR_REDIRECT_URI'

# Xero API endpoint for sales orders
endpoint = 'https://api.xero.com/api.xro/2.0/SalesOrders'

# Function to get OAuth 2.0 token
def get_token():
    xero = OAuth2Session(client_id, redirect_uri=redirect_uri)
    token = xero.fetch_token(token_url, client_secret=client_secret, authorization_response='YOUR_AUTHORIZATION_RESPONSE')
    return token

# Function to create or update a sales order
def create_or_update_sales_order(token, sales_order_data):
    headers = {
        'Authorization': f'Bearer {token["access_token"]}',
        'Content-Type': 'application/json'
    }
    response = requests.post(endpoint, headers=headers, json=sales_order_data)
    return response.json()

# Example sales order data
sales_order_data = {
    "SalesOrders": [
        {
            "Contact": {
                "Name": "Example Customer"
            },
            "LineItems": [
                {
                    "Description": "Example Item",
                    "Quantity": 1,
                    "UnitAmount": 100.0
                }
            ],
            "Date": "2023-10-01",
            "DueDate": "2023-10-15"
        }
    ]
}

# Get token and make API call
token = get_token()
response = create_or_update_sales_order(token, sales_order_data)
print(response)
Replace YOUR_CLIENT_ID, YOUR_CLIENT_SECRET, YOUR_REDIRECT_URI, and YOUR_AUTHORIZATION_RESPONSE with your actual credentials and authorization response.
Verifying API Call Success and Handling Errors
After running the script, check the response to verify the success of the API call. A successful creation or update will return the details of the sales order. If there are errors, the response will include error codes and messages.
Common error codes include:
400: Bad Request – Often due to invalid data.401: Unauthorized – Check your OAuth 2.0 credentials.429: Too Many Requests – You have hit the rate limit.
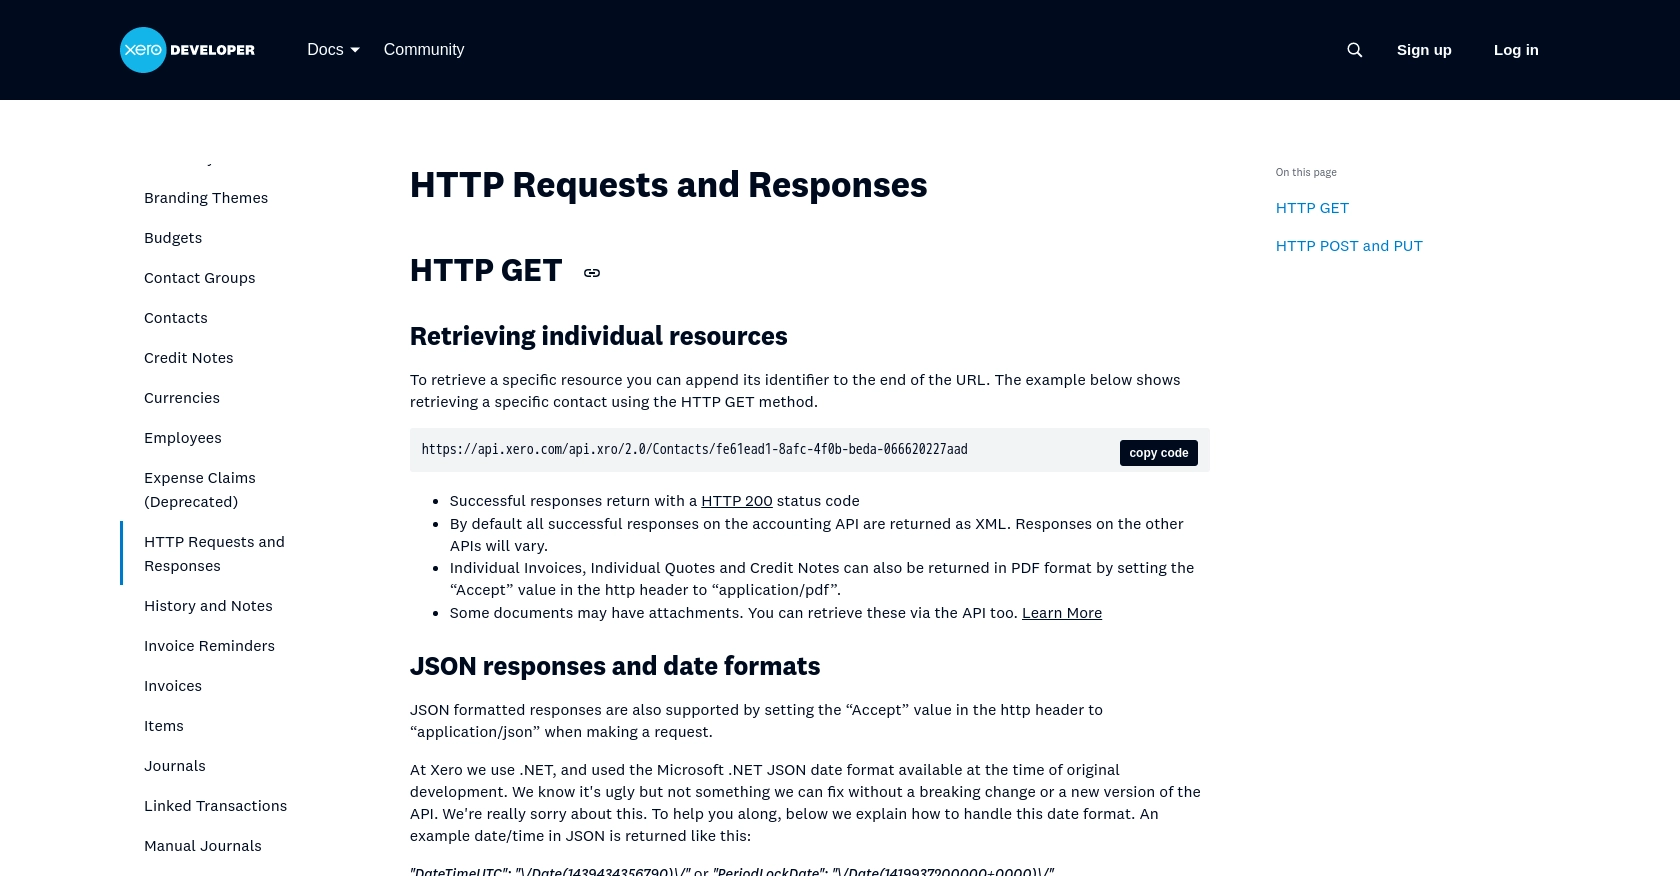
For more information on error handling, refer to the Xero API Requests and Responses Documentation.

Conclusion and Best Practices for Xero API Integration in Python
Integrating with the Xero API to create or update sales orders can significantly enhance the efficiency of managing sales transactions within your business. By automating these processes, you reduce manual entry errors and ensure that your financial data is always up-to-date.
Best Practices for Secure and Efficient Xero API Usage
- Secure Storage of Credentials: Always store your client ID, client secret, and tokens securely. Consider using environment variables or a secure vault to keep these credentials safe.
- Handle Rate Limiting: Xero imposes rate limits on API requests. Be sure to implement error handling for the
429 Too Many Requestsstatus code and consider implementing exponential backoff to manage retries. For more details, refer to the Xero API Rate Limits Documentation. - Data Standardization: Ensure that the data you send to Xero is standardized and validated to prevent errors. This includes formatting dates correctly and ensuring that all required fields are populated.
Streamlining Integrations with Endgrate
While integrating with the Xero API directly is powerful, it can be complex and time-consuming. Endgrate offers a streamlined solution by providing a unified API endpoint that connects to multiple platforms, including Xero. This allows you to focus on your core product while outsourcing the complexities of integration.
With Endgrate, you can build once for each use case and leverage an intuitive integration experience for your customers. Explore how Endgrate can save you time and resources by visiting Endgrate.
Read More
- https://endgrate.com/provider/xero
- https://developer.xero.com/documentation/api/accounting/requests-and-responses
- https://developer.xero.com/documentation/guides/oauth2/limits/
- https://developer.xero.com/documentation/guides/oauth2/overview
- https://developer.xero.com/documentation/guides/oauth2/scopes
- https://developer.xero.com/documentation/guides/oauth2/auth-flow
- https://developer.xero.com/documentation/guides/oauth2/tenants
- https://developer.xero.com/documentation/api/accounting/quotes
Ready to get started?
