How to Create or Update Subscriptions with the Chargebee API in Javascript
Introduction to Chargebee API for Subscription Management
Chargebee is a robust subscription management platform that empowers businesses to automate billing, manage subscriptions, and streamline revenue operations. With its comprehensive suite of tools, Chargebee is designed to handle the complexities of subscription billing, making it a preferred choice for SaaS companies.
Integrating with Chargebee's API allows developers to efficiently manage subscription lifecycles, including creating, updating, and canceling subscriptions. For example, a developer might use the Chargebee API to automatically update subscription plans based on user activity, ensuring that customers are always on the correct billing plan.
This article will guide you through the process of creating or updating subscriptions using the Chargebee API with JavaScript, providing you with the tools to enhance your subscription management capabilities.
Setting Up Your Chargebee Test/Sandbox Account
Before you can start integrating with the Chargebee API, you'll need to set up a test or sandbox account. This allows you to safely experiment with the API without affecting live data. Chargebee provides a sandbox environment that mimics the live environment, enabling you to test your integration thoroughly.
Creating a Chargebee Sandbox Account
- Visit the Chargebee website and sign up for a free trial or sandbox account.
- Follow the on-screen instructions to complete the registration process. Once registered, you'll have access to the Chargebee dashboard.
Generating API Keys for Chargebee
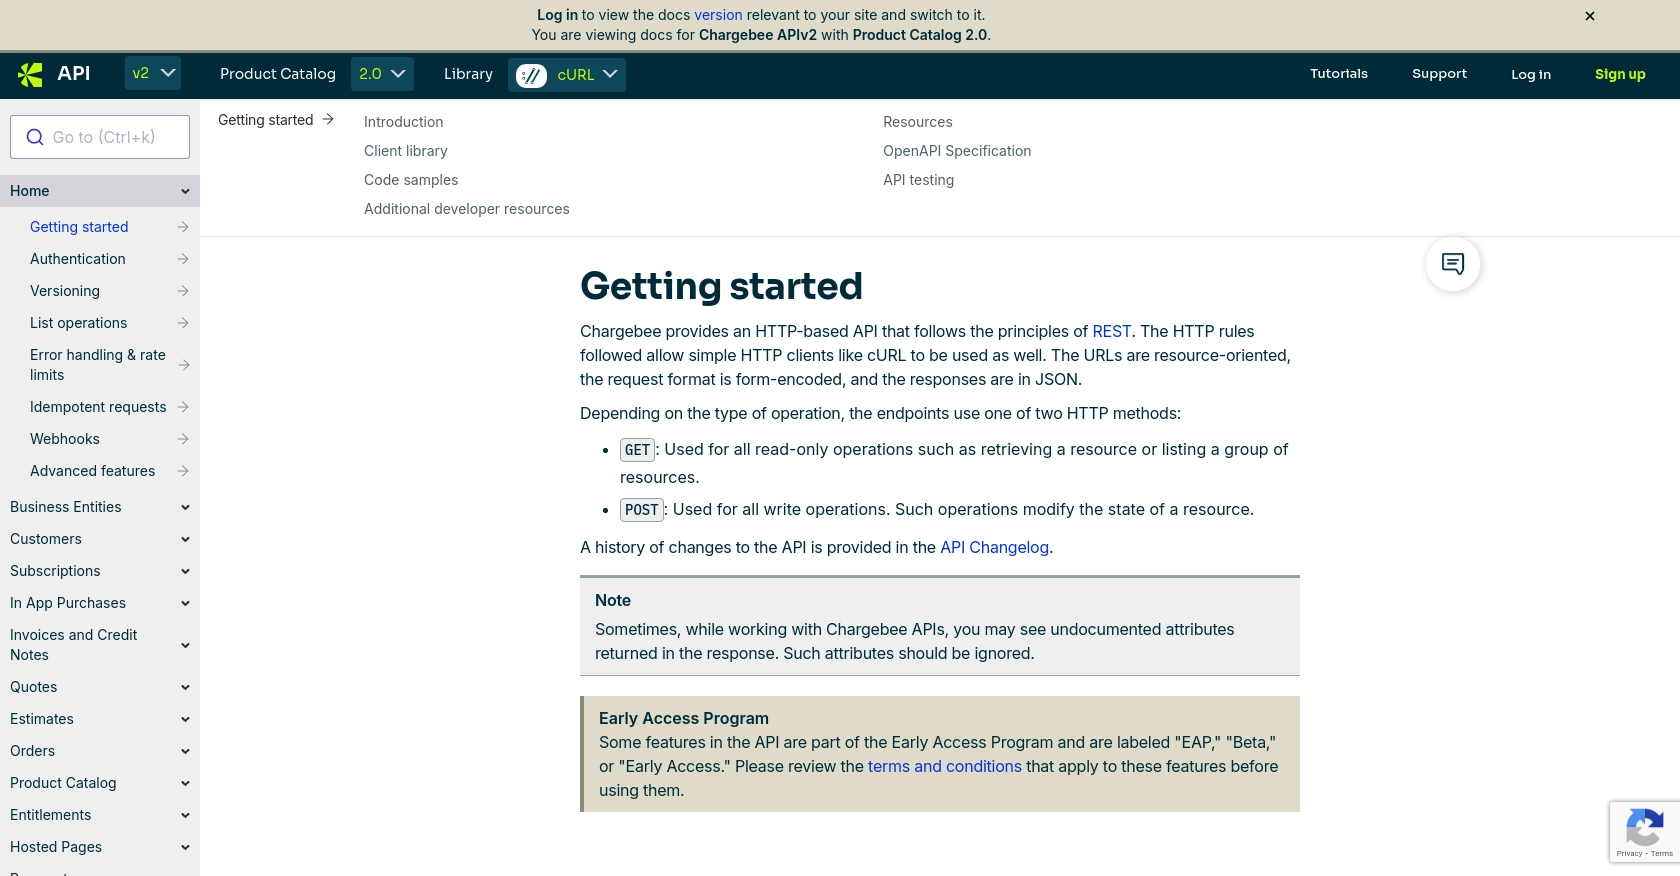
Chargebee uses HTTP Basic authentication for API calls, where your API key serves as the username, and the password is left empty. Follow these steps to generate your API keys:
- Log in to your Chargebee account and navigate to the Settings section.
- Under API & Webhooks, click on API Keys.
- Click on Create a Key and provide a name for your API key.
- Copy the generated API key and store it securely. You'll use this key to authenticate your API requests.
Configuring OAuth for Chargebee API Access
If your integration requires OAuth-based authentication, follow these steps to set up an OAuth app:
- Navigate to the OAuth Apps section under API & Webhooks in your Chargebee dashboard.
- Click on Create an OAuth App and fill in the required details, such as the app name and redirect URL.
- Once created, you'll receive a Client ID and Client Secret. Store these securely as they are needed for OAuth authentication.
With your Chargebee sandbox account set up and API keys or OAuth credentials ready, you're now prepared to start integrating with the Chargebee API using JavaScript.
sbb-itb-96038d7
Making API Calls with Chargebee in JavaScript
To interact with the Chargebee API using JavaScript, you'll need to set up your environment and write code to make API requests. This section will guide you through the process of creating or updating subscriptions using Chargebee's API.
Setting Up Your JavaScript Environment for Chargebee API
Before making API calls, ensure you have Node.js installed on your machine. You can download it from the official Node.js website. Once installed, use npm (Node Package Manager) to install the necessary dependencies.
npm install axiosAxios is a popular HTTP client for making API requests in JavaScript. We'll use it to interact with the Chargebee API.
Creating a Subscription with Chargebee API
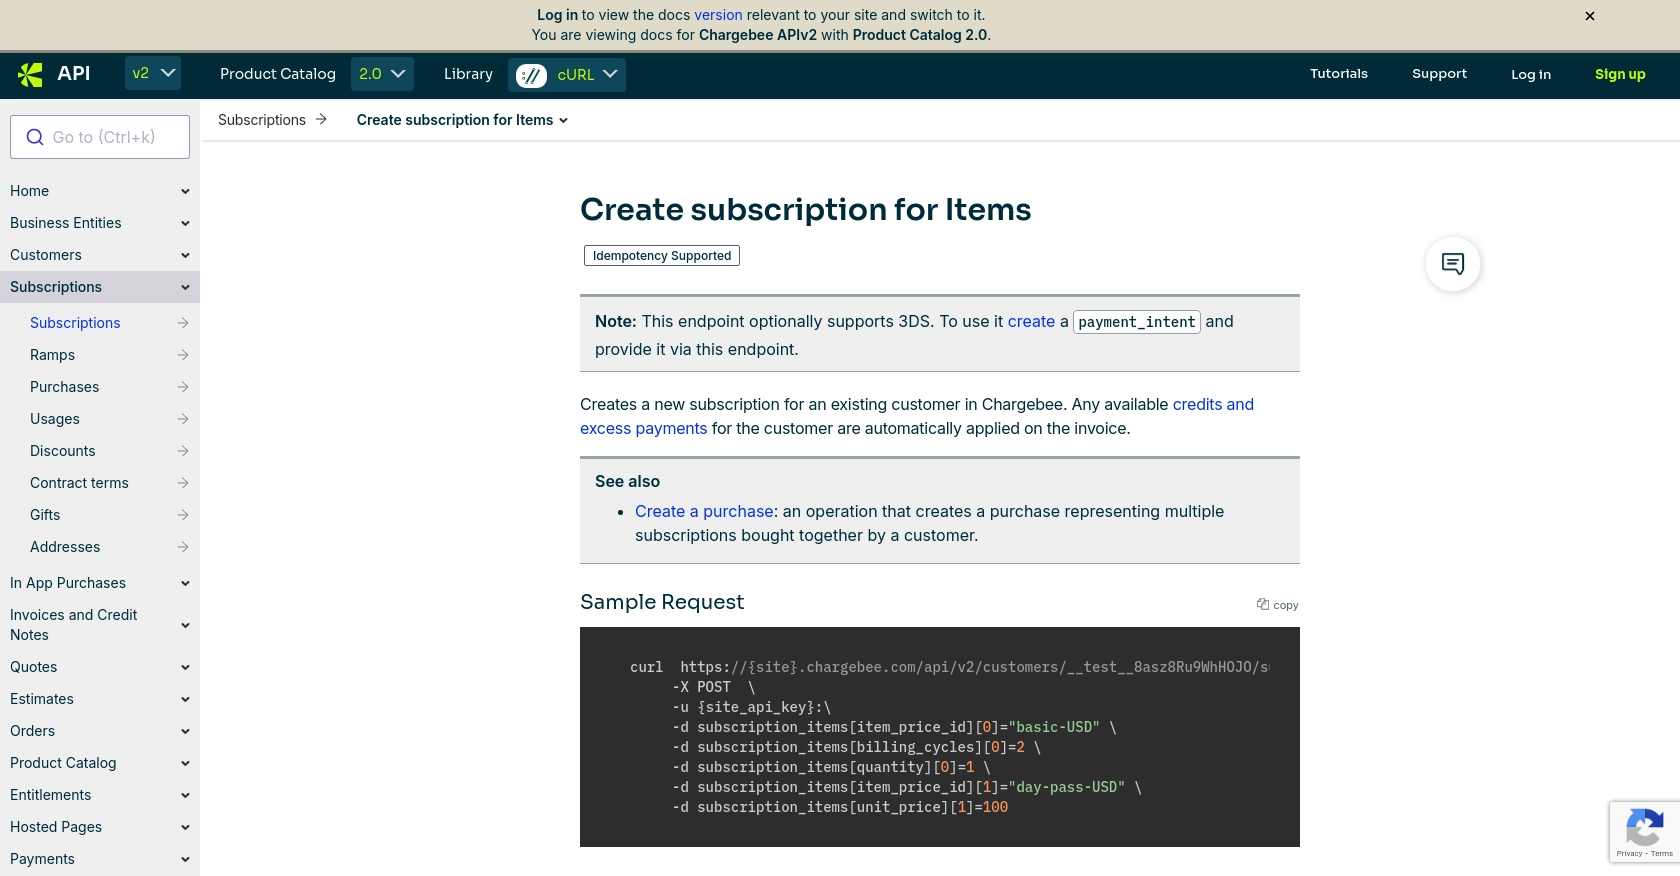
To create a subscription, you'll need to send a POST request to the Chargebee API endpoint. Here's an example of how to do this using Axios:
const axios = require('axios');

const createSubscription = async () => {
  const apiKey = 'your_api_key';
  const site = 'your_site';
  const url = `https://${site}.chargebee.com/api/v2/subscriptions`;

  const data = {
    plan_id: 'basic-plan',
    customer: {
      email: 'customer@example.com',
      first_name: 'John',
      last_name: 'Doe'
    }
  };

  try {
    const response = await axios.post(url, data, {
      auth: {
        username: apiKey,
        password: ''
      }
    });
    console.log('Subscription Created:', response.data);
  } catch (error) {
    console.error('Error creating subscription:', error.response.data);
  }
};

createSubscription();
Replace your_api_key and your_site with your actual Chargebee API key and site name. The plan_id should correspond to the plan you want to subscribe the customer to.
Updating a Subscription with Chargebee API
To update an existing subscription, you'll need to send a POST request to the subscription's specific endpoint. Here's how you can update a subscription's plan:
const updateSubscription = async (subscriptionId) => {
  const apiKey = 'your_api_key';
  const site = 'your_site';
  const url = `https://${site}.chargebee.com/api/v2/subscriptions/${subscriptionId}`;

  const data = {
    plan_id: 'premium-plan'
  };

  try {
    const response = await axios.post(url, data, {
      auth: {
        username: apiKey,
        password: ''
      }
    });
    console.log('Subscription Updated:', response.data);
  } catch (error) {
    console.error('Error updating subscription:', error.response.data);
  }
};

updateSubscription('subscription_id');
Replace subscription_id with the ID of the subscription you wish to update. This example changes the subscription to a premium-plan.
Handling API Responses and Errors
When making API calls, it's important to handle responses and potential errors. The Chargebee API returns JSON responses, which you can parse and use in your application. If an error occurs, the API will return an error code and message, which you can log for debugging purposes.
For more details on error codes and handling, refer to the Chargebee API documentation.
Verifying API Requests in Chargebee Sandbox
After making API calls, verify the changes in your Chargebee sandbox account. Check the subscriptions section to ensure that the new or updated subscriptions appear as expected.
By following these steps, you can effectively manage subscriptions using the Chargebee API in JavaScript, enhancing your application's subscription management capabilities.
Conclusion and Best Practices for Using Chargebee API in JavaScript
Integrating with the Chargebee API using JavaScript provides a powerful way to manage subscriptions efficiently. By following the steps outlined in this guide, you can create and update subscriptions seamlessly, enhancing your application's billing capabilities.
Best Practices for Secure and Efficient Chargebee API Integration
- Secure API Keys: Always store your API keys securely and avoid hardcoding them in your source code. Consider using environment variables or secure vaults.
- Handle Rate Limits: Be mindful of Chargebee's API rate limits to avoid disruptions. Implement exponential backoff strategies for retrying requests.
- Error Handling: Implement robust error handling to manage API errors gracefully. Log errors for debugging and provide user-friendly messages where applicable.
- Data Transformation: Standardize and transform data fields as needed to ensure consistency across your application.
Enhancing Integration with Endgrate
For developers looking to streamline their integration processes further, consider using Endgrate. Endgrate offers a unified API endpoint that connects to multiple platforms, including Chargebee, simplifying the integration process. By leveraging Endgrate, you can focus on your core product while outsourcing complex integrations.
Visit Endgrate to learn more about how you can save time and resources by building integrations once for each use case instead of multiple times for different platforms.
Read More

Ready to get started?
