How to Create or Update Vendors with the Zoho Books API in Javascript
Introduction to Zoho Books API for Vendor Management
Zoho Books is a comprehensive online accounting software designed to manage your finances, automate business workflows, and help you work collectively across departments. It offers a wide range of features including invoicing, expense tracking, and inventory management, making it a popular choice for businesses of all sizes.
Integrating with the Zoho Books API allows developers to streamline financial operations by automating tasks such as vendor management. For example, you can create or update vendor information directly from your application, ensuring that your financial records are always up-to-date and accurate.
This guide will walk you through the process of using JavaScript to interact with the Zoho Books API, specifically focusing on creating or updating vendor records. By following this tutorial, you'll be able to efficiently manage vendor data, enhancing your application's functionality and user experience.
Setting Up Your Zoho Books Test/Sandbox Account for API Integration
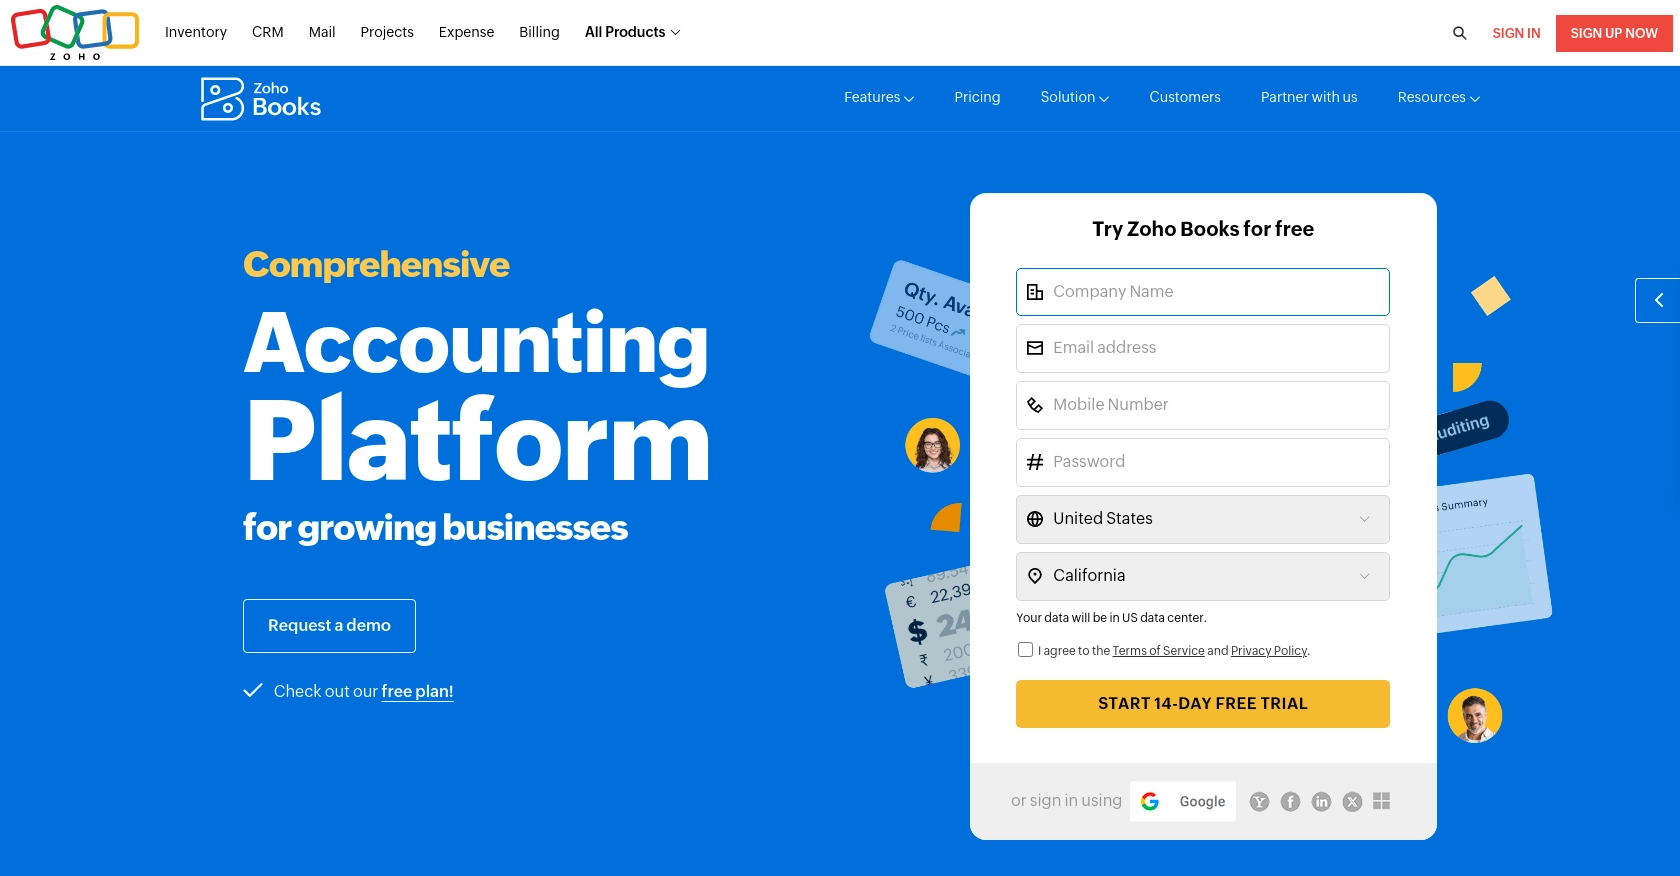
Before you can start integrating with the Zoho Books API, you'll need to set up a test or sandbox account. This allows you to safely experiment with API calls without affecting your live data. Zoho Books offers a free trial that you can use for this purpose.
Creating a Zoho Books Account
To begin, visit the Zoho Books signup page and register for a free trial account. Follow the on-screen instructions to complete the registration process. Once your account is set up, you'll have access to the Zoho Books dashboard.
Setting Up OAuth Authentication for Zoho Books API
The Zoho Books API uses OAuth 2.0 for authentication, ensuring secure access to your data. Follow these steps to set up OAuth authentication:
- Go to the Zoho Developer Console and log in with your Zoho account credentials.
- Click on "Add Client ID" to register your application. Provide the necessary details such as the client name, redirect URI, and authorized domains.
- Upon successful registration, you'll receive a Client ID and Client Secret. Keep these credentials secure as they are required for API authentication.
Generating OAuth Tokens
To interact with the Zoho Books API, you'll need to generate an access token using your Client ID and Client Secret:
- Redirect users to the following authorization URL to obtain a grant token:
- After the user authorizes the application, Zoho will redirect to your specified URI with a code parameter. Use this code to request an access token:
- In the response, you'll receive an access token and a refresh token. The access token is used for API calls, while the refresh token is used to obtain a new access token when the current one expires.
https://accounts.zoho.com/oauth/v2/auth?scope=ZohoBooks.fullaccess.all&client_id=YOUR_CLIENT_ID&response_type=code&redirect_uri=YOUR_REDIRECT_URI&access_type=offlinehttps://accounts.zoho.com/oauth/v2/token?code=YOUR_CODE&client_id=YOUR_CLIENT_ID&client_secret=YOUR_CLIENT_SECRET&redirect_uri=YOUR_REDIRECT_URI&grant_type=authorization_codeFor more detailed information on OAuth setup, refer to the Zoho Books OAuth documentation.
sbb-itb-96038d7
Making API Calls to Create or Update Vendors in Zoho Books Using JavaScript
To interact with the Zoho Books API for creating or updating vendor records, you'll need to make HTTP requests using JavaScript. This section will guide you through the process of setting up your environment, writing the code, and handling responses and errors effectively.
Setting Up Your JavaScript Environment for Zoho Books API Integration
Before making API calls, ensure you have the following prerequisites:
- Node.js installed on your machine.
- A text editor or IDE for writing JavaScript code.
- Access to your Zoho Books account with the necessary OAuth tokens.
Installing Required Dependencies
To make HTTP requests in Node.js, you can use the node-fetch package. Install it using the following command:
npm install node-fetchWriting JavaScript Code to Create or Update Vendors in Zoho Books
Below is an example of how to create or update a vendor using the Zoho Books API:
const fetch = require('node-fetch');
const createOrUpdateVendor = async () => {
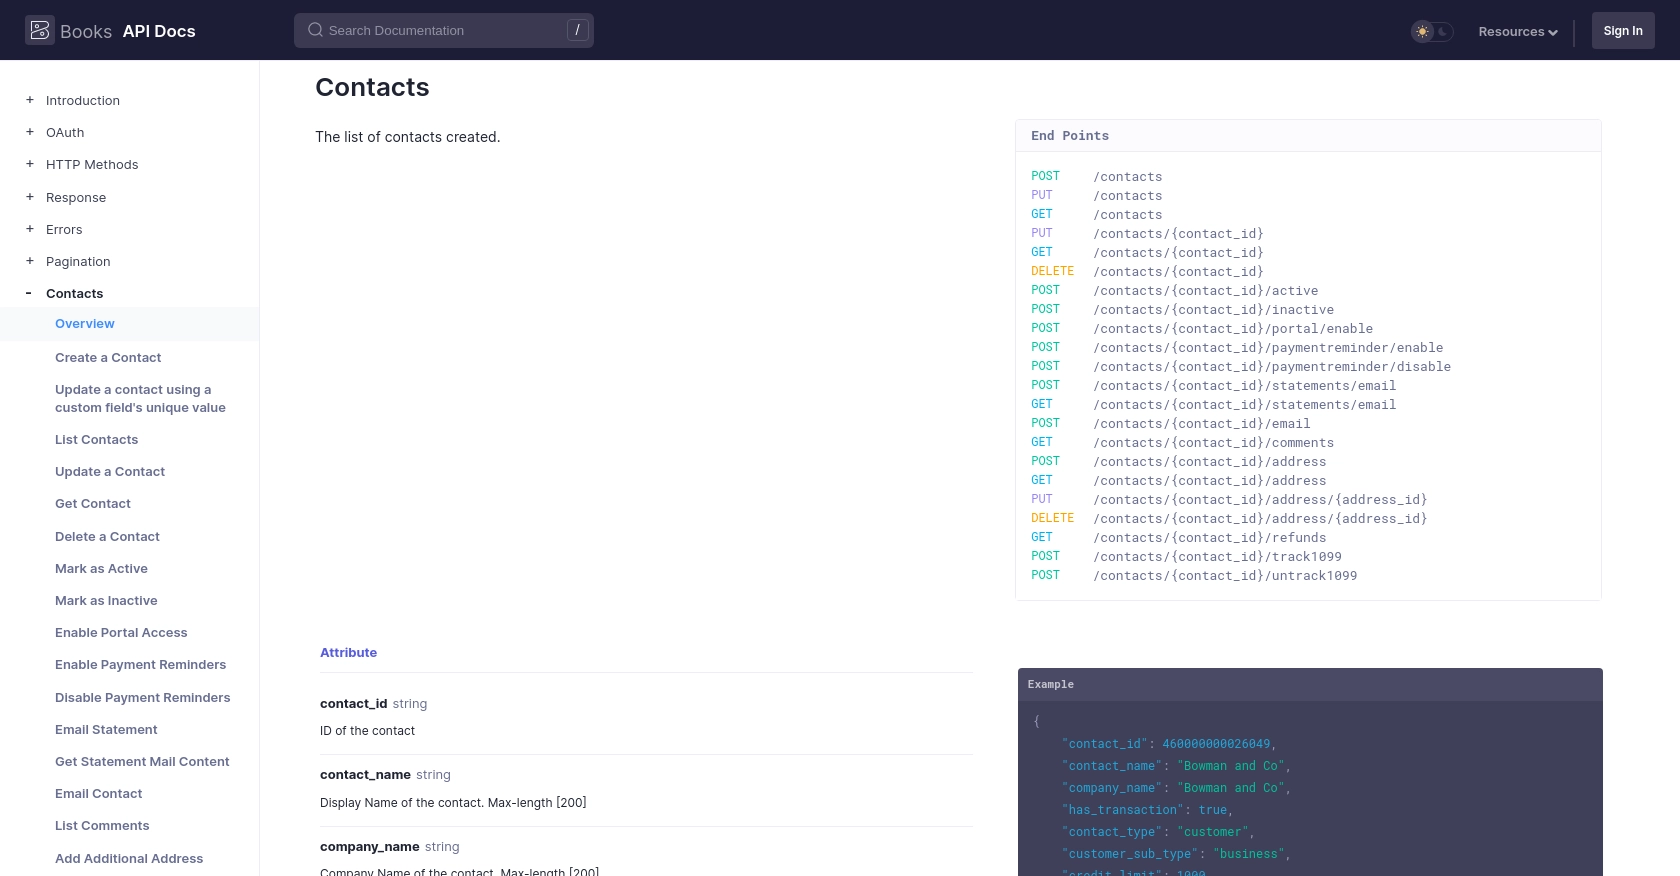
const url = 'https://www.zohoapis.com/books/v3/contacts?organization_id=YOUR_ORG_ID';
const accessToken = 'YOUR_ACCESS_TOKEN';
const vendorData = {
contact_name: 'Vendor Name',
company_name: 'Vendor Company',
contact_type: 'vendor',
billing_address: {
attention: 'Mr. Vendor',
address: '123 Vendor St',
city: 'Vendor City',
state: 'Vendor State',
zip: '12345',
country: 'Vendor Country'
}
};
try {
const response = await fetch(url, {
method: 'POST',
headers: {
'Authorization': `Zoho-oauthtoken ${accessToken}`,
'Content-Type': 'application/json'
},
body: JSON.stringify(vendorData)
});
const data = await response.json();
if (response.ok) {
console.log('Vendor created/updated successfully:', data);
} else {
console.error('Error creating/updating vendor:', data);
}
} catch (error) {
console.error('Network error:', error);
}
};
createOrUpdateVendor();Handling Responses and Errors from Zoho Books API
When making API calls, it's crucial to handle responses and errors properly:
- Check the HTTP status code to determine if the request was successful. A status code of
200or201indicates success. - Handle error codes such as
400(Bad Request),401(Unauthorized), and429(Rate Limit Exceeded) by logging the error and taking appropriate action. - Refer to the Zoho Books API error documentation for more details on error codes and their meanings.
Verifying Vendor Creation or Update in Zoho Books
After successfully creating or updating a vendor, verify the changes in your Zoho Books account:
- Log in to your Zoho Books dashboard.
- Navigate to the "Contacts" section and filter by "Vendors" to see the newly created or updated vendor.
By following these steps, you can efficiently manage vendor records in Zoho Books using JavaScript, enhancing your application's capabilities and ensuring data accuracy.
Conclusion: Best Practices for Zoho Books API Integration in JavaScript
Integrating with the Zoho Books API using JavaScript offers a powerful way to automate vendor management and streamline financial operations. By following the steps outlined in this guide, you can efficiently create or update vendor records, ensuring your application's data remains accurate and up-to-date.
Best Practices for Secure and Efficient Zoho Books API Usage
- Securely Store Credentials: Always store your OAuth tokens securely. Avoid hardcoding them in your source code and consider using environment variables or secure vaults.
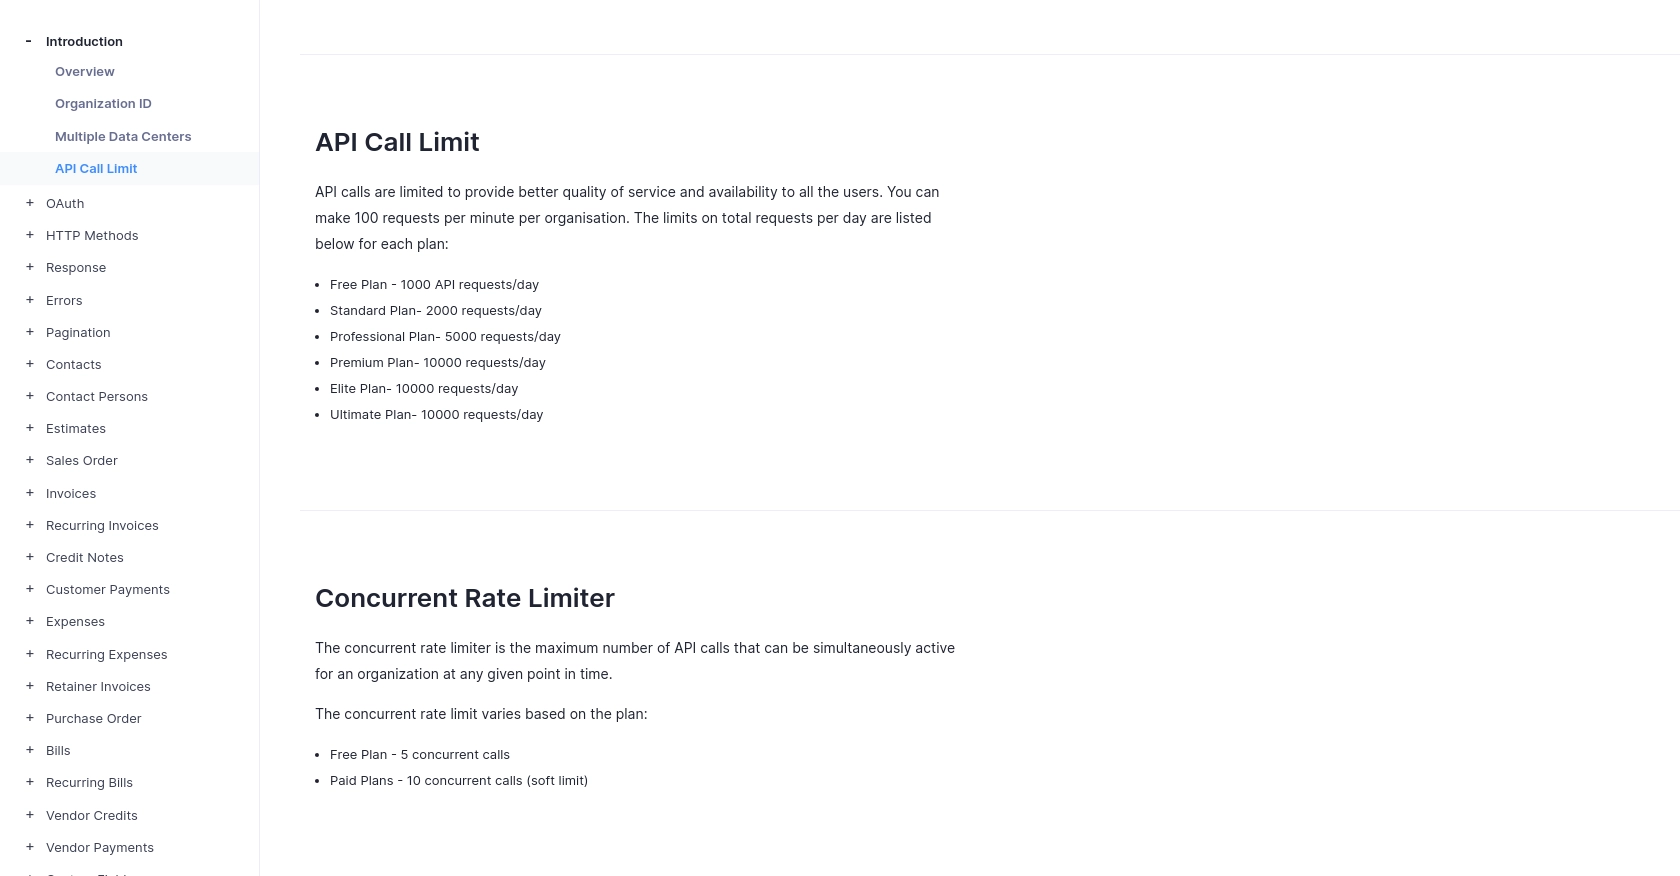
- Handle Rate Limiting: Zoho Books API has a rate limit of 100 requests per minute per organization. Implement logic to handle
429errors by retrying requests after a delay. For more details, refer to the API call limit documentation. - Data Standardization: Ensure that the data you send to Zoho Books is standardized and validated to prevent errors and maintain consistency.
- Error Handling: Implement comprehensive error handling to manage different HTTP status codes. Refer to the error documentation for guidance.
Enhance Your Integration Strategy with Endgrate
While integrating with Zoho Books API can significantly enhance your application's capabilities, managing multiple integrations can be complex and time-consuming. Endgrate offers a unified API solution that simplifies integration management, allowing you to focus on your core product development.
With Endgrate, you can:
- Save time and resources by outsourcing integration management.
- Build once for each use case instead of multiple times for different integrations.
- Provide an intuitive integration experience for your customers.
Explore how Endgrate can streamline your integration processes by visiting Endgrate.
Read More
- https://endgrate.com/provider/zohobooks
- https://www.zoho.com/books/api/v3/introduction/#api-call-limit
- https://www.zoho.com/books/api/v3/oauth/#overview
- https://www.zoho.com/books/api/v3/errors/#overview
- https://www.zoho.com/books/api/v3/pagination/#overview
- https://www.zoho.com/books/api/v3/contacts/#overview

Ready to get started?
