How to Create Products with the Stamped API in Javascript

Introduction to Stamped API Integration
Stamped is a powerful e-commerce platform that empowers over 75,000 brands to enhance their growth through customer reviews, loyalty programs, and more. By offering a suite of tools designed to boost customer engagement and satisfaction, Stamped helps businesses build trust and drive sales.
Integrating with the Stamped API allows developers to seamlessly manage product data, automate customer interactions, and enhance the overall shopping experience. For example, a developer might use the Stamped API to create new products in the system, ensuring that inventory is always up-to-date and accurately reflected on the storefront.
Setting Up Your Stamped Test Account for API Integration
Before diving into the integration process, it's essential to set up a test account with Stamped. This allows developers to experiment with API calls without affecting live data. Stamped requires a Professional or Enterprise plan to access its API, so ensure you have the appropriate subscription level.
Creating a Stamped Account
If you don't have a Stamped account, follow these steps to create one:
- Visit the Stamped website and sign up for a Professional or Enterprise plan.
- Complete the registration process by providing the necessary business information.
- Once registered, log in to your Stamped dashboard.
Generating API Keys for Stamped API Authentication
Stamped uses HTTP Basic Auth for authentication, requiring both a public and private API key. Follow these steps to generate your API keys:
- Navigate to the API Keys section in your Stamped dashboard.
- Locate your store's unique Store Hash, which is required for API calls.
- Generate your public and private API keys. These keys will be used to authenticate your API requests.
Configuring Your Stamped API Keys in JavaScript
With your API keys ready, you can now configure them in your JavaScript code. Here's a basic setup:
// Replace with your actual Store Hash, Public Key, and Private Key
const storeHash = 'your_store_hash';
const publicKey = 'your_public_key';
const privateKey = 'your_private_key';

// Base URL for Stamped API
const apiUrl = `https://stamped.io/api/v3/${storeHash}/products`;

// Example function to authenticate using HTTP Basic Auth
function getAuthHeader() {
    return 'Basic ' + btoa(`${publicKey}:${privateKey}`);
}
Ensure you replace your_store_hash, your_public_key, and your_private_key with the actual values from your Stamped account.
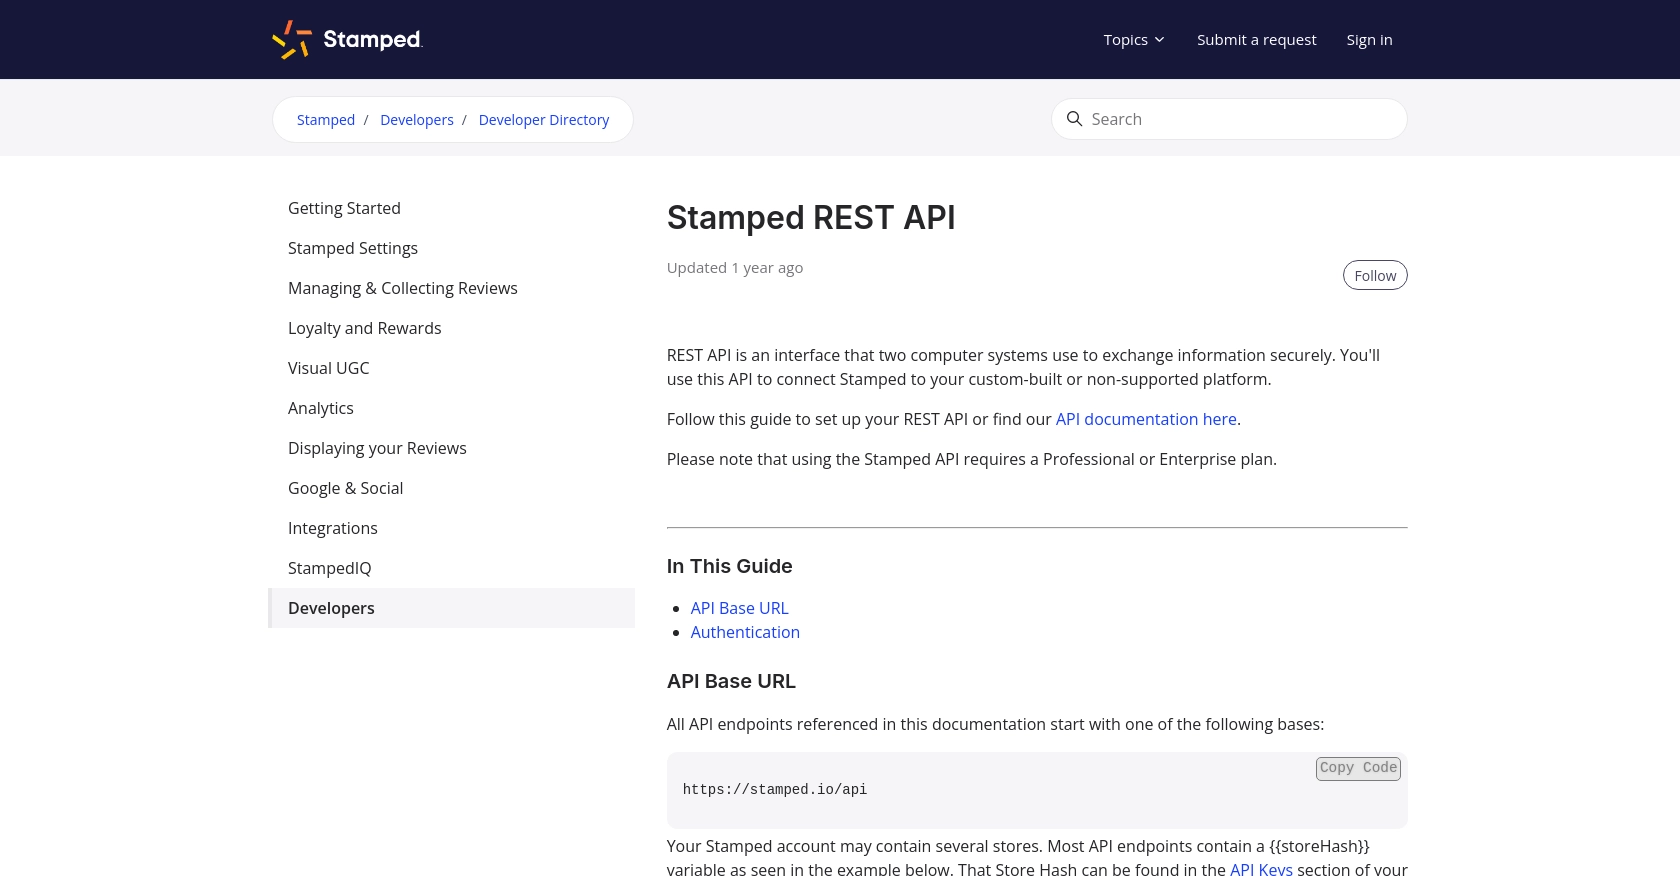
With your test account and API keys set up, you're ready to start making API calls to create products using the Stamped API in JavaScript. For more detailed information, refer to the Stamped REST API documentation.

sbb-itb-96038d7
Making API Calls to Create Products with Stamped API in JavaScript
With your Stamped account and API keys configured, you're ready to make API calls to create products. This section will guide you through the process using JavaScript, ensuring you can efficiently manage your product data on the Stamped platform.
Setting Up Your JavaScript Environment for Stamped API Integration
Before making API calls, ensure your JavaScript environment is set up correctly. You'll need Node.js installed to run JavaScript code outside a browser. Additionally, use the axios library for making HTTP requests, as it simplifies handling API interactions.
npm install axiosCreating a Product with Stamped API Using JavaScript
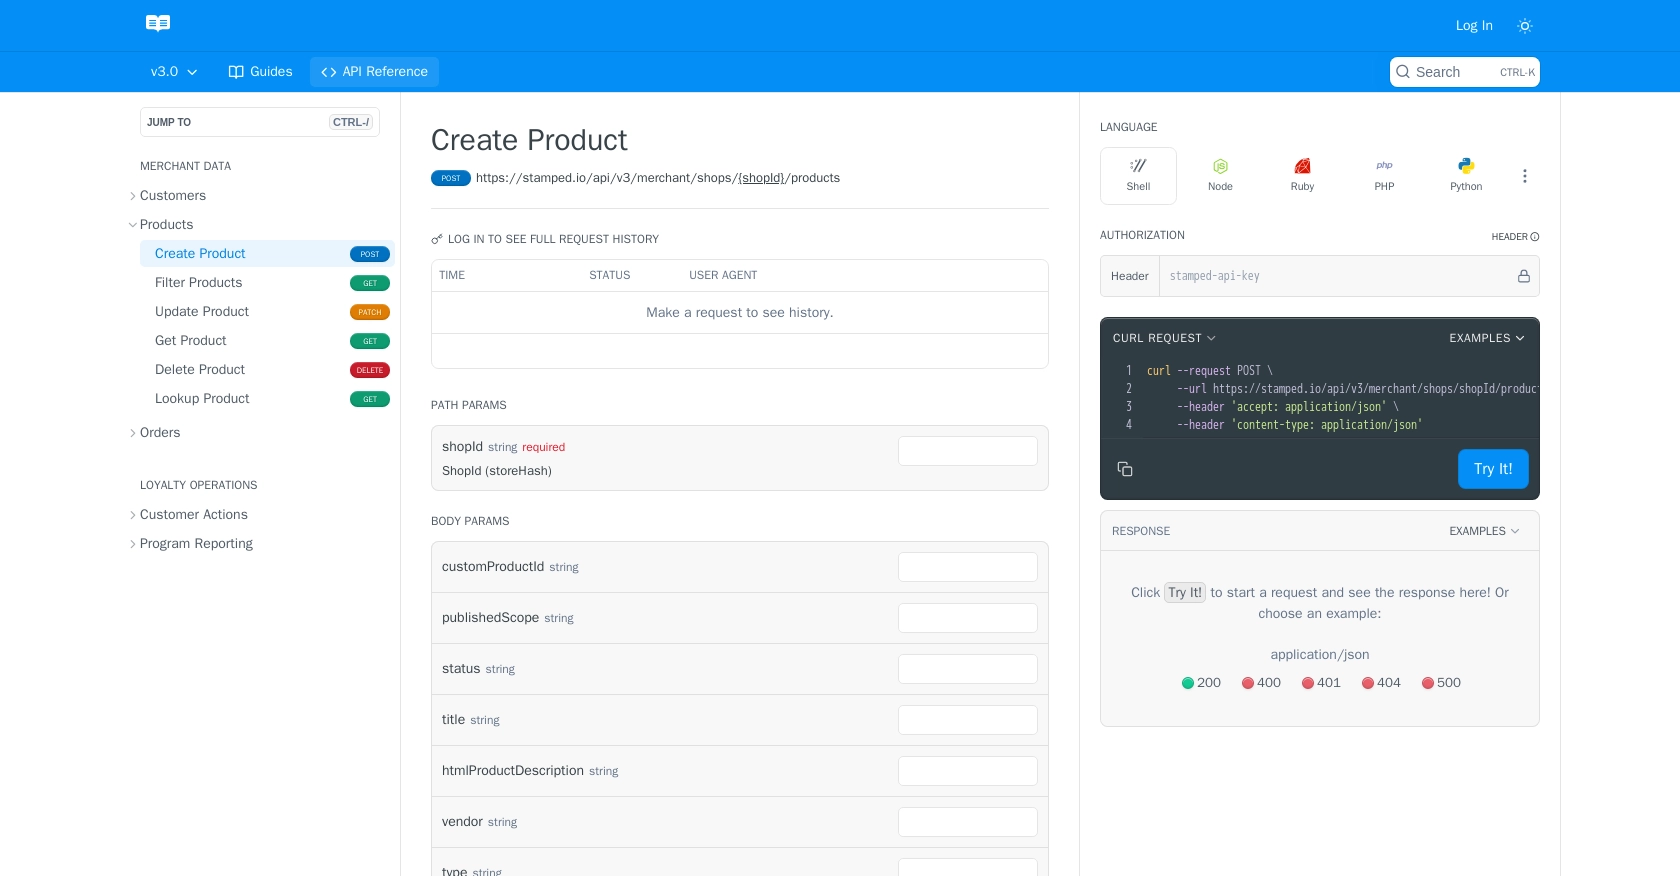
To create a product, you'll need to send a POST request to the Stamped API endpoint. Here's a step-by-step guide:
const axios = require('axios');

// Replace with your actual Store Hash, Public Key, and Private Key
const storeHash = 'your_store_hash';
const publicKey = 'your_public_key';
const privateKey = 'your_private_key';

// Base URL for Stamped API
const apiUrl = `https://stamped.io/api/v3/${storeHash}/products`;

// Function to create a new product
async function createProduct(productData) {
    try {
        const response = await axios.post(apiUrl, productData, {
            headers: {
                'Authorization': 'Basic ' + Buffer.from(`${publicKey}:${privateKey}`).toString('base64'),
                'Content-Type': 'application/json'
            }
        });
        console.log('Product Created Successfully:', response.data);
    } catch (error) {
        console.error('Error Creating Product:', error.response ? error.response.data : error.message);
    }
}

// Sample product data
const productData = {
    title: 'Sample Product',
    description: 'A great product for testing.',
    price: 29.99,
    sku: 'SP-001'
};

// Call the function to create a product
createProduct(productData);
In this code, replace your_store_hash, your_public_key, and your_private_key with your actual Stamped account details. The createProduct function sends a POST request to the Stamped API, using HTTP Basic Auth for authentication. The sample product data includes fields like title, description, price, and sku.
Verifying Product Creation in Stamped Dashboard
After running the code, check your Stamped dashboard to verify that the product has been created successfully. Navigate to the Products section to see the new entry. If the product appears as expected, your API call was successful.
Handling Errors and Troubleshooting Stamped API Requests
When making API calls, it's essential to handle potential errors gracefully. The example code includes error handling that logs any issues encountered during the request. Common errors might include authentication failures or invalid product data. Refer to the Stamped API documentation for detailed error codes and troubleshooting tips.

Conclusion and Best Practices for Using Stamped API in JavaScript
Integrating with the Stamped API using JavaScript provides a robust solution for managing product data and enhancing customer engagement on your e-commerce platform. By following the steps outlined in this guide, you can efficiently create products and ensure your inventory is accurately reflected on your storefront.
Best Practices for Stamped API Integration
- Secure Storage of API Credentials: Always store your API keys securely. Avoid hardcoding them in your source code. Consider using environment variables or a secure vault to manage sensitive information.
- Handle Rate Limiting: Be aware of any rate limits imposed by the Stamped API. Implement retry logic and exponential backoff to manage requests efficiently without exceeding limits.
- Data Transformation and Standardization: Ensure that the data you send to the Stamped API is properly formatted and standardized. This helps maintain consistency and prevents errors during API calls.
Streamlining Integrations with Endgrate
While integrating with the Stamped API can be straightforward, managing multiple integrations across different platforms can become complex. Endgrate offers a unified API solution that simplifies this process, allowing you to focus on your core product development. By using Endgrate, you can build once for each use case and leverage an intuitive integration experience for your customers.
Explore how Endgrate can help you save time and resources by visiting Endgrate and discover the benefits of outsourcing your integration needs.
Read More
Ready to get started?

