How to Create Recipients with the Mailshake API in Python
Introduction to Mailshake API Integration
Mailshake is a powerful email outreach platform designed to help businesses streamline their email marketing campaigns. With features like automated follow-ups, personalized email sequences, and detailed analytics, Mailshake is a preferred choice for marketers aiming to enhance their outreach efforts.
Integrating with the Mailshake API allows developers to automate and manage email campaigns programmatically. For example, you can use the API to add recipients to a campaign, enabling seamless integration with your existing CRM or lead management systems. This capability is particularly useful for businesses looking to scale their outreach efforts efficiently.
In this article, we will explore how to create recipients using the Mailshake API with Python, providing a step-by-step guide to streamline your email marketing processes.
Setting Up Your Mailshake API Account for Testing
Before you can start integrating with the Mailshake API, you'll need to set up your account to access the necessary API credentials. This involves creating an API key, which will allow you to authenticate your requests and interact with Mailshake programmatically.
Creating a Mailshake Account
If you don't already have a Mailshake account, you can sign up for a free trial or a paid plan on the Mailshake website. This will give you access to the platform's features and allow you to generate an API key.
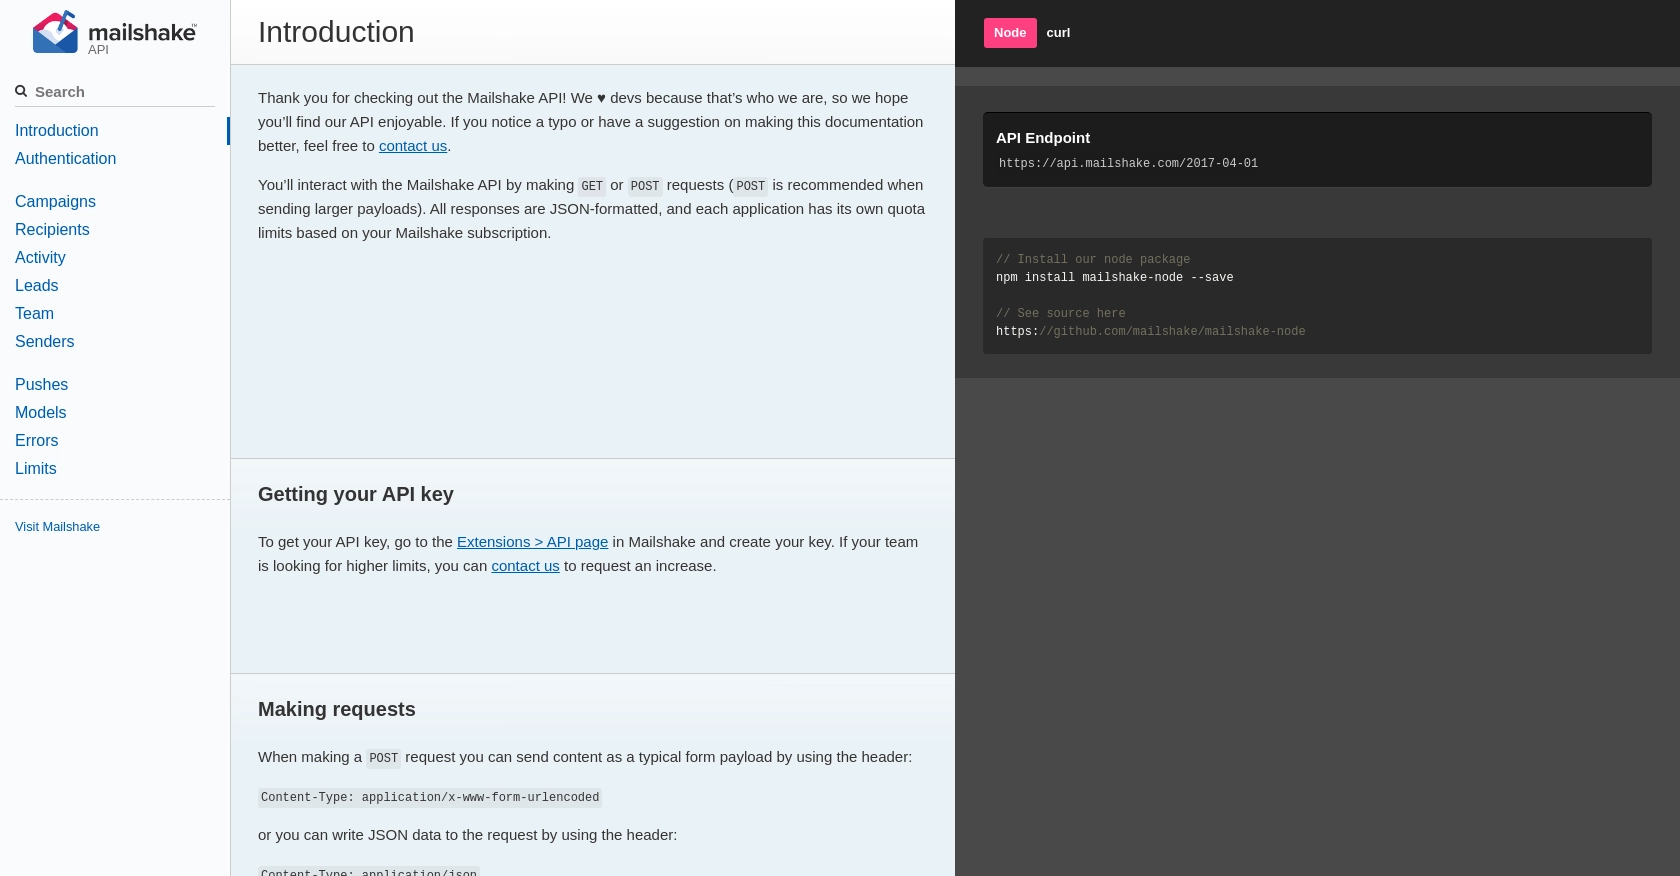
Generating Your Mailshake API Key
Once you have a Mailshake account, follow these steps to generate your API key:
- Log in to your Mailshake account.
- Navigate to the Extensions section in the dashboard.
- Select the API option.
- Click on Create API Key to generate a new key.
- Copy the API key and store it securely, as you will need it to authenticate your API requests.
Make sure to keep your API key confidential and avoid sharing it publicly to prevent unauthorized access to your Mailshake account.
Understanding Mailshake API Authentication
The Mailshake API uses simple API key-based authentication. You can include your API key in your requests as a query string parameter, within the request body, or as an HTTP Authorization header. Here's an example of how to include the API key in the header:
headers = {
    "Authorization": "Basic your_base64_encoded_api_key"
}
Replace your_base64_encoded_api_key with the base64 encoded version of your actual API key.
For more details on authentication, refer to the Mailshake API documentation.
sbb-itb-96038d7
How to Make API Calls to Add Recipients with Mailshake in Python
To create recipients using the Mailshake API in Python, you'll need to set up your environment and write a script that interacts with the API. This section will guide you through the necessary steps, including setting up Python, installing dependencies, and writing the code to make the API call.
Setting Up Your Python Environment for Mailshake API Integration
Before you begin, ensure you have Python installed on your machine. This tutorial uses Python 3.11.1. You will also need the requests library to handle HTTP requests.
- Verify your Python installation by running
python --versionin your terminal. - Install the
requestslibrary using pip:
pip install requestsWriting the Python Script to Add Recipients with Mailshake API
Now that your environment is ready, you can write the Python script to add recipients to a Mailshake campaign. Follow these steps:
- Create a new Python file named
add_recipients.py. - Add the following code to the file:
import requests
import base64

# Set your API key and encode it
api_key = 'your_api_key'
encoded_api_key = base64.b64encode(api_key.encode()).decode()

# Define the API endpoint and headers
url = "https://api.mailshake.com/2017-04-01/recipients/add"
headers = {
    "Authorization": f"Basic {encoded_api_key}",
    "Content-Type": "application/json"
}

# Define the payload with campaign ID and recipient details
payload = {
    "campaignID": 1,
    "addAsNewList": True,
    "listOfEmails": "\"John Doe\" , \"Jane Doe\" "
}

# Make the POST request to add recipients
response = requests.post(url, json=payload, headers=headers)

# Check the response status
if response.status_code == 200:
    print("Recipients added successfully.")
else:
    print(f"Failed to add recipients: {response.status_code} - {response.text}")
Replace your_api_key with your actual Mailshake API key. This script sets up the necessary headers and payload to add recipients to a specified campaign.
Running the Python Script and Verifying the API Call
To execute the script and add recipients to your Mailshake campaign, run the following command in your terminal:
python add_recipients.pyIf successful, you should see a message indicating that recipients were added successfully. You can verify this by checking your Mailshake dashboard to ensure the recipients appear in the specified campaign.
Handling Errors and Understanding Mailshake API Response Codes
When making API calls, it's crucial to handle potential errors. The Mailshake API provides various error codes, such as invalid_api_key for authentication issues or limit_reached if you exceed your quota. Refer to the Mailshake API documentation for a comprehensive list of error codes and their meanings.
By following these steps, you can efficiently integrate Mailshake's recipient addition functionality into your Python applications, enhancing your email marketing automation.
Conclusion and Best Practices for Mailshake API Integration
Integrating with the Mailshake API using Python provides a powerful way to automate and enhance your email marketing efforts. By following the steps outlined in this guide, you can efficiently add recipients to your Mailshake campaigns, streamlining your outreach processes.
Best Practices for Secure and Efficient Mailshake API Usage
- Secure Storage of API Keys: Always store your API keys securely and avoid hardcoding them in your scripts. Consider using environment variables or secure vaults.
- Handling Rate Limits: Be mindful of Mailshake's rate limits and plan your API calls accordingly to avoid hitting the
limit_reachederror. For more details, refer to the Mailshake API documentation. - Data Standardization: Ensure that the data you send to Mailshake is standardized and validated to prevent errors and ensure smooth processing.
By adhering to these best practices, you can maximize the efficiency and security of your Mailshake API integrations.
Streamline Your Integrations with Endgrate
For businesses looking to simplify their integration processes, consider using Endgrate. With Endgrate, you can save time and resources by outsourcing integrations, allowing you to focus on your core product. Endgrate offers a unified API endpoint that connects to multiple platforms, including Mailshake, providing an intuitive integration experience for your customers.
Explore how Endgrate can enhance your integration strategy by visiting Endgrate today.
Read More

Ready to get started?
