How to Get Accounts with the Active Campaign API in Javascript

Introduction to Active Campaign API Integration
Active Campaign is a powerful marketing automation platform that combines email marketing, automation, and CRM tools to help businesses engage with their customers effectively. It offers a wide range of features, including email segmentation, automated workflows, and detailed analytics, making it a popular choice for businesses looking to enhance their marketing efforts.
Developers may want to integrate with Active Campaign's API to streamline data management and automate marketing processes. For example, using the API, a developer can retrieve account information to analyze customer interactions and improve targeted marketing strategies.
This article will guide you through the process of using JavaScript to interact with the Active Campaign API, specifically focusing on retrieving account data. By following this tutorial, you'll learn how to efficiently access and manage account information within the Active Campaign platform.
Setting Up Your Active Campaign Test or Sandbox Account
Before you can start integrating with the Active Campaign API using JavaScript, you need to set up a test or sandbox account. This will allow you to safely experiment with API calls without affecting your live data.
Creating an Active Campaign Account
If you don't already have an Active Campaign account, you can sign up for a free trial on their website. This trial will give you access to the platform's features, allowing you to test API interactions.
- Visit the Active Campaign website and click on the "Start Your Free Trial" button.
- Fill in the required information, such as your name, email, and company details.
- Follow the on-screen instructions to complete the registration process.
Accessing the Developer Settings for API Key
Once your account is set up, you need to obtain your API key, which is essential for authenticating requests to the Active Campaign API.
- Log in to your Active Campaign account.
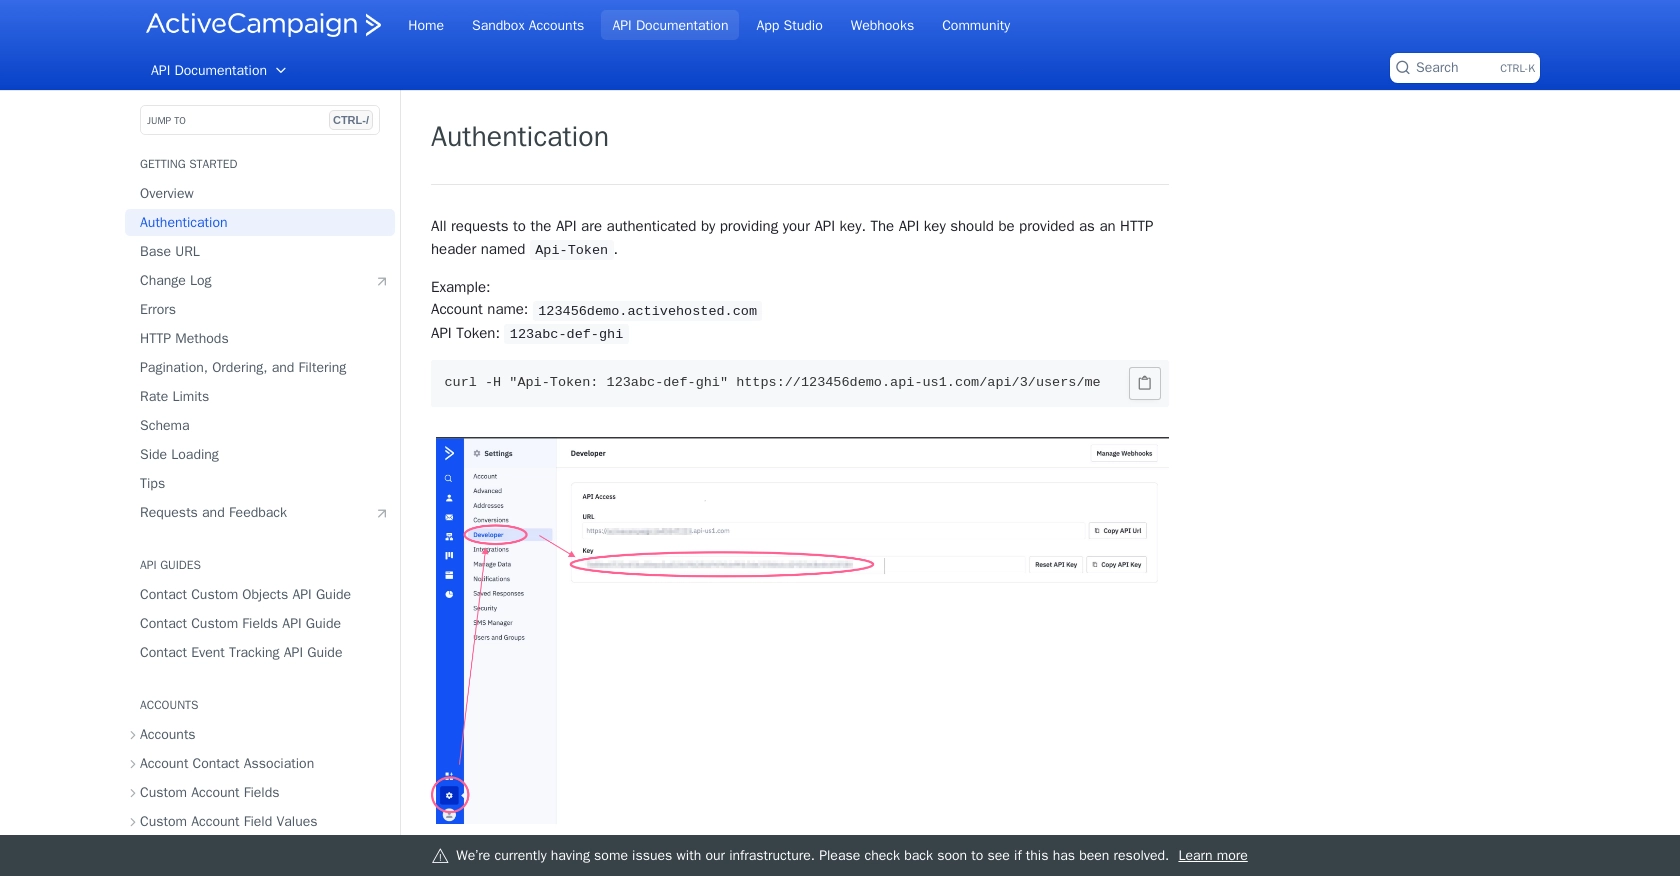
- Navigate to the "Settings" section, usually found in the bottom left corner of the dashboard.
- Click on the "Developer" tab to access your API settings.
- Here, you'll find your unique API key. Make sure to keep this key secure and do not share it publicly.
Understanding the Base URL for API Requests
Each Active Campaign account has a unique base URL that you'll use for API requests. This URL is crucial for directing your API calls to the correct account.
- In the "Developer" tab, locate your account's base URL.
- The URL typically follows the format:
https://youraccountname.api-us1.com/api/3/. - Ensure you use this base URL in all your API requests to interact with your specific account data.
With your API key and base URL in hand, you're now ready to start making API calls to retrieve account data using JavaScript. In the next section, we'll explore how to perform these API interactions efficiently.

sbb-itb-96038d7
Making API Calls to Retrieve Accounts from Active Campaign Using JavaScript
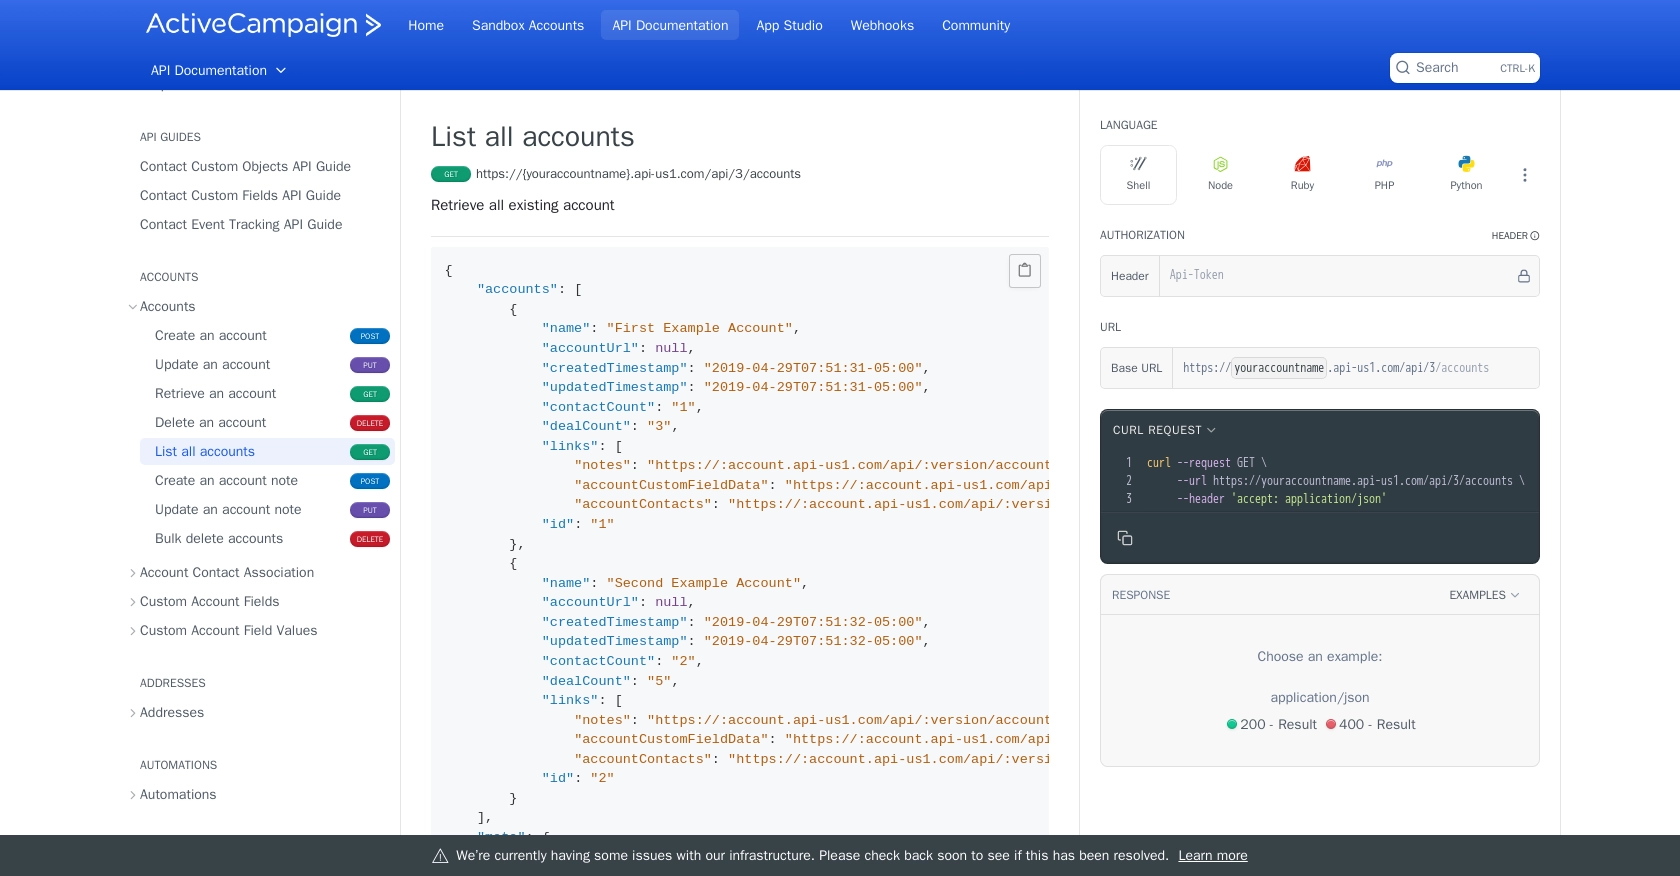
Now that you have your API key and base URL, you can proceed to make API calls to retrieve account data from Active Campaign. In this section, we'll guide you through the process of setting up your JavaScript environment and executing the necessary API requests.
Setting Up Your JavaScript Environment for Active Campaign API
Before making API calls, ensure you have a suitable JavaScript environment. You can use Node.js or a browser-based environment. For this tutorial, we'll use Node.js, which requires installation on your machine.
- Download and install Node.js if you haven't already.
- Initialize a new Node.js project by running
npm init -yin your terminal. - Install the
axioslibrary to handle HTTP requests by runningnpm install axios.
Writing JavaScript Code to Retrieve Accounts from Active Campaign
With your environment set up, you can now write the JavaScript code to interact with the Active Campaign API. The following example demonstrates how to retrieve account data:
const axios = require('axios');

// Replace with your actual API key and base URL
const apiKey = 'YOUR_API_KEY';
const baseUrl = 'https://youraccountname.api-us1.com/api/3/accounts';

// Function to get accounts
async function getAccounts() {
    try {
        const response = await axios.get(baseUrl, {
            headers: {
                'Api-Token': apiKey,
                'Accept': 'application/json'
            }
        });
        console.log('Accounts:', response.data.accounts);
    } catch (error) {
        console.error('Error fetching accounts:', error.response ? error.response.data : error.message);
    }
}

// Call the function
getAccounts();
In this code:
- We use
axiosto make a GET request to the Active Campaign API endpoint for accounts. - The API key is included in the request headers for authentication.
- Upon success, the account data is logged to the console. Errors are caught and logged for troubleshooting.
Verifying API Call Success and Handling Errors
After running the code, you should see the account data printed in your console. Verify the data by comparing it with the accounts listed in your Active Campaign dashboard.
In case of errors, ensure your API key and base URL are correct. Check the error message for specific details, such as authentication issues or rate limits. According to the Active Campaign documentation, the API has a rate limit of 5 requests per second per account.
By following these steps, you can efficiently retrieve account data from Active Campaign using JavaScript, enabling you to integrate and manage your marketing data seamlessly.

Conclusion and Best Practices for Active Campaign API Integration
Integrating with the Active Campaign API using JavaScript allows developers to efficiently manage and retrieve account data, enhancing marketing automation and CRM capabilities. By following the steps outlined in this guide, you can seamlessly connect to Active Campaign and leverage its powerful features to optimize your marketing strategies.
Best Practices for Secure and Efficient API Usage
- Secure API Key Storage: Always keep your API key confidential. Store it securely in environment variables or a secure vault, and never expose it in client-side code.
- Handle Rate Limits: Be mindful of the rate limit of 5 requests per second per account, as specified in the Active Campaign documentation. Implement retry logic or exponential backoff strategies to manage rate limit errors gracefully.
- Data Transformation and Standardization: Ensure that the data retrieved from Active Campaign is transformed and standardized according to your application's requirements. This will help maintain consistency and improve data integration across different platforms.
Streamlining Integrations with Endgrate
While integrating with individual APIs like Active Campaign can be rewarding, it can also be time-consuming and complex, especially when managing multiple integrations. Endgrate simplifies this process by providing a unified API endpoint that connects to various platforms, including Active Campaign.
By using Endgrate, you can save time and resources, allowing your development team to focus on core product features. With Endgrate, you build once for each use case, rather than multiple times for different integrations, offering an intuitive and seamless integration experience for your customers.
Explore how Endgrate can enhance your integration strategy by visiting Endgrate's website and discover the benefits of a streamlined integration process.
Read More
- https://endgrate.com/provider/activecampaign
- https://developers.activecampaign.com/reference/authentication
- https://developers.activecampaign.com/reference/url
- https://developers.activecampaign.com/reference/pagination
- https://developers.activecampaign.com/reference/rate-limits
- https://developers.activecampaign.com/reference/list-all-accounts
Ready to get started?
