Using the Xero API to Create or Update Items (with PHP examples)

Introduction to Xero API Integration
Xero is a powerful cloud-based accounting software platform designed to help businesses manage their finances with ease. It offers a wide range of features, including invoicing, bank reconciliation, and financial reporting, making it a popular choice for small to medium-sized enterprises.
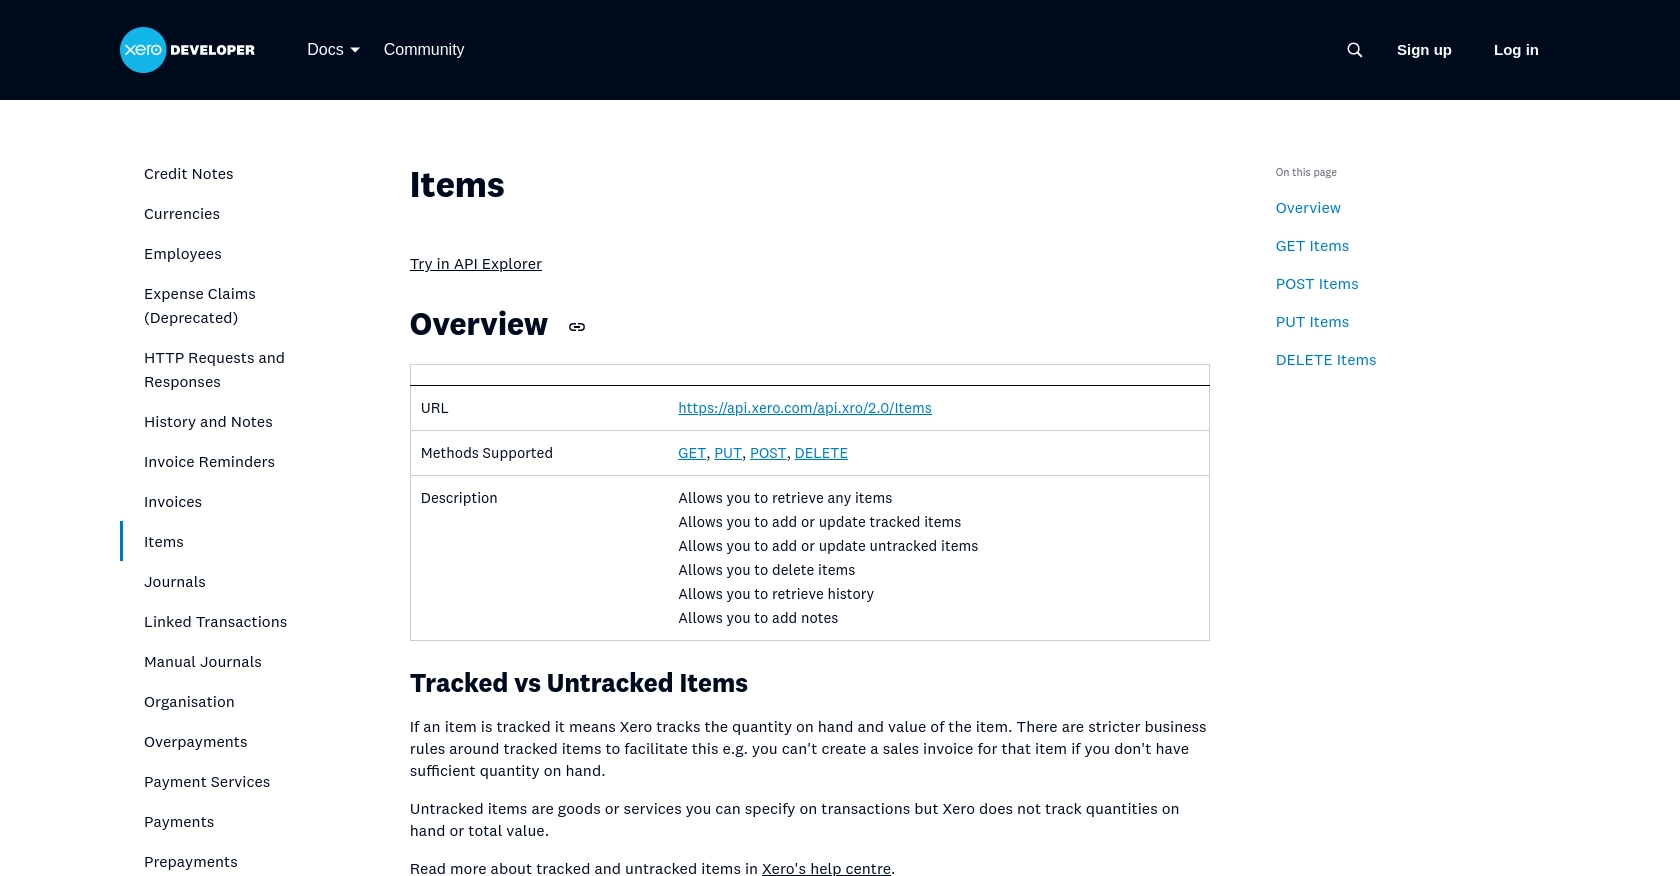
Integrating with Xero's API allows developers to automate and streamline various accounting tasks. For example, you can use the Xero API to create or update inventory items directly from your application, ensuring that your financial records are always up-to-date and accurate.
This article will guide you through using PHP to interact with the Xero API, focusing on creating or updating items. By the end of this tutorial, you'll be equipped to enhance your application's functionality by seamlessly integrating with Xero.
Setting Up Your Xero Test/Sandbox Account for API Integration
Before you can start integrating with the Xero API, you need to set up a test or sandbox account. This environment allows you to safely test your API interactions without affecting live data. Xero provides a demo company that you can use for this purpose.
Creating a Xero Account and Accessing the Demo Company
If you don't already have a Xero account, you can sign up for a free trial on the Xero website. Once your account is created, log in to access the Xero dashboard.
To use the demo company, navigate to the "My Xero" tab and select "Try the Demo Company." This will give you access to a fully functional environment where you can test API calls.
Setting Up OAuth 2.0 Authentication for Xero API
Xero uses OAuth 2.0 for authentication, which requires you to create an app to obtain the necessary credentials. Follow these steps to set up your app:
- Go to the Xero Developer Portal and log in with your Xero account.
- Click on "New App" and fill in the required details, such as the app name and company URL.
- Once your app is created, you'll receive a client ID and client secret. Keep these credentials secure as you'll need them for API authentication.
- Set the redirect URI to a valid URL where Xero can send the authorization code. This is typically a URL on your server that handles OAuth callbacks.
Obtaining Access Tokens for API Requests
With your app set up, you can now obtain access tokens to authenticate API requests. Follow the standard OAuth 2.0 authorization code flow:
- Direct the user to Xero's authorization URL, including your client ID and redirect URI.
- After the user authorizes your app, Xero will redirect them to your specified URI with an authorization code.
- Exchange this authorization code for an access token by making a POST request to Xero's token endpoint, including your client ID, client secret, and redirect URI.
For more detailed information on OAuth 2.0 authentication with Xero, refer to the Xero OAuth 2.0 documentation.

sbb-itb-96038d7
Making API Calls to Xero for Creating or Updating Items Using PHP
To interact with the Xero API for creating or updating items, you'll need to use PHP to make HTTP requests. This section will guide you through the necessary steps, including setting up your PHP environment, writing the code to interact with the API, and handling potential errors.
Setting Up Your PHP Environment for Xero API Integration
Before you begin, ensure you have the following prerequisites installed on your machine:
- PHP 7.4 or higher
- Composer, the PHP package manager
You'll also need to install the Guzzle HTTP client, which simplifies making HTTP requests in PHP. You can install it using Composer with the following command:
composer require guzzlehttp/guzzleWriting PHP Code to Create or Update Items in Xero
With your environment set up, you can now write the PHP code to interact with the Xero API. Below is an example of how to create or update an item:
require 'vendor/autoload.php';

use GuzzleHttp\Client;

$client = new Client();

$accessToken = 'Your_Access_Token';
$tenantId = 'Your_Tenant_ID';

$url = 'https://api.xero.com/api.xro/2.0/Items';

$itemData = [
    'Items' => [
        [
            'Code' => 'ITEM001',
            'Description' => 'Sample Item',
            'PurchaseDetails' => [
                'UnitPrice' => 20.00,
                'AccountCode' => '400'
            ],
            'SalesDetails' => [
                'UnitPrice' => 30.00,
                'AccountCode' => '200'
            ]
        ]
    ]
];

$response = $client->post($url, [
    'headers' => [
        'Authorization' => 'Bearer ' . $accessToken,
        'Xero-tenant-id' => $tenantId,
        'Content-Type' => 'application/json'
    ],
    'json' => $itemData
]);

if ($response->getStatusCode() == 200) {
    echo "Item created or updated successfully.";
} else {
    echo "Failed to create or update item.";
}
Replace Your_Access_Token and Your_Tenant_ID with your actual access token and tenant ID obtained during the OAuth 2.0 authentication process.
Verifying API Request Success in Xero Sandbox
After running the code, you can verify the success of your request by checking the items in your Xero demo company. Navigate to the "Inventory" section in Xero to see if the item has been created or updated as expected.
Handling Errors and Error Codes in Xero API
When making API calls, it's crucial to handle potential errors gracefully. The Xero API may return various error codes, such as 400 for bad requests or 401 for unauthorized access. You can handle these errors by checking the response status code and implementing appropriate error handling logic in your application.
For more detailed information on error codes, refer to the Xero API documentation.

Conclusion: Best Practices for Xero API Integration with PHP
Integrating with the Xero API using PHP can significantly enhance your application's functionality by automating accounting tasks and ensuring data accuracy. To make the most of this integration, consider the following best practices:
Securely Storing User Credentials
Ensure that sensitive information such as client IDs, client secrets, and access tokens are stored securely. Use environment variables or secure vaults to manage these credentials, and avoid hardcoding them in your source code.
Handling Xero API Rate Limits
The Xero API enforces rate limits to ensure fair usage. Be mindful of these limits when designing your application to avoid exceeding them. Implement logic to handle rate limit responses gracefully, such as retrying requests after a delay. For more information, refer to the Xero API rate limits documentation.
Transforming and Standardizing Data Fields
When interacting with the Xero API, ensure that data fields are transformed and standardized according to Xero's requirements. This includes formatting dates, numbers, and other data types correctly to prevent errors during API calls.
Utilizing Endgrate for Streamlined Integrations
If managing multiple integrations becomes overwhelming, consider using Endgrate to simplify the process. Endgrate provides a unified API endpoint that connects to various platforms, including Xero, allowing you to focus on your core product while outsourcing integration complexities. Learn more about how Endgrate can enhance your integration experience by visiting Endgrate's website.
By following these best practices, you can ensure a robust and efficient integration with the Xero API, enhancing your application's capabilities and providing a seamless experience for your users.
Read More
- https://endgrate.com/provider/xero
- https://developer.xero.com/documentation/api/accounting/requests-and-responses
- https://developer.xero.com/documentation/guides/oauth2/limits/
- https://developer.xero.com/documentation/guides/oauth2/overview
- https://developer.xero.com/documentation/guides/oauth2/scopes
- https://developer.xero.com/documentation/guides/oauth2/auth-flow
- https://developer.xero.com/documentation/guides/oauth2/tenants
- https://developer.xero.com/documentation/api/accounting/items
Ready to get started?
