Using the Salesflare API to Get Accounts in Javascript

Introduction to Salesflare API
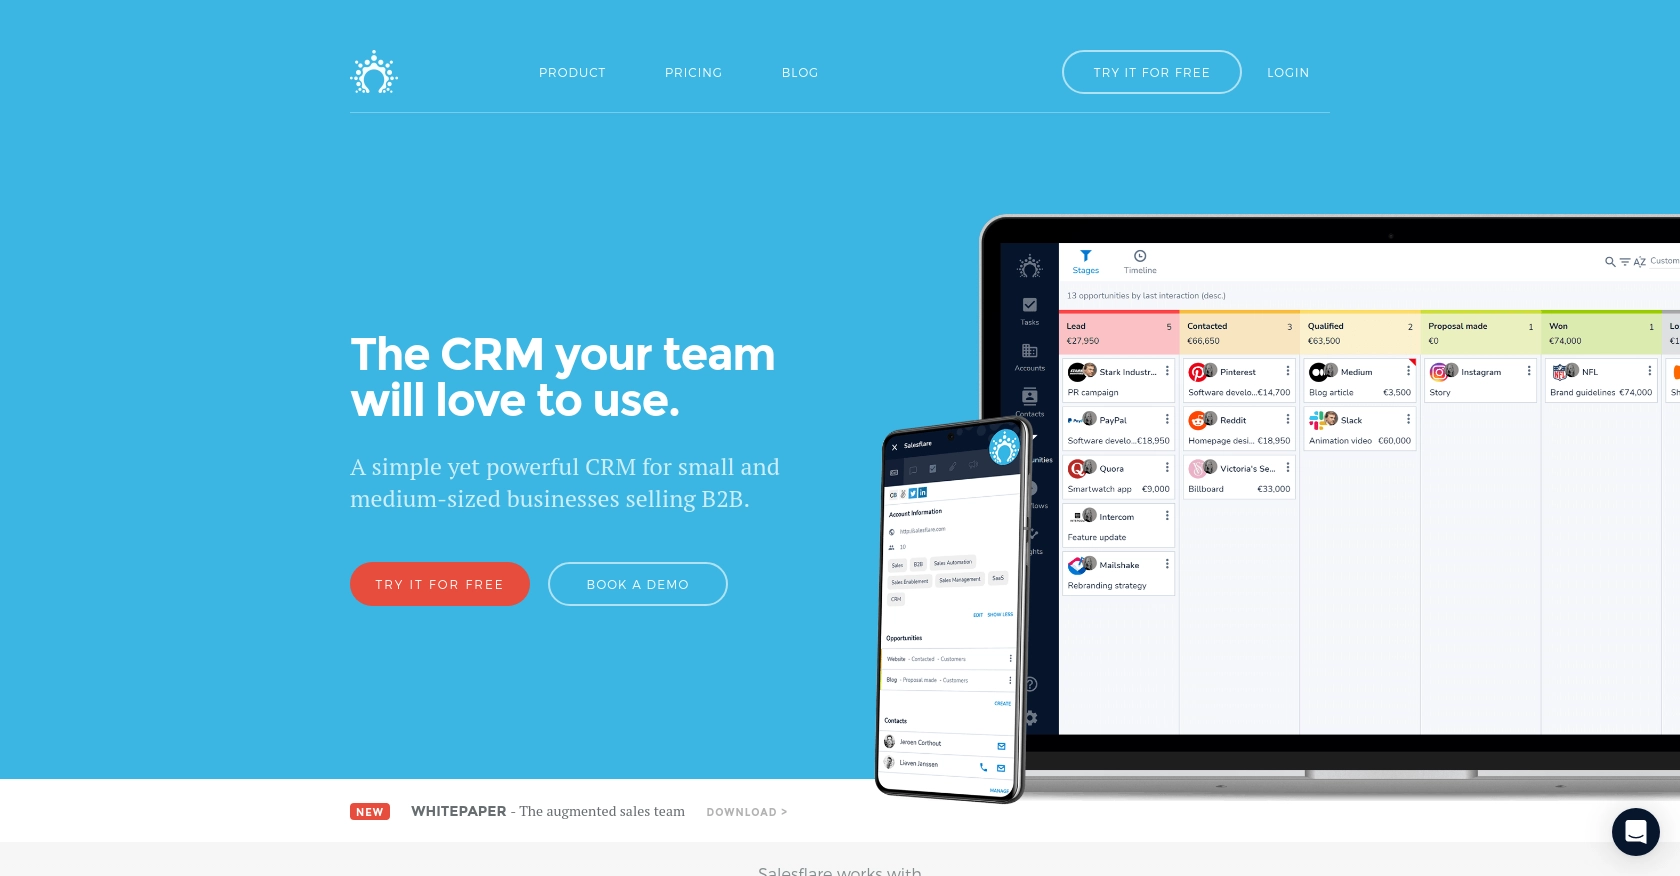
Salesflare is a powerful CRM platform designed to simplify sales processes for small and medium-sized businesses. It offers a user-friendly interface and robust features that help sales teams manage leads, track customer interactions, and automate follow-ups.
Integrating with the Salesflare API allows developers to access and manage account data programmatically, enabling seamless integration with other business tools. For example, a developer might use the Salesflare API to retrieve account information and synchronize it with a custom dashboard, providing sales teams with real-time insights into their customer base.
Setting Up Your Salesflare Test Account
Before you can start interacting with the Salesflare API, you'll need to set up a test account. Salesflare offers a straightforward process to get started, allowing developers to explore its features without any initial cost.
Creating a Salesflare Account
If you don't already have a Salesflare account, follow these steps to create one:
- Visit the Salesflare website and click on the "Sign Up" button.
- Fill in the required information, such as your name, email, and password, to create your account.
- Once registered, you will have access to the Salesflare dashboard where you can manage your CRM data.
Generating a Salesflare API Key
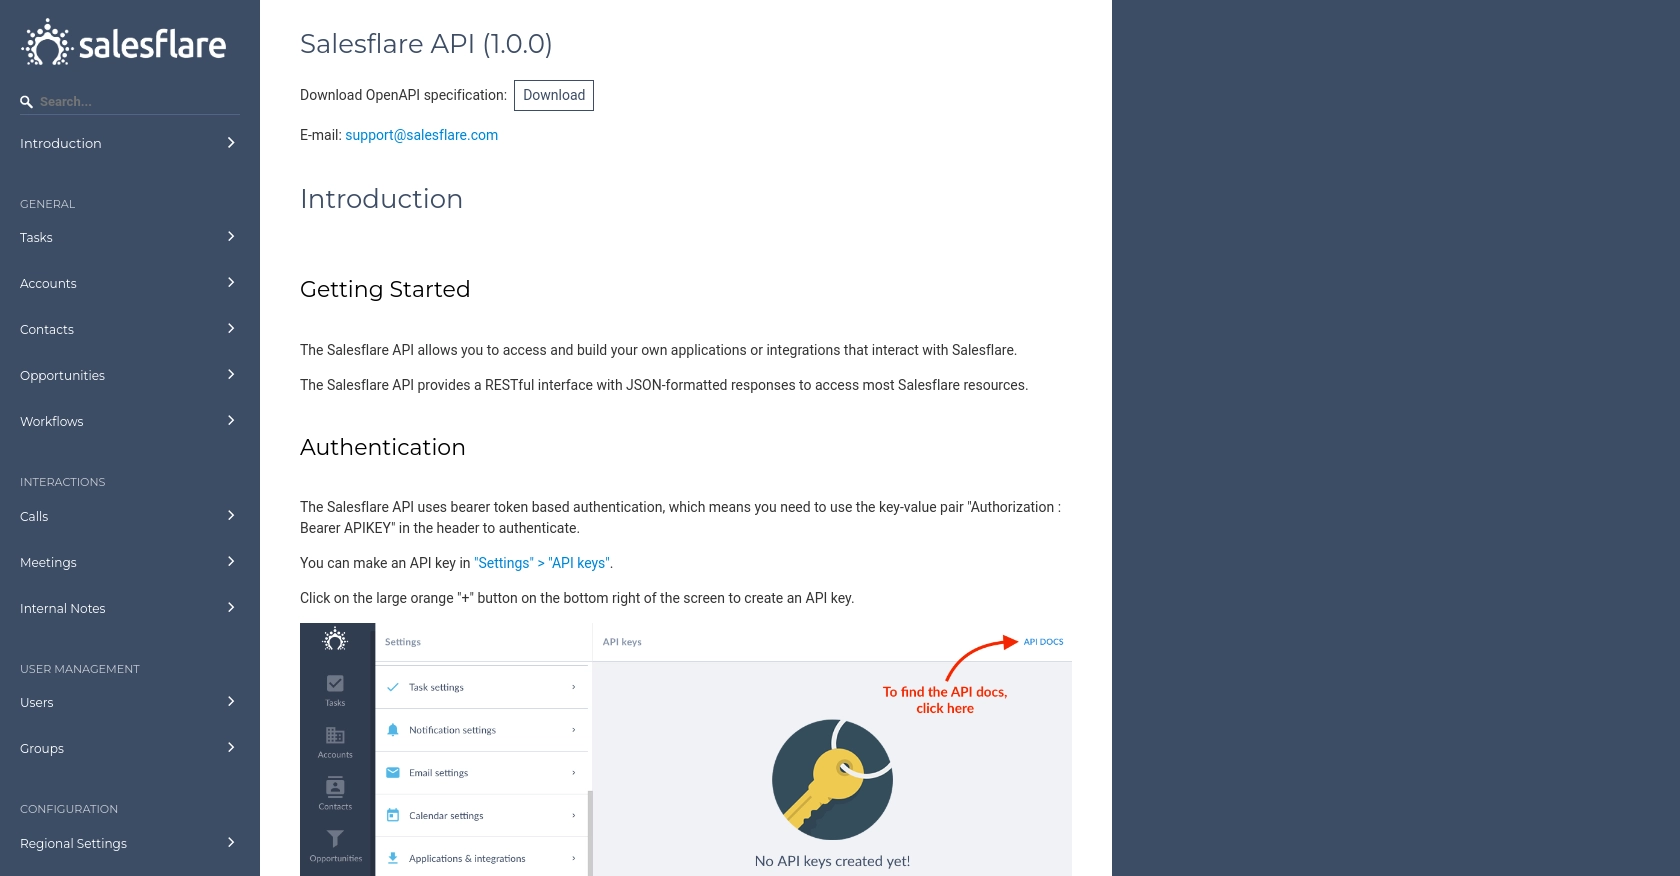
Salesflare uses API key-based authentication to secure API requests. Follow these steps to generate your API key:
- Log in to your Salesflare account and navigate to the "Settings" section.
- Under "API & Integrations," find the option to generate a new API key.
- Click on "Generate API Key" and copy the key provided. Keep this key secure as it will be used to authenticate your API requests.
With your API key ready, you can now proceed to make API calls to Salesflare, enabling seamless integration with your applications. For more detailed information, refer to the Salesflare API documentation.

sbb-itb-96038d7
Making API Calls to Retrieve Salesflare Accounts Using JavaScript
JavaScript is a versatile language widely used for web development, making it an excellent choice for interacting with APIs like Salesflare. In this section, we'll guide you through the process of making API calls to retrieve account information from Salesflare using JavaScript.
Prerequisites for Salesflare API Integration with JavaScript
Before you begin, ensure you have the following:
- A modern web browser with developer tools.
- Basic knowledge of JavaScript and asynchronous programming.
- Your Salesflare API key, which you generated in the previous section.
Setting Up Your JavaScript Environment
To make HTTP requests in JavaScript, we'll use the Fetch API, a modern interface for making network requests. Ensure your environment supports Fetch API, which is available in most modern browsers.
Example Code to Fetch Salesflare Accounts
Below is a sample code snippet to retrieve account data from Salesflare:
// Define the API endpoint and headers
const endpoint = 'https://api.salesflare.com/accounts';
const headers = {
    'Authorization': 'Bearer YOUR_API_KEY',
    'Content-Type': 'application/json'
};

// Function to fetch accounts from Salesflare
async function fetchSalesflareAccounts() {
    try {
        const response = await fetch(endpoint, { headers });
        if (!response.ok) {
            throw new Error(`Error: ${response.status} ${response.statusText}`);
        }
        const data = await response.json();
        console.log('Salesflare Accounts:', data);
    } catch (error) {
        console.error('Failed to fetch accounts:', error);
    }
}

// Call the function to fetch accounts
fetchSalesflareAccounts();
Replace YOUR_API_KEY with the API key you generated earlier. This code sets up the necessary headers for authentication and makes a GET request to the Salesflare API endpoint to retrieve account information.
Verifying Successful API Requests
After running the code, you should see the account data logged in the console. This indicates a successful API call. If you encounter errors, check the console for error messages and ensure your API key is correct.
Handling Errors and Common Issues
When making API calls, it's crucial to handle potential errors gracefully. The example code above includes basic error handling by checking the response status. Common issues might include:
- Invalid API key: Ensure your API key is correct and has the necessary permissions.
- Network issues: Verify your internet connection and API endpoint URL.
- Rate limiting: Be aware of any rate limits imposed by Salesflare to avoid exceeding allowed requests.
For more detailed error codes and handling strategies, refer to the Salesflare API documentation.
Conclusion: Best Practices for Using Salesflare API with JavaScript
Integrating the Salesflare API with JavaScript offers a powerful way to enhance your CRM capabilities by programmatically accessing account data. To ensure a smooth integration experience, consider the following best practices:
Securely Storing Salesflare API Credentials
Always store your API keys securely. Avoid hardcoding them directly into your JavaScript files. Instead, use environment variables or secure storage solutions to keep your credentials safe from unauthorized access.
Handling Salesflare API Rate Limits
Be mindful of any rate limits imposed by Salesflare. Implement logic to handle rate limit responses gracefully, such as retrying requests after a specified delay. This will help prevent disruptions in your application's functionality.
Standardizing and Transforming Data from Salesflare API
When retrieving data from the Salesflare API, consider transforming and standardizing the data fields to match your application's data model. This ensures consistency and simplifies data manipulation across different systems.
Enhancing Integration with Endgrate
For developers looking to streamline multiple integrations, consider using Endgrate. By leveraging Endgrate's unified API, you can save time and resources, allowing you to focus on your core product. Endgrate simplifies the integration process, providing an intuitive experience for your customers.
For more information on how Endgrate can enhance your integration strategy, visit Endgrate.
Read More
Ready to get started?

