How to Get Annotations with the Mixpanel API in Javascript

Introduction to Mixpanel API
Mixpanel is a powerful analytics platform that provides businesses with deep insights into user interactions and behaviors. By tracking events and analyzing data, Mixpanel helps companies make data-driven decisions to enhance user engagement and product development.
Integrating with Mixpanel's API allows developers to access a wealth of data, including annotations, which are valuable for understanding context and changes in data trends. For example, a developer might want to retrieve annotations to correlate specific marketing campaigns with spikes in user activity, thereby optimizing future strategies.
Setting Up Your Mixpanel Test Account for API Integration
Before you can start retrieving annotations using the Mixpanel API, you'll need to set up a Mixpanel account and configure a service account for authentication. This setup is crucial for accessing the API and ensuring secure interactions with your Mixpanel data.
Creating a Mixpanel Account
If you don't already have a Mixpanel account, you can sign up for a free account on the Mixpanel website. Follow the instructions to create your account and log in to the Mixpanel dashboard.
Configuring a Service Account for Mixpanel API Access
Mixpanel uses service accounts for API authentication, which allows scripts or backend services to interact with the API securely. Follow these steps to create and configure a service account:
- Navigate to your organization's settings in the Mixpanel dashboard.
- Go to the Service Accounts tab.
- Click on Create Service Account.
- Select the appropriate role and projects for the service account. Ensure it has access to the projects you want to interact with.
- Once created, securely store the service account's username and secret. You will need these credentials for API authentication, and they cannot be retrieved later.
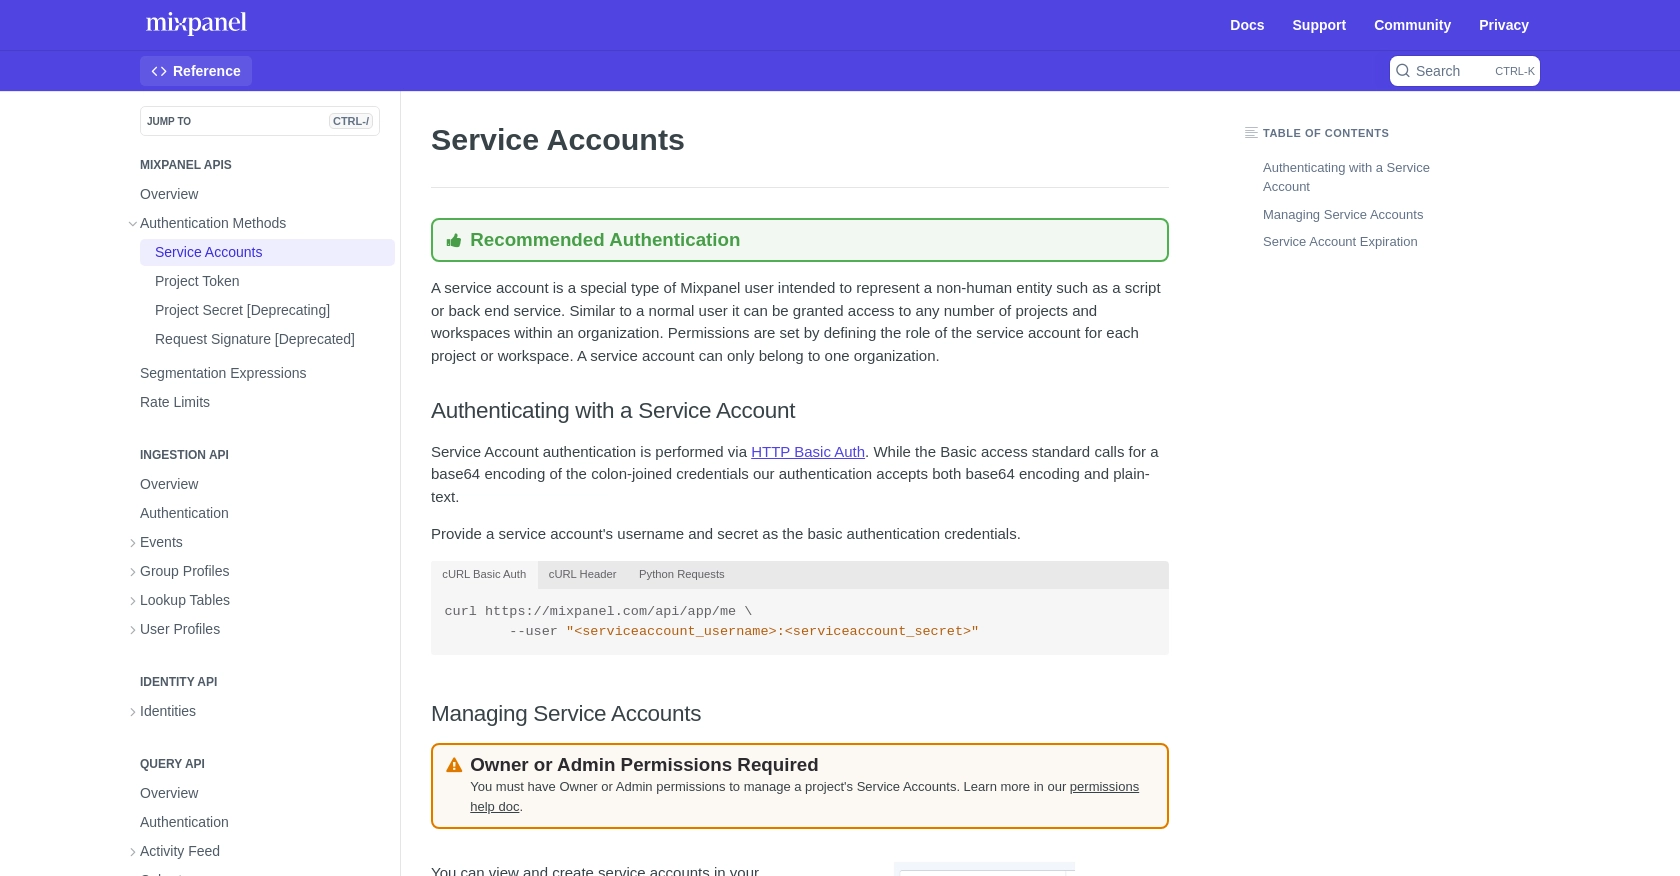
For more details on managing service accounts, refer to the Mixpanel Service Accounts documentation.
Authenticating with Mixpanel API Using Service Account
Mixpanel's API requires HTTP Basic Auth for authentication. You can use the service account credentials to authenticate your requests. Here's an example of how to set up authentication in JavaScript:
const username = 'your_service_account_username';
const secret = 'your_service_account_secret';
const auth = btoa(`${username}:${secret}`); // Base64 encode the credentials

const headers = new Headers();
headers.append('Authorization', `Basic ${auth}`);

// Example fetch request
fetch('https://mixpanel.com/api/app/projects/{projectId}/annotations', {
    method: 'GET',
    headers: headers
})
.then(response => response.json())
.then(data => console.log(data))
.catch(error => console.error('Error:', error));
Replace your_service_account_username and your_service_account_secret with your actual service account credentials. This setup will allow you to authenticate and make API calls to retrieve annotations.
sbb-itb-96038d7
Executing API Calls to Retrieve Annotations from Mixpanel Using JavaScript
To effectively interact with the Mixpanel API and retrieve annotations, you'll need to ensure your JavaScript environment is properly set up. This section will guide you through the process of making API calls, handling responses, and managing potential errors.
Setting Up Your JavaScript Environment for Mixpanel API Integration
Before making API calls, ensure you have a modern JavaScript environment. You can use Node.js or any browser-based JavaScript setup. Additionally, you'll need to use the Fetch API or a similar HTTP client to handle requests.
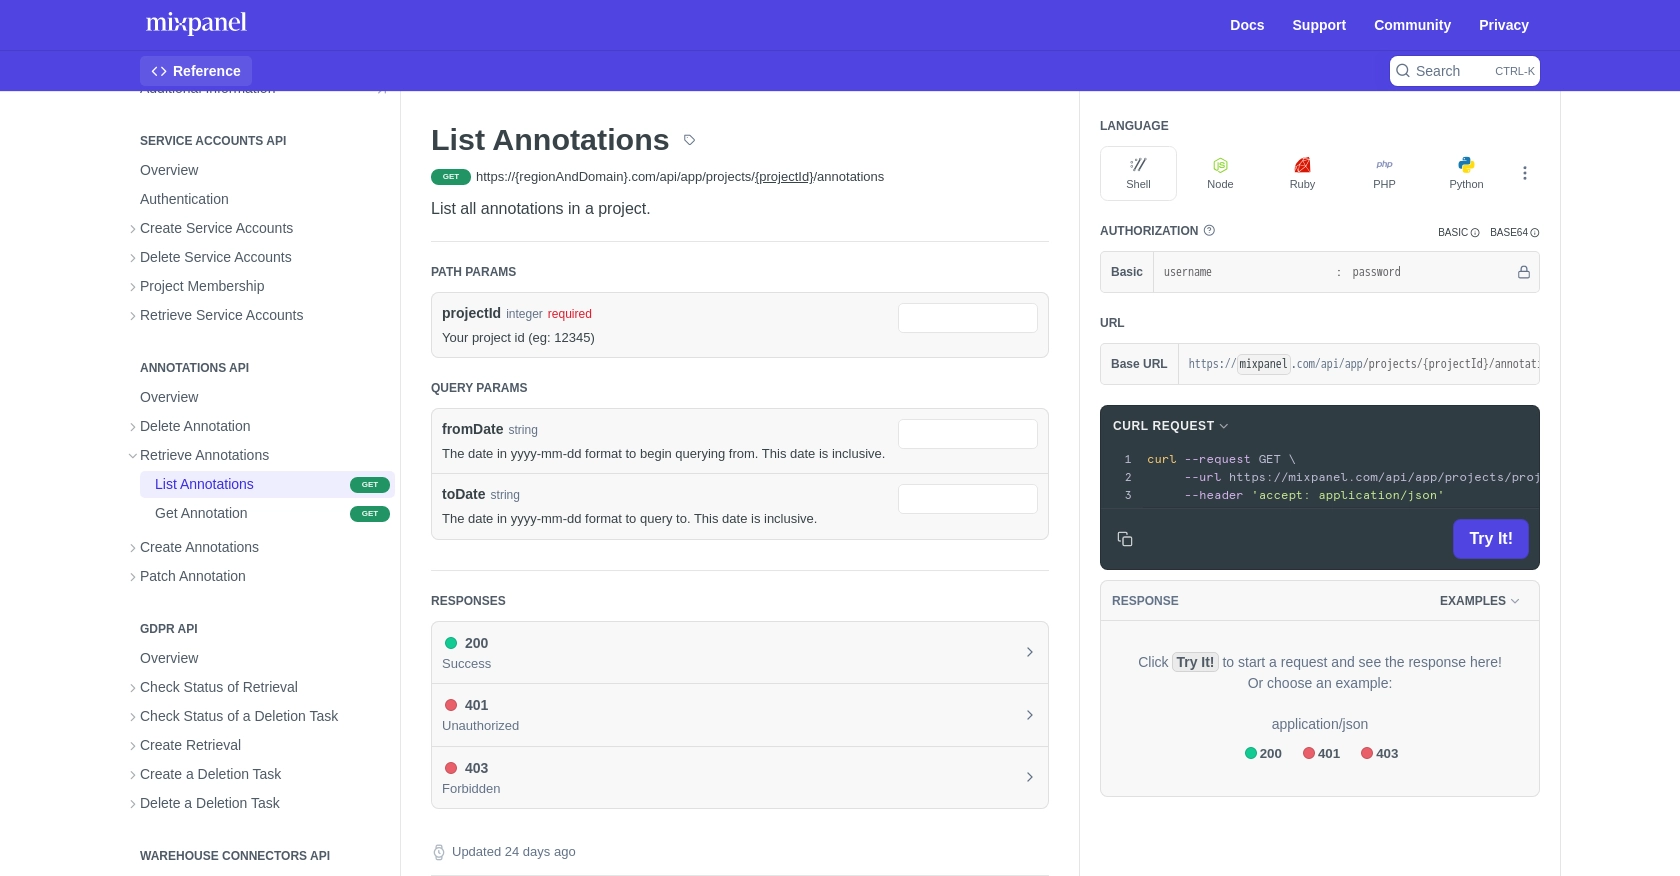
Making the API Call to Retrieve Annotations from Mixpanel
To retrieve annotations, you'll use the Mixpanel API endpoint designed for this purpose. Below is a step-by-step guide and example code to help you make the call:
// Define your Mixpanel project ID
const projectId = 'your_project_id';

// Base URL for the Mixpanel API
const baseUrl = `https://mixpanel.com/api/app/projects/${projectId}/annotations`;

// Set up authentication headers
const username = 'your_service_account_username';
const secret = 'your_service_account_secret';
const auth = btoa(`${username}:${secret}`); // Base64 encode the credentials

// Create headers for the request
const headers = new Headers();
headers.append('Authorization', `Basic ${auth}`);

// Fetch annotations from Mixpanel
fetch(baseUrl, {
    method: 'GET',
    headers: headers
})
.then(response => {
    if (!response.ok) {
        throw new Error(`HTTP error! Status: ${response.status}`);
    }
    return response.json();
})
.then(data => {
    console.log('Annotations:', data);
})
.catch(error => {
    console.error('Error fetching annotations:', error);
});
Replace your_project_id, your_service_account_username, and your_service_account_secret with your actual Mixpanel project ID and service account credentials.
Understanding and Handling API Responses and Errors
After executing the API call, you should verify the response to ensure the request was successful. The response will contain the annotations data if successful. If the request fails, handle the error gracefully by checking the status code and logging the error message.
Common HTTP status codes you may encounter include:
- 200 OK: The request was successful, and annotations data is returned.
- 401 Unauthorized: Authentication failed. Check your credentials.
- 429 Too Many Requests: Rate limit exceeded. Refer to the Mixpanel Rate Limits documentation for more information.
By understanding these status codes, you can implement appropriate error handling in your application.
Best Practices for Using Mixpanel API in JavaScript
When working with the Mixpanel API to retrieve annotations, it's essential to follow best practices to ensure efficient and secure integration. Here are some recommendations:
- Securely Store Credentials: Always store your service account credentials securely. Avoid hardcoding them in your source code. Consider using environment variables or a secure vault.
- Handle Rate Limits: Be mindful of Mixpanel's rate limits. Implement logic to handle HTTP 429 errors gracefully by retrying requests after a delay. For more details, refer to the Mixpanel Rate Limits documentation.
- Optimize API Calls: Consolidate multiple queries into a single request when possible to reduce the number of API calls and improve performance.
- Data Transformation: Standardize and transform data fields as needed to ensure consistency across your application.
Enhance Your Integration Strategy with Endgrate
Building and maintaining integrations with multiple platforms can be time-consuming and complex. Endgrate simplifies this process by providing a unified API endpoint that connects to various platforms, including Mixpanel.
With Endgrate, you can:
- Save time and resources by outsourcing integrations and focusing on your core product development.
- Build once for each use case instead of multiple times for different integrations.
- Offer an intuitive integration experience for your customers, enhancing their interaction with your product.
Explore how Endgrate can streamline your integration efforts by visiting Endgrate and discover a more efficient way to manage your integrations.
Read More

Ready to get started?
