How to Get Users with the Insightly API in Javascript
Introduction to Insightly API Integration
Insightly is a powerful CRM platform that helps businesses manage their customer relationships and streamline their sales processes. With features like contact management, project tracking, and workflow automation, Insightly is a popular choice for organizations looking to enhance their customer engagement strategies.
Integrating with the Insightly API allows developers to access and manipulate data within the Insightly platform programmatically. For example, you might want to retrieve user information to synchronize it with another system or to automate reporting processes.
This article will guide you through the process of using JavaScript to interact with the Insightly API, specifically focusing on retrieving user data. By the end of this tutorial, you'll be equipped to efficiently access and manage user information within Insightly using JavaScript.
Setting Up Your Insightly API Test Account
Before you can start interacting with the Insightly API using JavaScript, you'll need to set up a test account. This will allow you to safely experiment with API calls without affecting live data. Insightly provides a straightforward way to access your API key, which is essential for authenticating your requests.
Creating an Insightly Account
If you don't already have an Insightly account, you can sign up for a free trial on their website. This will give you access to the necessary features to test API interactions.
- Visit the Insightly website and click on the "Free Trial" button.
- Follow the on-screen instructions to create your account.
- Once your account is set up, log in to access the Insightly dashboard.
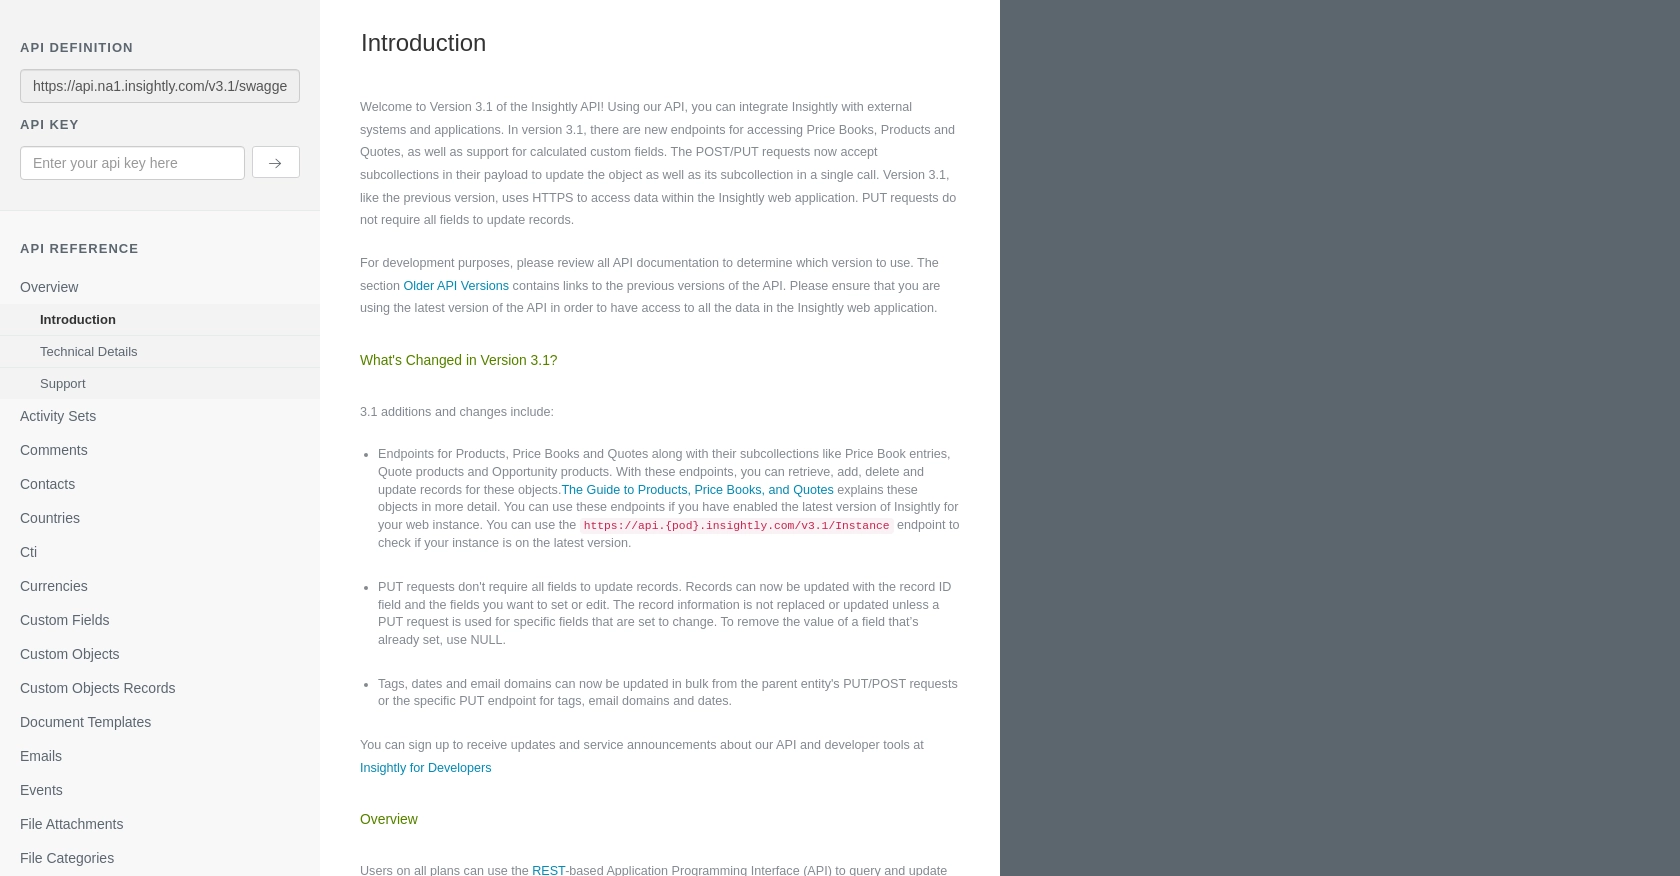
Finding Your Insightly API Key
Insightly uses HTTP Basic authentication, which requires an API key to authenticate your requests. Here's how to find your API key:
- Log in to your Insightly account.
- Click on your user profile icon in the upper right corner and select "User Settings."
- Navigate to the "API Key" section under "User Settings."
- Copy your API key. This key will be used in your JavaScript code to authenticate API requests.
For more details, refer to the Insightly API key documentation.
Understanding Insightly API Authentication
Insightly's API requires HTTP Basic authentication. You will need to include your API key as the Base64-encoded username in the Authorization header, leaving the password blank. This ensures that your API requests are properly authenticated.
For testing purposes, you can use your API key directly without Base64 encoding when using the Insightly sandbox environment.
Testing Your Insightly API Setup
Once you have your API key, you can test your setup by making a simple API call to retrieve user data. This will confirm that your authentication is working correctly.
// Example JavaScript code to test Insightly API setup
const endpoint = 'https://api.na1.insightly.com/v3.1/Users';
const apiKey = 'Your_API_Key'; // Replace with your actual API key

fetch(endpoint, {
    method: 'GET',
    headers: {
        'Authorization': 'Basic ' + btoa(apiKey + ':'),
        'Accept-Encoding': 'gzip'
    }
})
.then(response => response.json())
.then(data => console.log(data))
.catch(error => console.error('Error:', error));
Replace Your_API_Key with the API key you obtained earlier. This code snippet makes a GET request to the Insightly API to fetch user data, verifying that your setup is correct.
sbb-itb-96038d7
Making API Calls to Retrieve Users with Insightly API in JavaScript
To interact with the Insightly API using JavaScript, you'll need to make HTTP requests to the appropriate endpoints. This section will guide you through the process of setting up your JavaScript environment, making API calls, and handling responses effectively.
Setting Up Your JavaScript Environment for Insightly API
Before making API calls, ensure you have a suitable JavaScript environment. You can use Node.js or a browser-based environment. For this tutorial, we'll use the Fetch API, which is available in most modern browsers.
- Ensure you have a modern browser that supports the Fetch API.
- If using Node.js, ensure you have it installed on your machine.
Dependencies and JavaScript Version for Insightly API Integration
For this tutorial, no additional dependencies are required beyond a modern JavaScript environment. Ensure you are using ECMAScript 6 (ES6) or later for compatibility with the Fetch API.
Example Code to Retrieve Users from Insightly API
Below is a sample JavaScript code snippet to retrieve user data from the Insightly API. This example demonstrates how to make a GET request and handle the response.
// Define the API endpoint and your API key
const endpoint = 'https://api.na1.insightly.com/v3.1/Users';
const apiKey = 'Your_API_Key'; // Replace with your actual API key

// Make a GET request to the Insightly API
fetch(endpoint, {
    method: 'GET',
    headers: {
        'Authorization': 'Basic ' + btoa(apiKey + ':'),
        'Accept-Encoding': 'gzip'
    }
})
.then(response => {
    if (!response.ok) {
        throw new Error('Network response was not ok: ' + response.statusText);
    }
    return response.json();
})
.then(data => {
    console.log('User Data:', data);
})
.catch(error => {
    console.error('Error fetching user data:', error);
});
Replace Your_API_Key with the API key you obtained earlier. This code snippet makes a GET request to the Insightly API to fetch user data, and logs the data to the console.
Verifying Successful API Requests and Handling Errors
After running the code, check the console for the retrieved user data. If the request is successful, you should see user information displayed. If there are errors, ensure your API key is correct and that you have network access.
Common error codes include:
- 401 Unauthorized: Check your API key and ensure it is correctly Base64 encoded.
- 429 Too Many Requests: You have exceeded the rate limit. Wait and try again later.
For more details on error codes, refer to the Insightly API documentation.
Conclusion and Best Practices for Insightly API Integration
Integrating with the Insightly API using JavaScript provides a powerful way to manage and automate your CRM data. By following the steps outlined in this article, you can efficiently retrieve user data and incorporate it into your applications.
Best Practices for Secure and Efficient Insightly API Usage
- Secure Storage of API Keys: Always store your API keys securely. Avoid hardcoding them in your source code. Consider using environment variables or secure vaults.
- Handling Rate Limits: Be mindful of Insightly's rate limits. Implement retry logic with exponential backoff to handle HTTP 429 errors gracefully. For more details, refer to the Insightly API documentation.
- Data Transformation and Standardization: Ensure that data retrieved from Insightly is transformed and standardized to fit your application's needs. This will help maintain consistency and accuracy across systems.
Enhancing Your Integration Experience with Endgrate
For developers looking to streamline their integration processes, consider using Endgrate. With Endgrate, you can save time and resources by outsourcing integrations, allowing you to focus on your core product. Build once for each use case and enjoy an intuitive integration experience for your customers.
Visit Endgrate to learn more about how it can simplify your integration needs and enhance your development workflow.
Read More

Ready to get started?
