Using the Nimble API to Create or Update Contacts (with PHP examples)
Introduction to Nimble CRM API
Nimble is a relationship-focused CRM platform that helps businesses manage their contacts, tasks, and deals efficiently. With its seamless integration capabilities, Nimble allows users to gather and organize information from various sources, including Microsoft 365 and Google Workspace, into a single, unified platform.
Developers may want to integrate with the Nimble API to automate contact management tasks, such as creating or updating contact information. For example, you could use the Nimble API to automatically update contact details from an external database, ensuring that your CRM data is always current and accurate.
In this article, we will explore how to use the Nimble API to create or update contacts using PHP. This guide will provide step-by-step instructions and code examples to help developers efficiently interact with Nimble's API.
Setting Up Your Nimble API Test Account
Before you can start using the Nimble API to create or update contacts, you'll need to set up a test account. This involves generating an API key, which will allow you to authenticate your requests to the Nimble API.
Step 1: Sign Up for a Nimble Account
If you don't already have a Nimble account, visit the Nimble website and sign up for a free trial or a demo account. Follow the on-screen instructions to complete the registration process.
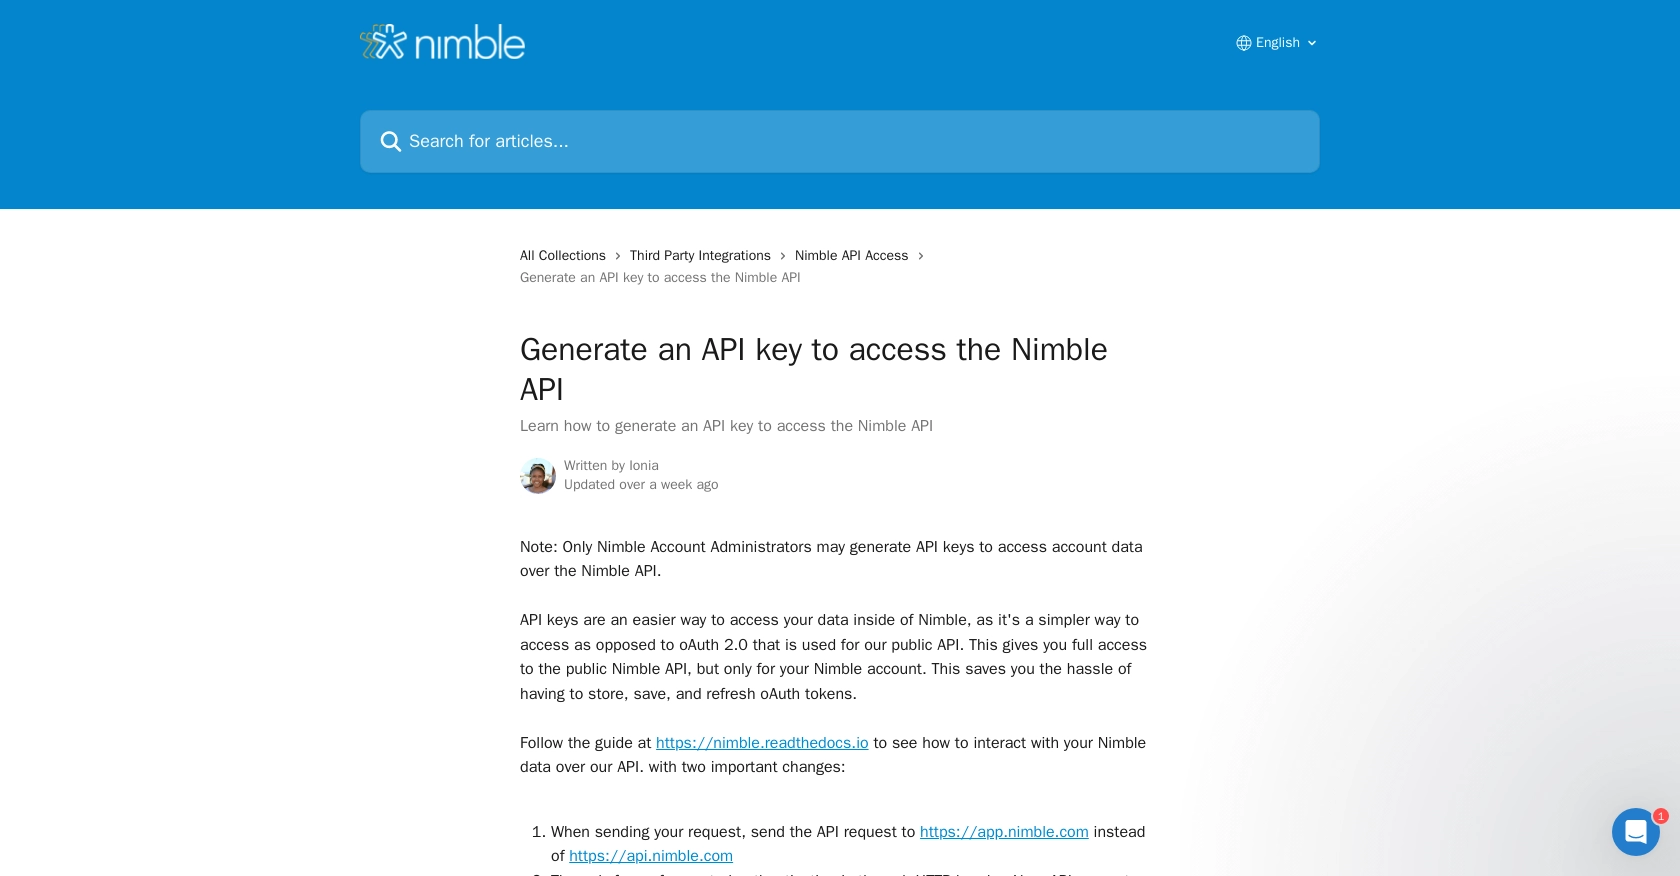
Step 2: Generate an API Key
Once your account is set up, you need to generate an API key to access the Nimble API. Please note that only Nimble Account Administrators can generate API keys.
- Log in to your Nimble account.
- Navigate to Settings and select API Token.
- Click on Generate New Token.
- Provide a description for your token and select the necessary scopes.
- Click Generate to create your API token.
Make sure to copy and securely store your API token, as you will need it to authenticate your API requests.
Step 3: Grant API Access
Ensure that API access is granted by the admin of your Nimble account. Admins can grant access by navigating to Settings and selecting Users. Here, they can manage permissions and grant API access to specific users.
Step 4: Configure API Authentication
The Nimble API uses API key-based authentication. You will need to include the API key in the HTTP header of your requests. The format should be:
$headers = [
    "Authorization: Bearer YOUR_API_KEY"
];
Replace YOUR_API_KEY with the API key you generated earlier.
With your test account set up and API key generated, you're ready to start making API calls to create or update contacts in Nimble.
sbb-itb-96038d7
Making API Calls to Create or Update Contacts in Nimble Using PHP
To interact with the Nimble API for creating or updating contacts, you'll need to use PHP to make HTTP requests. This section will guide you through the process of setting up your PHP environment, writing the necessary code, and handling responses from the Nimble API.
Setting Up Your PHP Environment for Nimble API Integration
Before making API calls, ensure you have the following prerequisites installed on your machine:
- PHP 7.4 or higher
- Composer for dependency management
Next, install the Guzzle HTTP client, which will help you make HTTP requests:
composer require guzzlehttp/guzzleCreating a New Contact in Nimble Using PHP
To create a new contact in Nimble, you'll need to send a POST request to the Nimble API endpoint. Here's a sample PHP script to create a contact:
require 'vendor/autoload.php';

use GuzzleHttp\Client;

$client = new Client();
$apiKey = 'YOUR_API_KEY';
$endpoint = 'https://app.nimble.com/api/v1/contact';

$headers = [
    'Authorization' => 'Bearer ' . $apiKey,
    'Content-Type' => 'application/json'
];

$contactData = [
    'fields' => [
        'first name' => [['value' => 'John']],
        'last name' => [['value' => 'Doe']],
        'email' => [['value' => 'john.doe@example.com']]
    ],
    'record_type' => 'person'
];

$response = $client->post($endpoint, [
    'headers' => $headers,
    'json' => $contactData
]);

echo $response->getBody();
Replace YOUR_API_KEY with your actual API key. This script sends a POST request to create a new contact with the specified fields.
Updating an Existing Contact in Nimble Using PHP
To update an existing contact, you'll need to send a PUT request to the Nimble API with the contact's ID. Here's how you can update a contact:
$contactId = 'CONTACT_ID';
$endpoint = 'https://app.nimble.com/api/v1/contact/' . $contactId;

$updateData = [
    'fields' => [
        'email' => [['value' => 'new.email@example.com']]
    ]
];

$response = $client->put($endpoint, [
    'headers' => $headers,
    'json' => $updateData
]);

echo $response->getBody();
Replace CONTACT_ID with the ID of the contact you wish to update. This script updates the contact's email address.
Handling API Responses and Errors
After making an API call, it's crucial to handle responses and potential errors. Nimble API responses include status codes and messages that indicate success or failure. Here's how you can manage these responses:
try {
    $response = $client->post($endpoint, [
        'headers' => $headers,
        'json' => $contactData
    ]);
    $data = json_decode($response->getBody(), true);
    echo 'Contact created: ' . $data['id'];
} catch (\GuzzleHttp\Exception\RequestException $e) {
    if ($e->hasResponse()) {
        $error = json_decode($e->getResponse()->getBody(), true);
        echo 'Error: ' . $error['message'];
    } else {
        echo 'Request failed: ' . $e->getMessage();
    }
}
This code snippet demonstrates how to catch exceptions and display error messages based on the API's response.
Conclusion and Best Practices for Nimble API Integration
Integrating with the Nimble API using PHP allows developers to efficiently manage contacts within the Nimble CRM platform. By automating tasks such as creating and updating contacts, businesses can ensure their CRM data remains accurate and up-to-date, enhancing overall productivity.
Best Practices for Secure and Efficient Nimble API Usage
- Secure API Keys: Always store your API keys securely and avoid hardcoding them in your scripts. Consider using environment variables or secure vaults to manage sensitive information.
- Handle Rate Limits: Be mindful of API rate limits to avoid service disruptions. Implement retry logic with exponential backoff to handle rate limit errors gracefully.
- Data Standardization: Ensure that data fields are standardized before sending them to the Nimble API. This helps maintain consistency and accuracy across your CRM data.
- Error Handling: Implement robust error handling to manage API response errors effectively. This includes logging errors and providing meaningful feedback to users.
Enhance Your Integration with Endgrate
While integrating with the Nimble API can streamline your CRM processes, managing multiple integrations can be complex and time-consuming. Endgrate offers a unified API solution that simplifies integration management across various platforms, including Nimble.
By using Endgrate, you can save time and resources, allowing your team to focus on core product development. With a single API endpoint, you can manage multiple integrations effortlessly, providing an intuitive experience for your customers.
Explore how Endgrate can enhance your integration strategy by visiting Endgrate today.
Read More

Ready to get started?
