How to Get Companies with the Intercom API in Python

Introduction to Intercom API for Company Data Management
Intercom is a powerful customer communication platform that enables businesses to engage with their customers through messaging, email, and more. It offers a suite of tools designed to enhance customer support, marketing, and sales efforts, making it a popular choice for companies looking to improve their customer interactions.
Developers may want to integrate with Intercom's API to access and manage company data, allowing for seamless integration of customer information across various platforms. For example, a developer could use the Intercom API to retrieve a list of companies associated with their product, enabling them to analyze customer engagement and tailor marketing strategies accordingly.
This article will guide you through the process of using Python to interact with the Intercom API, specifically focusing on retrieving company data. By following this tutorial, you'll learn how to efficiently access and manage company information within the Intercom platform using Python.
Setting Up Your Intercom Developer Account for API Access
Before you can start interacting with the Intercom API to retrieve company data, you'll need to set up a developer account and configure OAuth authentication. This process ensures secure access to the API and allows your application to interact with Intercom's data on behalf of users.
Creating an Intercom Developer Workspace
To begin, you'll need to create a development workspace in Intercom. This workspace will serve as your testing environment for building and managing your app integrations.
- Visit the Intercom Developer Hub and sign up for a free account.
- Once registered, navigate to the Developer Hub and create a new app. This app will be used to manage your API interactions.
Configuring OAuth Authentication for Intercom API
Intercom uses OAuth for authentication, which allows your app to securely access user data. Follow these steps to set up OAuth:
- In your app's settings, enable the "Use OAuth" option on the Authentication page.
- Provide the necessary Redirect URLs. These URLs are where Intercom will send the authorization code after a user authorizes your app. Ensure these URLs use HTTPS.
- Select the required permissions for your app. For accessing company data, ensure you have the "Read and list users and companies" scope enabled.
- Save your changes and note down your
client_idandclient_secret, which you'll use to obtain an access token.
For more details on setting up OAuth, refer to the Intercom OAuth documentation.
Generating an Access Token for API Requests
With OAuth configured, you can now generate an access token to authenticate your API requests:
- Direct users to the authorization URL:
https://app.intercom.com/oauth?client_id=YOUR_CLIENT_ID&state=YOUR_STATE. - Once the user authorizes your app, they will be redirected to your specified Redirect URL with an authorization code.
- Exchange this authorization code for an access token by making a POST request to
https://api.intercom.io/auth/eagle/tokenwith the following parameters:code: The authorization code received.client_id: Your app's client ID.client_secret: Your app's client secret.
Upon successful exchange, you'll receive an access token, which you can use to authenticate your API calls.
sbb-itb-96038d7
Making API Calls to Retrieve Company Data from Intercom Using Python
Now that you have set up your Intercom developer account and obtained an access token, you can proceed to make API calls to retrieve company data. This section will guide you through the process of using Python to interact with the Intercom API, specifically focusing on fetching company information.
Setting Up Your Python Environment for Intercom API Integration
Before making API calls, ensure your Python environment is properly configured. You'll need Python 3.x and the requests library to handle HTTP requests.
- Verify that Python 3.x is installed on your machine. You can download it from the official Python website if needed.
- Install the
requestslibrary using pip:
pip install requestsExample Code to Fetch Companies from Intercom API
With your environment set up, you can now write a Python script to retrieve company data from Intercom. Below is an example code snippet:
import requests
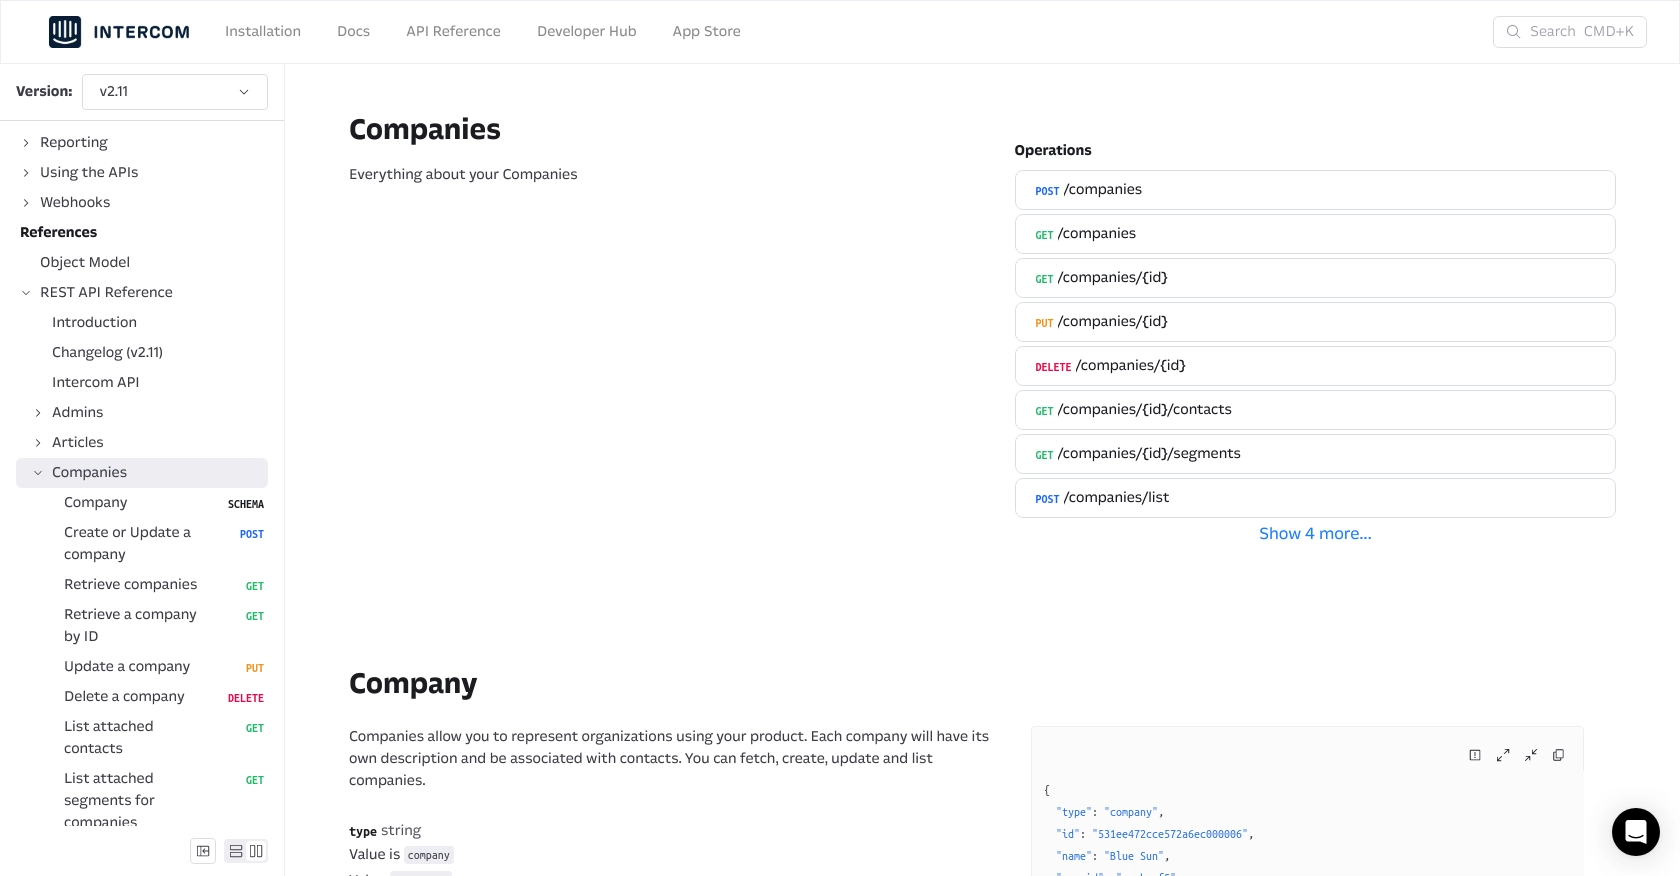
# Define the API endpoint and headers
url = "https://api.intercom.io/companies"
headers = {
"Authorization": "Bearer YOUR_ACCESS_TOKEN",
"Accept": "application/json",
"Intercom-Version": "2.11"
}
# Make a GET request to the Intercom API
response = requests.get(url, headers=headers)
# Check if the request was successful
if response.status_code == 200:
companies = response.json()
for company in companies['data']:
print(f"Company Name: {company['name']}, ID: {company['id']}")
else:
print(f"Failed to retrieve companies: {response.status_code} - {response.text}")
Replace YOUR_ACCESS_TOKEN with the access token you obtained earlier. This script sends a GET request to the Intercom API to fetch a list of companies and prints their names and IDs.
Verifying Successful API Requests and Handling Errors
After running the script, you should see a list of company names and IDs printed in the console. If the request fails, the script will output an error message with the status code and response text.
Common error codes include:
- 401 Unauthorized: Check if your access token is correct and not expired.
- 404 Not Found: Ensure the API endpoint URL is correct.
- 500 Internal Server Error: This may indicate a temporary issue with the Intercom API server.
For more detailed error handling, refer to the Intercom API documentation.
Conclusion and Best Practices for Intercom API Integration in Python
Integrating with the Intercom API using Python provides a powerful way to manage and analyze company data, enhancing your ability to tailor marketing strategies and improve customer engagement. By following the steps outlined in this guide, you can efficiently retrieve and handle company information within the Intercom platform.
Best Practices for Secure and Efficient API Usage
- Securely Store Credentials: Always store your
client_id,client_secret, and access tokens securely. Consider using environment variables or a secure vault to manage sensitive information. - Handle Rate Limiting: Be mindful of Intercom's API rate limits to avoid service disruptions. Implement retry logic with exponential backoff to handle rate limit errors gracefully.
- Standardize Data Fields: Ensure consistent data formatting when integrating with multiple platforms. This helps maintain data integrity and simplifies data analysis.
Enhance Your Integration Capabilities with Endgrate
While building custom integrations can be rewarding, it can also be time-consuming and complex. Endgrate offers a streamlined solution by providing a unified API endpoint that connects to multiple platforms, including Intercom. This allows you to focus on your core product while outsourcing integration complexities.
With Endgrate, you can build once for each use case and enjoy an intuitive integration experience for your customers. Explore how Endgrate can save you time and resources by visiting Endgrate today.
Read More

Ready to get started?
