How to Get Contacts with the Front API in Javascript
Introduction to Front API for Contact Management
Front is a powerful communication platform that centralizes emails, messages, and other communication channels into a single collaborative interface. It is widely used by businesses to enhance team collaboration and streamline customer interactions.
For developers, integrating with the Front API offers the opportunity to automate and manage contact data efficiently. By leveraging the Front API, you can synchronize contacts from external systems, automate updates, and ensure that your contact information is always up-to-date. For example, a developer might use the Front API to retrieve contact details and integrate them into a CRM system, enhancing customer relationship management.
Setting Up Your Front Developer Account for API Access
Before you can start using the Front API to manage contacts, you'll need to set up a developer account. This account will provide you with the necessary environment to test and build your integrations without affecting production data.
Creating a Front Developer Account
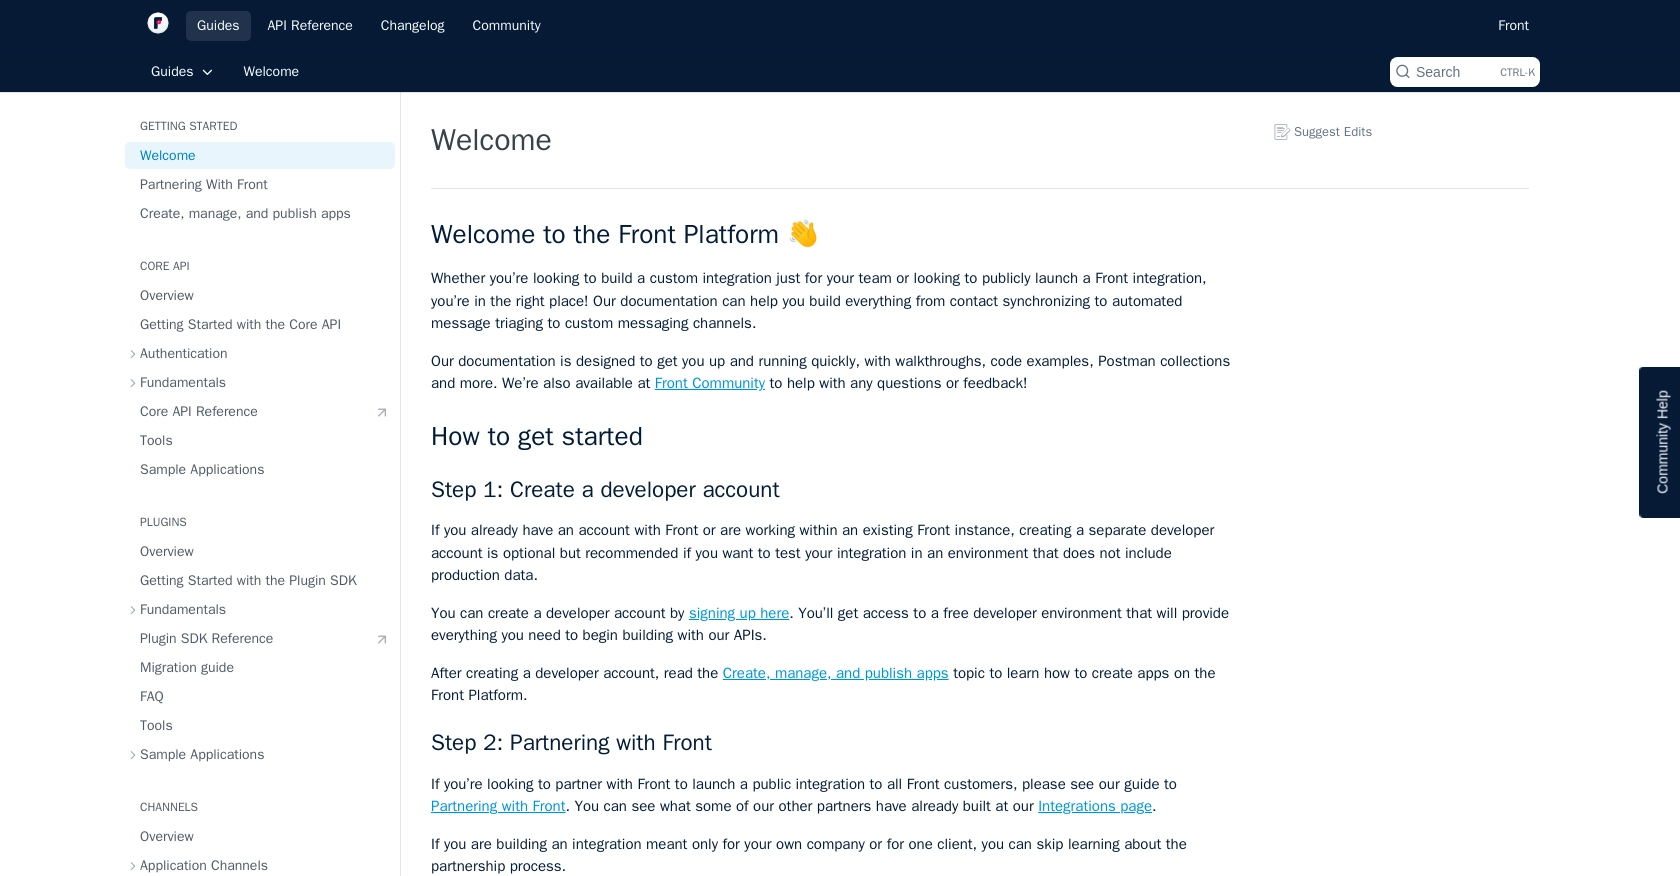
If you don't already have a Front account, you can easily create a developer account by visiting the Front Developer Portal. This account will give you access to a free developer environment where you can experiment with the API.
- Visit the Front Developer Portal and sign up for a developer account.
- Follow the on-screen instructions to complete the registration process.
- Once registered, log in to your developer account to access the dashboard.
Generating an API Token for Authentication
Front uses API tokens for authentication, allowing you to securely interact with the API. Here's how to generate an API token:
- Navigate to the API settings in your Front developer dashboard.
- Select the option to create a new API token.
- Choose the appropriate scopes for your token, such as access to contacts.
- Generate the token and store it securely, as you'll need it for API requests.
Configuring API Token Permissions
Ensure that your API token has the necessary permissions to access and manage contacts. This typically involves selecting the "Shared Resources" scope during token creation, which allows access to team resources.
Testing Your Setup
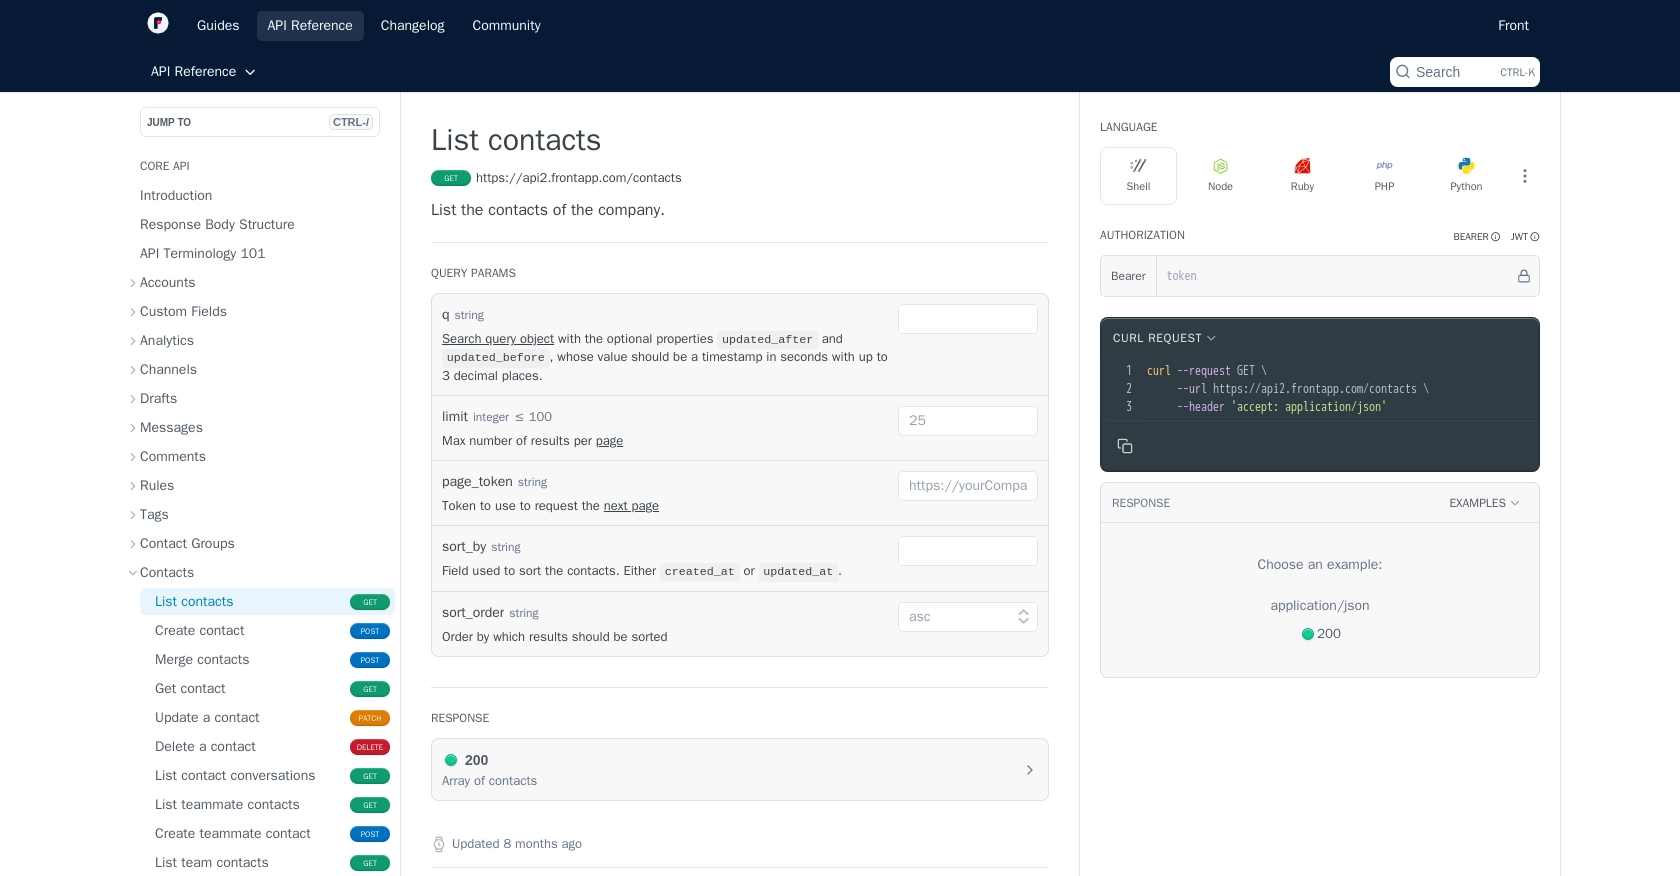
With your developer account and API token ready, you can now test your setup by making a simple API call to list contacts. This will confirm that your authentication is correctly configured.
// Example: Testing API token with a simple GET request
fetch('https://api2.frontapp.com/contacts', {
    method: 'GET',
    headers: {
        'Authorization': 'Bearer YOUR_API_TOKEN',
        'Accept': 'application/json'
    }
})
.then(response => response.json())
.then(data => console.log(data))
.catch(error => console.error('Error:', error));
Replace YOUR_API_TOKEN with the token you generated. If successful, you should see a list of contacts returned in the console.
sbb-itb-96038d7
Making API Calls to Retrieve Contacts with Front API in JavaScript
To effectively interact with the Front API and retrieve contact information, you'll need to use JavaScript to make HTTP requests. This section will guide you through the necessary steps, including setting up your environment, writing the code, and handling responses and errors.
Setting Up Your JavaScript Environment for Front API Integration
Before making API calls, ensure you have the following prerequisites:
- Node.js installed on your machine, preferably version 14 or later.
- A code editor like Visual Studio Code.
- Familiarity with JavaScript and asynchronous programming.
Installing Required Dependencies for Front API Calls
To make HTTP requests in JavaScript, you can use the node-fetch library. Install it using npm:
npm install node-fetchWriting JavaScript Code to Fetch Contacts from Front API
Create a new JavaScript file, getContacts.js, and add the following code:
const fetch = require('node-fetch');

// Define the API endpoint and headers
const endpoint = 'https://api2.frontapp.com/contacts';
const headers = {
    'Authorization': 'Bearer YOUR_API_TOKEN',
    'Accept': 'application/json'
};

// Function to fetch contacts
async function fetchContacts() {
    try {
        const response = await fetch(endpoint, { method: 'GET', headers });
        if (!response.ok) {
            throw new Error(`HTTP error! Status: ${response.status}`);
        }
        const data = await response.json();
        console.log('Contacts:', data);
    } catch (error) {
        console.error('Error fetching contacts:', error);
    }
}

// Execute the function
fetchContacts();
Replace YOUR_API_TOKEN with the API token you generated earlier. This script makes a GET request to the Front API to retrieve contact information.
Understanding the Expected Output and Verifying Success
When you run the script using node getContacts.js, you should see a JSON object containing the list of contacts printed to the console. This confirms that the API call was successful.
Handling Errors and Understanding Front API Error Codes
It's crucial to handle potential errors when making API calls. The Front API may return various HTTP status codes to indicate success or failure:
- 200 OK: The request was successful, and the contacts are returned.
- 401 Unauthorized: The API token is missing or invalid. Ensure your token is correct.
- 429 Too Many Requests: You've exceeded the rate limit. Refer to the rate limiting documentation for guidance.
Implement error handling in your code to manage these responses gracefully.
Verifying Contacts in Front Sandbox Environment
After successfully fetching contacts, you can verify the data by checking the Front sandbox environment. Ensure that the contacts listed in the response match those in your test account.
Conclusion and Best Practices for Using Front API in JavaScript
Integrating with the Front API using JavaScript provides a robust solution for managing contact data efficiently. By following the steps outlined in this guide, you can seamlessly retrieve and synchronize contacts, enhancing your application's functionality and user experience.
Best Practices for Secure and Efficient Front API Integration
- Securely Store API Tokens: Always store your API tokens securely and avoid hardcoding them in your source code. Consider using environment variables or secure vaults.
- Handle Rate Limits: Be mindful of Front's rate limits, which start at 50 requests per minute. Implement logic to handle the
429 Too Many Requestserror by respecting theRetry-Afterheader. For more details, refer to the rate limiting documentation. - Implement Error Handling: Ensure your application gracefully handles errors by checking response status codes and implementing retry logic where appropriate.
- Utilize Pagination: When dealing with large datasets, use pagination to efficiently manage and process data. Refer to the pagination documentation for guidance.
Enhancing Your Integration with Endgrate
While integrating with Front API directly is powerful, using a tool like Endgrate can further streamline your integration process. Endgrate allows you to manage multiple integrations through a single API endpoint, saving time and resources. By outsourcing integrations to Endgrate, you can focus on your core product development and deliver a seamless integration experience to your customers.
Explore how Endgrate can simplify your integration needs by visiting Endgrate's website and discover the benefits of a unified API solution.
Read More

Ready to get started?
