Using the Wrike API to Create Task in Python

Introduction to Wrike API for Task Management
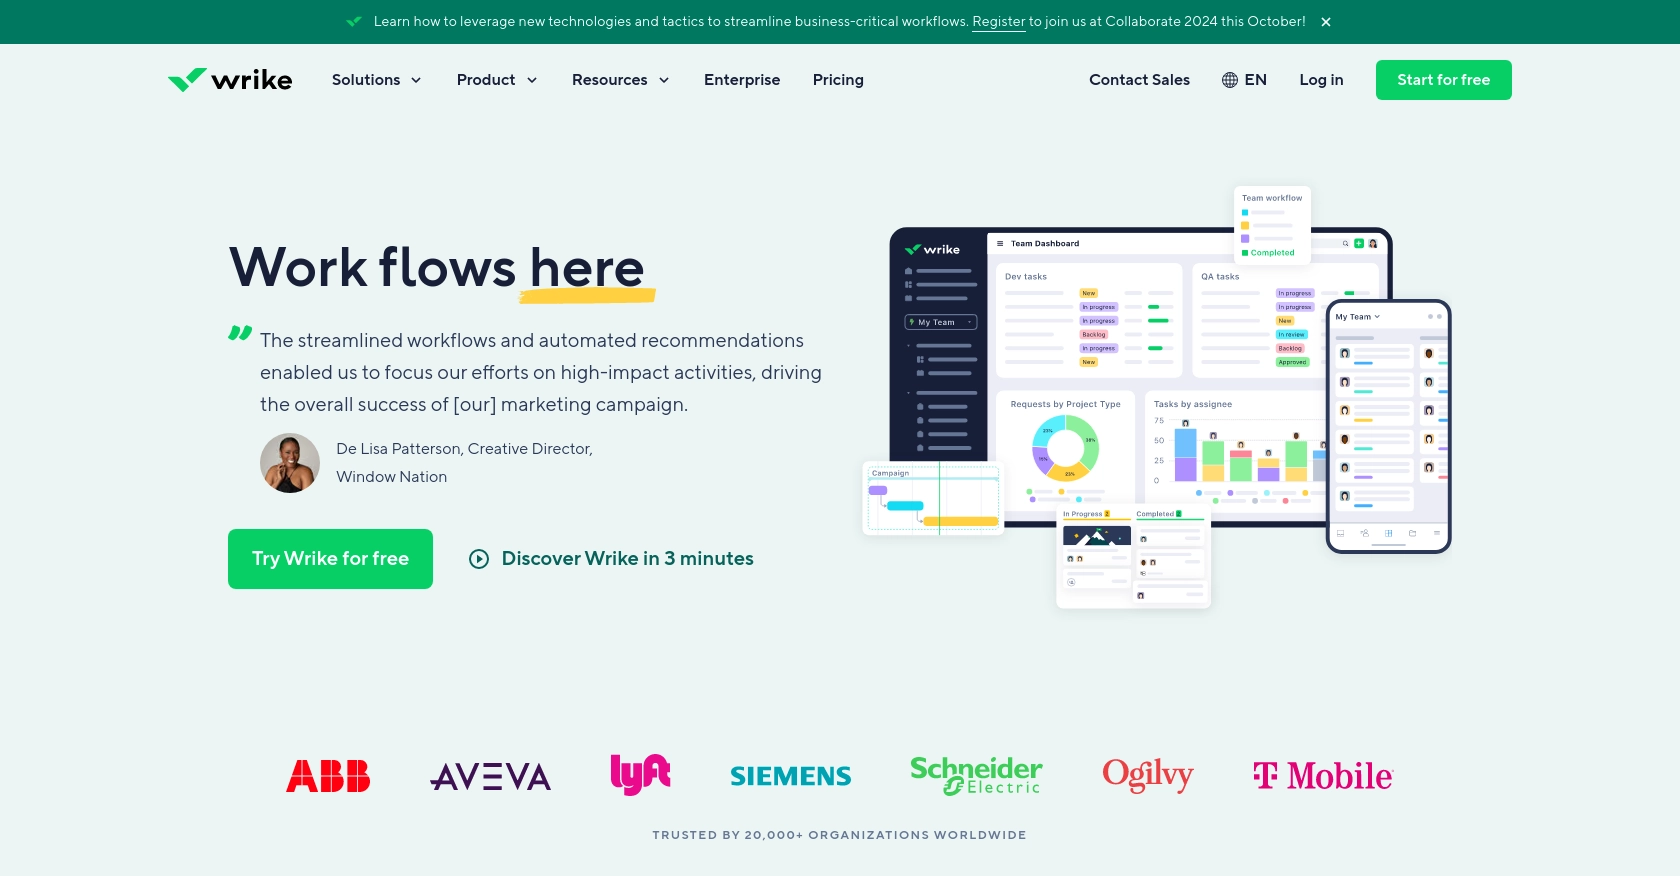
Wrike is a versatile project management platform that empowers teams to collaborate efficiently and manage tasks seamlessly. With its robust set of features, Wrike facilitates task tracking, project planning, and team collaboration, making it an essential tool for businesses aiming to enhance productivity.
For developers, integrating with the Wrike API opens up opportunities to automate and streamline task management processes. By leveraging the Wrike API, developers can create, update, and manage tasks programmatically, allowing for customized workflows and enhanced efficiency. For example, a developer might use the Wrike API to automatically create tasks based on incoming support tickets, ensuring that each ticket is promptly addressed and tracked within the Wrike platform.
Setting Up Your Wrike Sandbox Account for API Integration
Before diving into the integration process with the Wrike API, it's essential to set up a sandbox account. This environment allows developers to test and experiment with API calls without affecting live data, ensuring a safe and controlled development process.
Creating a Wrike Sandbox Account
To get started, you'll need to create a Wrike account. If you don't already have one, follow these steps:
- Visit the Wrike website and sign up for a free trial or a demo account.
- Follow the on-screen instructions to complete the registration process.
- Once your account is set up, log in to access the Wrike dashboard.
Setting Up OAuth 2.0 for Wrike API Authentication
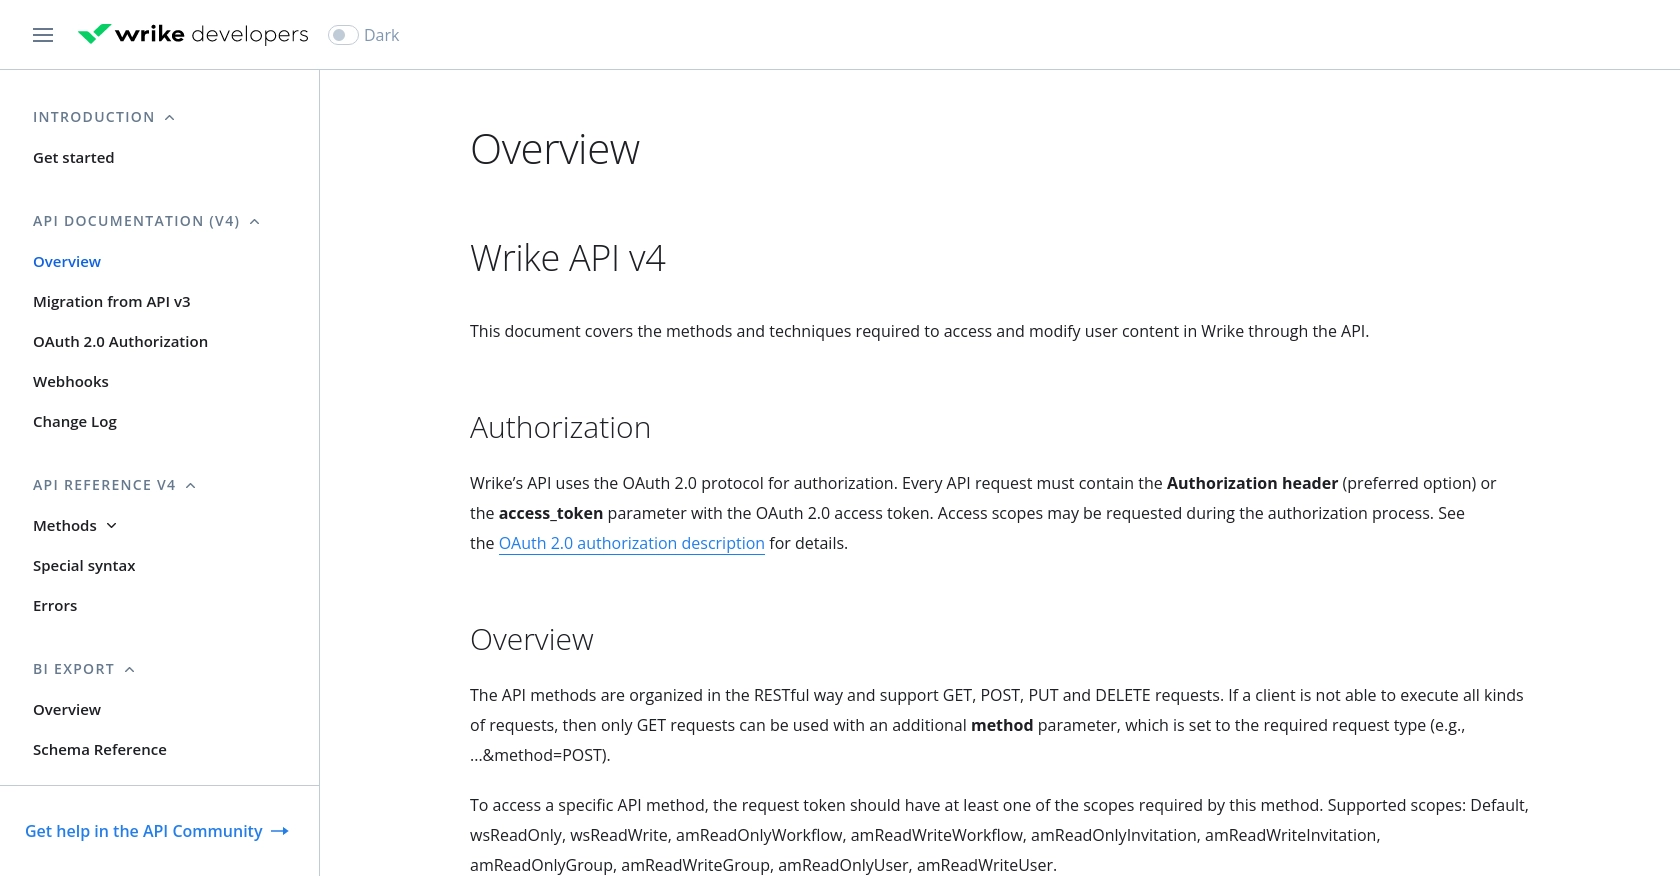
The Wrike API uses OAuth 2.0 for authentication, which requires creating an application within your Wrike account. Follow these steps to set up OAuth 2.0:
- Navigate to the Apps & Integrations section in your Wrike account settings.
- Click on Create New App to start the process.
- Fill in the required information, such as the app name and description.
- Specify the necessary scopes for your application. For task creation, ensure you have the appropriate permissions.
- Once your app is created, you'll receive a Client ID and Client Secret. Keep these credentials secure, as they are essential for authenticating API requests.
For more detailed information on OAuth 2.0 setup, refer to the Wrike OAuth 2.0 documentation.
Generating Access Tokens for API Calls
With your application set up, you can now generate access tokens to authenticate your API requests:
- Use the Client ID and Client Secret to request an access token from the Wrike authorization server.
- Follow the OAuth 2.0 authorization flow to obtain the token. This typically involves redirecting users to a consent page and handling the authorization code.
- Exchange the authorization code for an access token, which will be used in the header of your API requests.
Ensure you handle tokens securely and refresh them as needed to maintain access. For more details, consult the Wrike OAuth 2.0 documentation.

sbb-itb-96038d7
Making API Calls to Create Tasks in Wrike Using Python
To interact with the Wrike API and create tasks programmatically, you'll need to use Python, a versatile and widely-used programming language. This section will guide you through the process of setting up your environment, writing the necessary code, and executing API calls to create tasks in Wrike.
Setting Up Your Python Environment for Wrike API Integration
Before you begin, ensure that you have Python installed on your machine. This tutorial uses Python 3.11.1. Additionally, you'll need the requests library to handle HTTP requests. Install it using the following command:
pip install requestsWriting Python Code to Create a Task in Wrike
With your environment ready, you can now write the Python script to create a task in Wrike. Follow these steps:
import requests

# Set the API endpoint and headers
folder_id = "your_folder_id"  # Replace with your actual folder ID
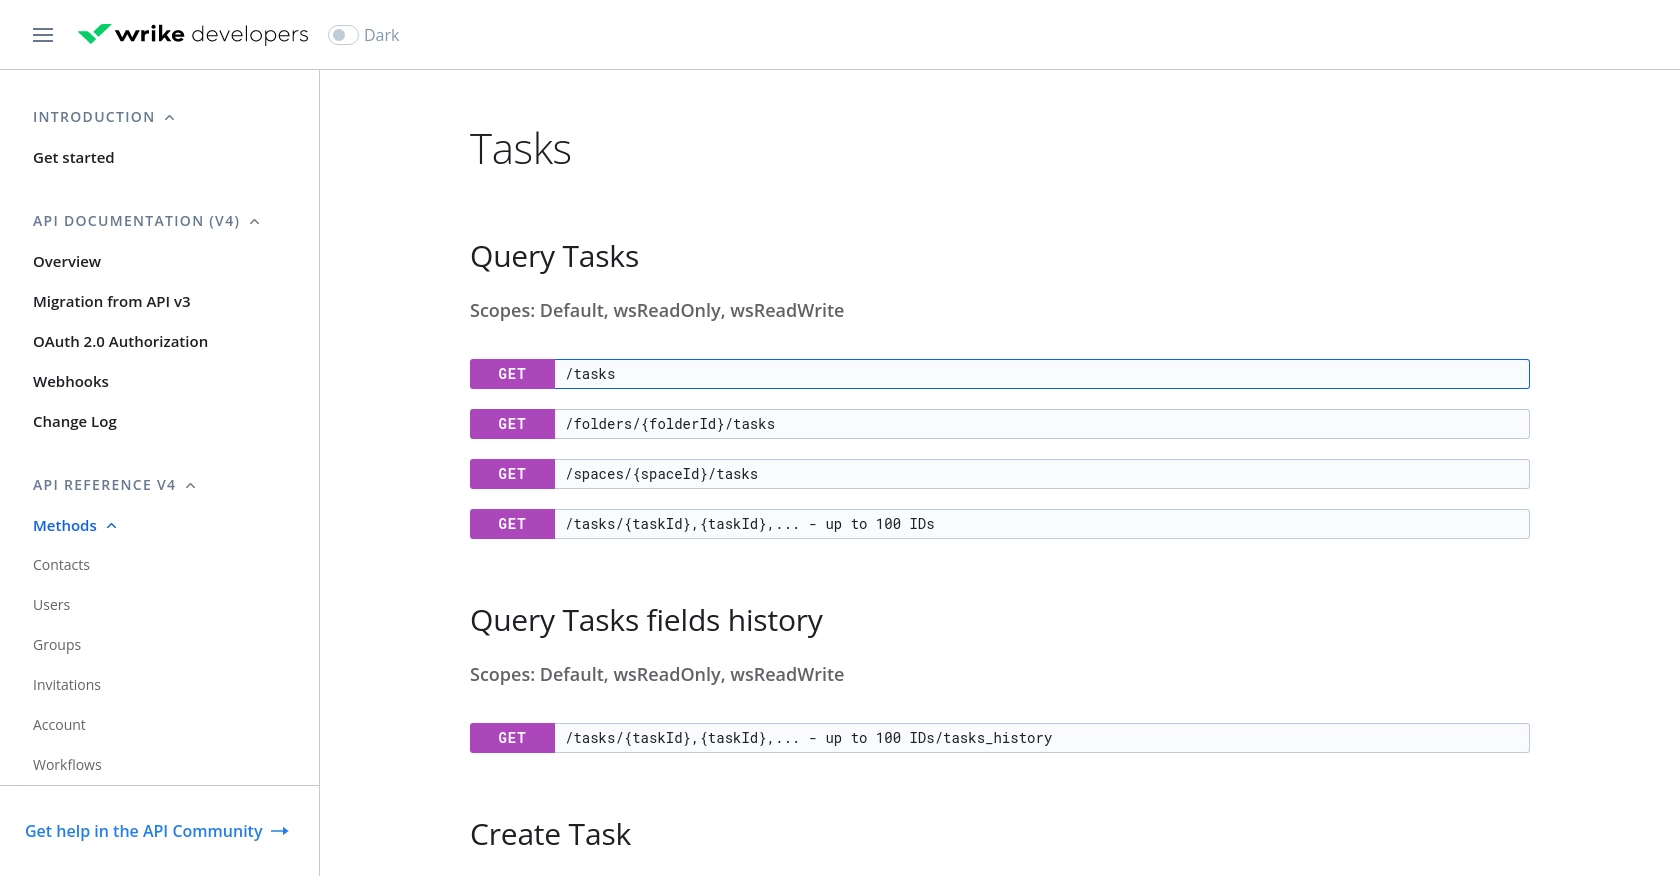
url = f"https://www.wrike.com/api/v4/folders/{folder_id}/tasks"
headers = {
    "Authorization": "Bearer Your_Access_Token",
    "Content-Type": "application/json"
}

# Define the task data
task_data = {
    "title": "New Task Title",
    "description": "Description of the new task",
    "status": "Active",
    "importance": "Normal"
}

# Make the POST request to create a task
response = requests.post(url, json=task_data, headers=headers)

# Check the response status
if response.status_code == 201:
    print("Task created successfully:", response.json())
else:
    print("Failed to create task:", response.status_code, response.text)
Replace Your_Access_Token with the access token you obtained during the OAuth 2.0 setup, and your_folder_id with the ID of the folder where you want to create the task.
Executing the Python Script and Verifying Task Creation
Run the script using the command:
python create_wrike_task.pyIf successful, the script will output the details of the newly created task. You can verify the task's creation by checking your Wrike dashboard in the specified folder.
Handling Errors and Troubleshooting Wrike API Calls
When making API calls, it's crucial to handle potential errors. The Wrike API may return various error codes, such as 400 for bad requests or 401 for unauthorized access. For a comprehensive list of error codes and their meanings, refer to the Wrike API error documentation.
Ensure your access token is valid and that you have the necessary permissions for task creation. If you encounter issues, double-check your request parameters and headers.

Best Practices for Wrike API Integration and Task Management
Integrating with the Wrike API offers a powerful way to automate and enhance your task management processes. To ensure a smooth and efficient integration, consider the following best practices:
- Securely Store Credentials: Always store your OAuth 2.0 credentials, such as the Client ID and Client Secret, securely. Avoid hardcoding them in your scripts and consider using environment variables or secure vaults.
- Handle Rate Limiting: Wrike imposes rate limits on API requests to ensure fair usage. Be mindful of these limits and implement retry logic with exponential backoff to handle rate limit errors gracefully. For more details, refer to the Wrike API documentation.
- Standardize Data Fields: When creating tasks, ensure that data fields such as titles, descriptions, and statuses are standardized to maintain consistency across your project management processes.
- Monitor API Usage: Regularly monitor your API usage and logs to identify any anomalies or errors. This proactive approach helps in maintaining the reliability of your integration.
Streamlining Integrations with Endgrate's Unified API Solution
While integrating with the Wrike API can significantly enhance your task management capabilities, managing multiple integrations can be complex and time-consuming. This is where Endgrate can make a difference.
Endgrate provides a unified API solution that simplifies the integration process by offering a single API endpoint to connect with multiple platforms, including Wrike. By leveraging Endgrate, you can:
- Save Time and Resources: Focus on your core product development while outsourcing the complexities of integration management to Endgrate.
- Build Once, Deploy Everywhere: Develop integration logic once and apply it across various platforms, reducing redundancy and effort.
- Enhance Customer Experience: Provide your users with a seamless and intuitive integration experience, boosting satisfaction and engagement.
Explore how Endgrate can transform your integration strategy by visiting Endgrate's website and discover the benefits of a streamlined, efficient integration process.
Read More
Ready to get started?
