How to Get Devices with the ButterflyMX API in Javascript

Introduction to ButterflyMX API
ButterflyMX is a cutting-edge property access solution that simplifies building entry for residents, visitors, and property staff. With its smart intercom system, ButterflyMX enhances security and convenience by allowing users to manage access through a mobile app.
Developers may want to integrate with the ButterflyMX API to access and manage devices within a building. For example, a developer could use the API to retrieve a list of devices, such as intercom panels and keypads, to monitor and control access points in real-time.
Setting Up a ButterflyMX Sandbox Account for API Integration
To begin integrating with the ButterflyMX API, you need to set up a sandbox account. This environment allows you to test API interactions without affecting live data. However, unlike many platforms, ButterflyMX requires you to contact their support team directly to obtain a sandbox account.
Contacting ButterflyMX for Sandbox Access
Follow these steps to request a sandbox account:
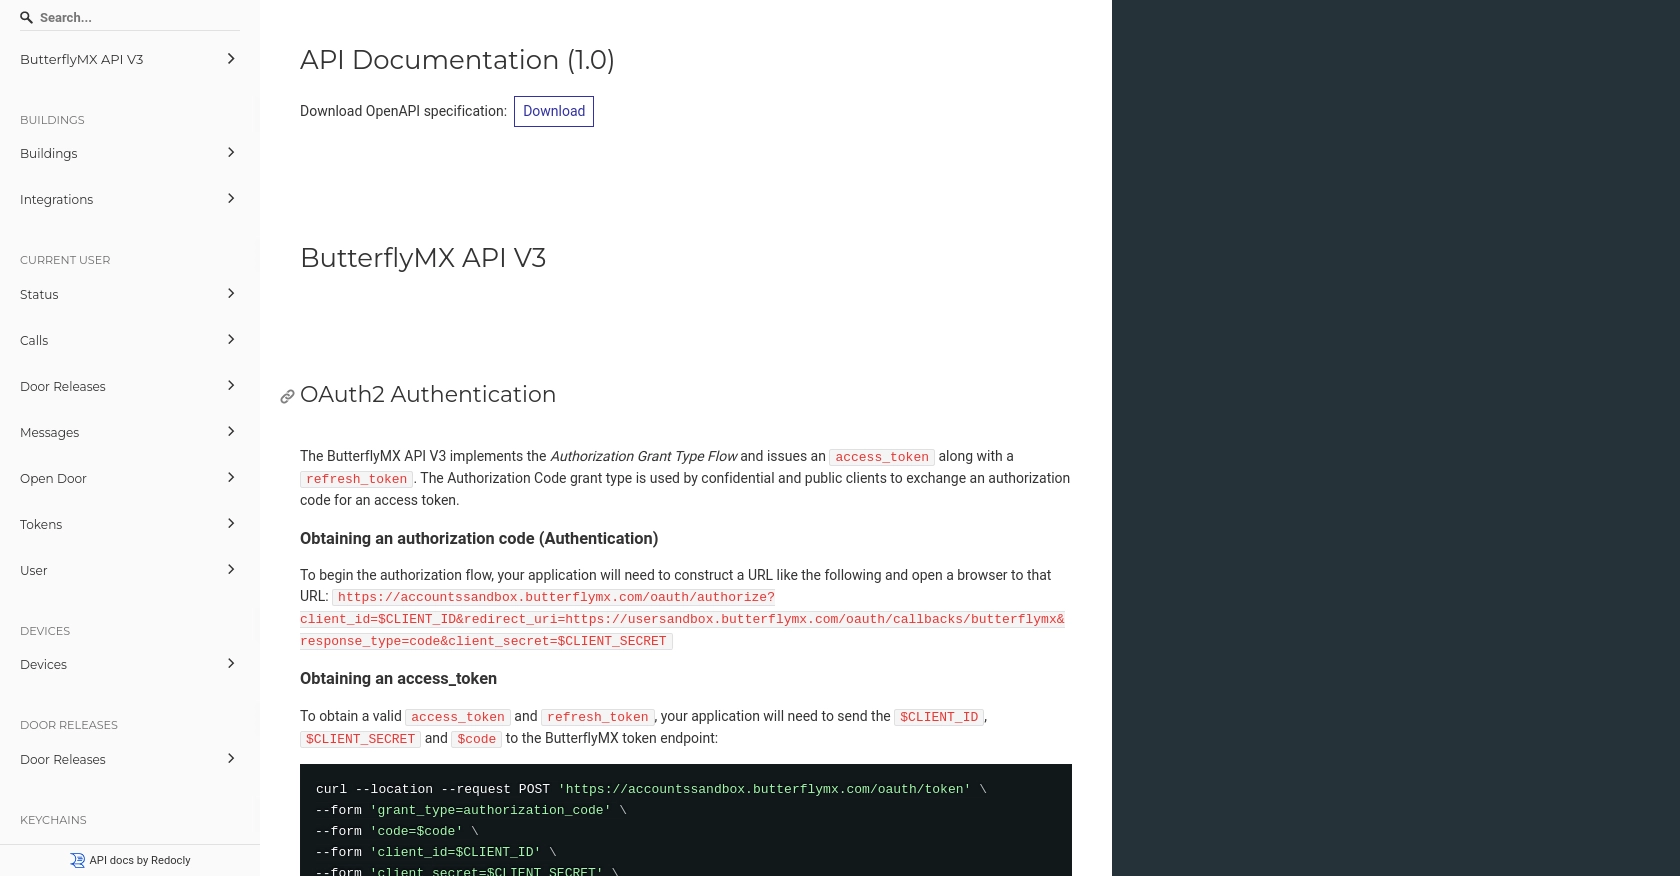
- Visit the ButterflyMX API documentation page.
- Locate the contact information for their support team.
- Send an email or call them, requesting access to a sandbox account for API testing purposes.
- Provide any necessary details they may require, such as your company name and intended use case.
Creating a ButterflyMX App for OAuth2 Authentication
Once you have access to the sandbox account, you need to create an app to use OAuth2 authentication. Follow these steps:
- Log in to your ButterflyMX sandbox account.
- Navigate to the app creation section in the dashboard.
- Fill in the required details for your app, such as the app name and description.
- Set the redirect URI to:
https://usersandbox.butterflymx.com/oauth/callbacks/butterflymx. - Save the app to generate your
client_idandclient_secret.
Obtaining OAuth2 Tokens
With your app created, you can now obtain the necessary tokens for API access:
// Construct the authorization URL
const authUrl = `https://accountssandbox.butterflymx.com/oauth/authorize?client_id=${CLIENT_ID}&redirect_uri=https://usersandbox.butterflymx.com/oauth/callbacks/butterflymx&response_type=code&client_secret=${CLIENT_SECRET}`;

// Open this URL in a browser to authorize and obtain the authorization code
After obtaining the authorization code, exchange it for an access token:
const tokenUrl = 'https://accountssandbox.butterflymx.com/oauth/token';
const data = {
    grant_type: 'authorization_code',
    code: AUTH_CODE,
    client_id: CLIENT_ID,
    client_secret: CLIENT_SECRET,
    redirect_uri: 'https://usersandbox.butterflymx.com/oauth/callbacks/butterflymx'
};

// Use a library like axios or fetch to make a POST request to the token URL
Upon success, you will receive an access_token and a refresh_token to authenticate your API requests.

sbb-itb-96038d7
Making API Calls to Retrieve Devices with ButterflyMX API in JavaScript
To interact with the ButterflyMX API and retrieve a list of devices, you'll need to use JavaScript. This section will guide you through the process, including setting up your environment, writing the code, and handling responses and errors.
Setting Up Your JavaScript Environment for ButterflyMX API
Before making API calls, ensure you have the following prerequisites:
- Node.js installed on your machine.
- A package manager like npm or yarn.
- The
axioslibrary for making HTTP requests.
Install axios using npm:
npm install axiosWriting JavaScript Code to Fetch Devices from ButterflyMX API
Create a file named getDevices.js and add the following code:
const axios = require('axios');

// Set the API endpoint and headers
const endpoint = 'https://apisandbox.butterflymx.com/v3/devices';
const headers = {
    'Authorization': 'Bearer YOUR_ACCESS_TOKEN',
    'Accept': 'application/vnd.api+json'
};

// Function to fetch devices
async function fetchDevices() {
    try {
        const response = await axios.get(endpoint, { headers });
        const devices = response.data.data;
        console.log('Devices:', devices);
    } catch (error) {
        console.error('Error fetching devices:', error.response ? error.response.data : error.message);
    }
}

fetchDevices();
Replace YOUR_ACCESS_TOKEN with the access token obtained during the OAuth2 authentication process.
Understanding the API Response and Handling Errors
When the API call is successful, you should see a list of devices printed in the console. Each device object contains details such as its ID, type, and attributes.
If an error occurs, the catch block will log the error message. Common errors include:
- 401 Unauthorized: Check if your access token is valid.
- 404 Not Found: Verify the endpoint URL.
- 500 Internal Server Error: Retry the request or contact ButterflyMX support.
Verifying the API Call Success in ButterflyMX Sandbox
After running your code, log in to your ButterflyMX sandbox account to verify the devices retrieved. The data should match the devices available in your sandbox environment.
Best Practices for Using the ButterflyMX API in JavaScript
When working with the ButterflyMX API, it's crucial to follow best practices to ensure secure and efficient integration. Here are some recommendations:
- Securely Store Credentials: Always store your
client_id,client_secret, and access tokens securely. Avoid hardcoding them in your source code. Consider using environment variables or a secure vault. - Handle Rate Limiting: Be mindful of the API's rate limits to avoid throttling. Implement exponential backoff strategies to handle retries gracefully.
- Data Transformation and Standardization: Ensure that the data retrieved from the API is transformed and standardized according to your application's requirements. This will help maintain consistency and improve data handling.
Leveraging Endgrate for Seamless ButterflyMX Integrations
Integrating multiple APIs can be complex and time-consuming. Endgrate simplifies this process by providing a unified API endpoint that connects to various platforms, including ButterflyMX. By using Endgrate, you can:
- Save Time and Resources: Focus on your core product while Endgrate handles the integration complexities.
- Build Once, Use Everywhere: Develop a single integration for each use case and apply it across different platforms.
- Enhance Customer Experience: Offer your customers a seamless and intuitive integration experience.
Visit Endgrate to learn more about how you can streamline your integration processes and enhance your application's capabilities.
Read More
Ready to get started?
