How to Get Items with the Sage Accounting API in Javascript

Introduction to Sage Accounting API
Sage Accounting is a robust cloud-based accounting solution tailored for small to medium-sized businesses. It offers a comprehensive suite of tools to manage finances, track expenses, and generate insightful reports, all within an intuitive interface.
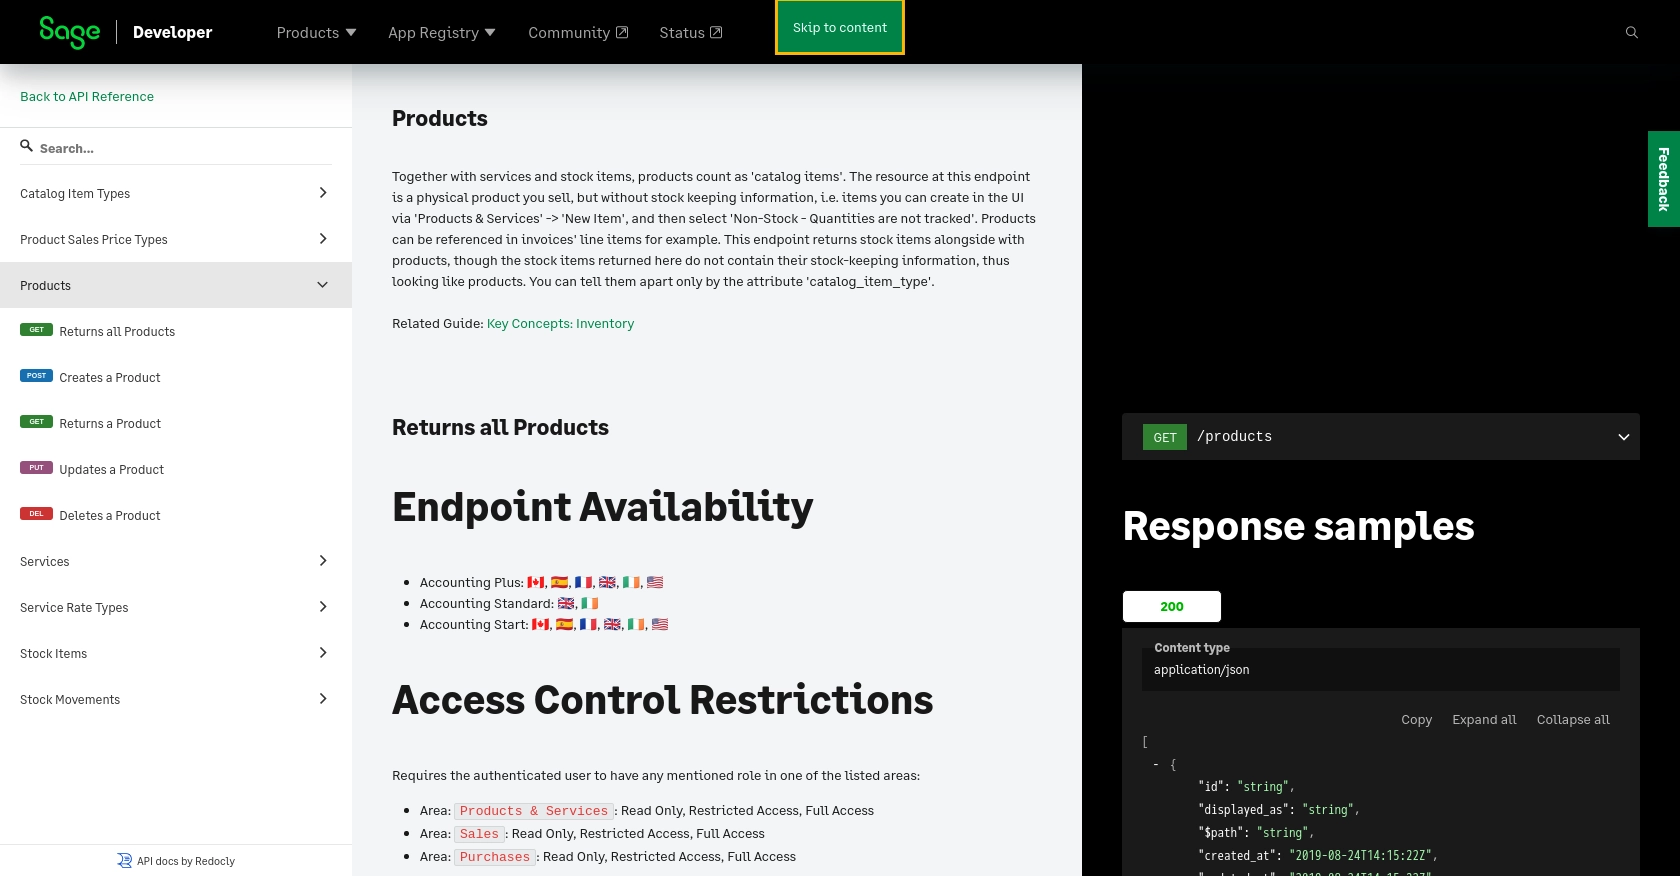
Developers often seek to integrate with the Sage Accounting API to streamline financial operations and enhance business workflows. For example, by accessing product and service data through the API, developers can automate inventory management and synchronize product details across multiple platforms, ensuring consistency and accuracy.
Setting Up Your Sage Accounting Test/Sandbox Account
Before you begin integrating with the Sage Accounting API, it's essential to set up a test or sandbox account. This environment allows you to safely experiment with API calls without affecting live data.
Create a Sage Developer Account
To start, you'll need a Sage Developer account. This account enables you to register and manage your applications, obtain client credentials, and specify key details such as callback URLs.
- Visit the Sage Developer Portal.
- Sign up using your GitHub account or an email address.
- Follow the guide to complete your registration.
Register a Trial Business Account
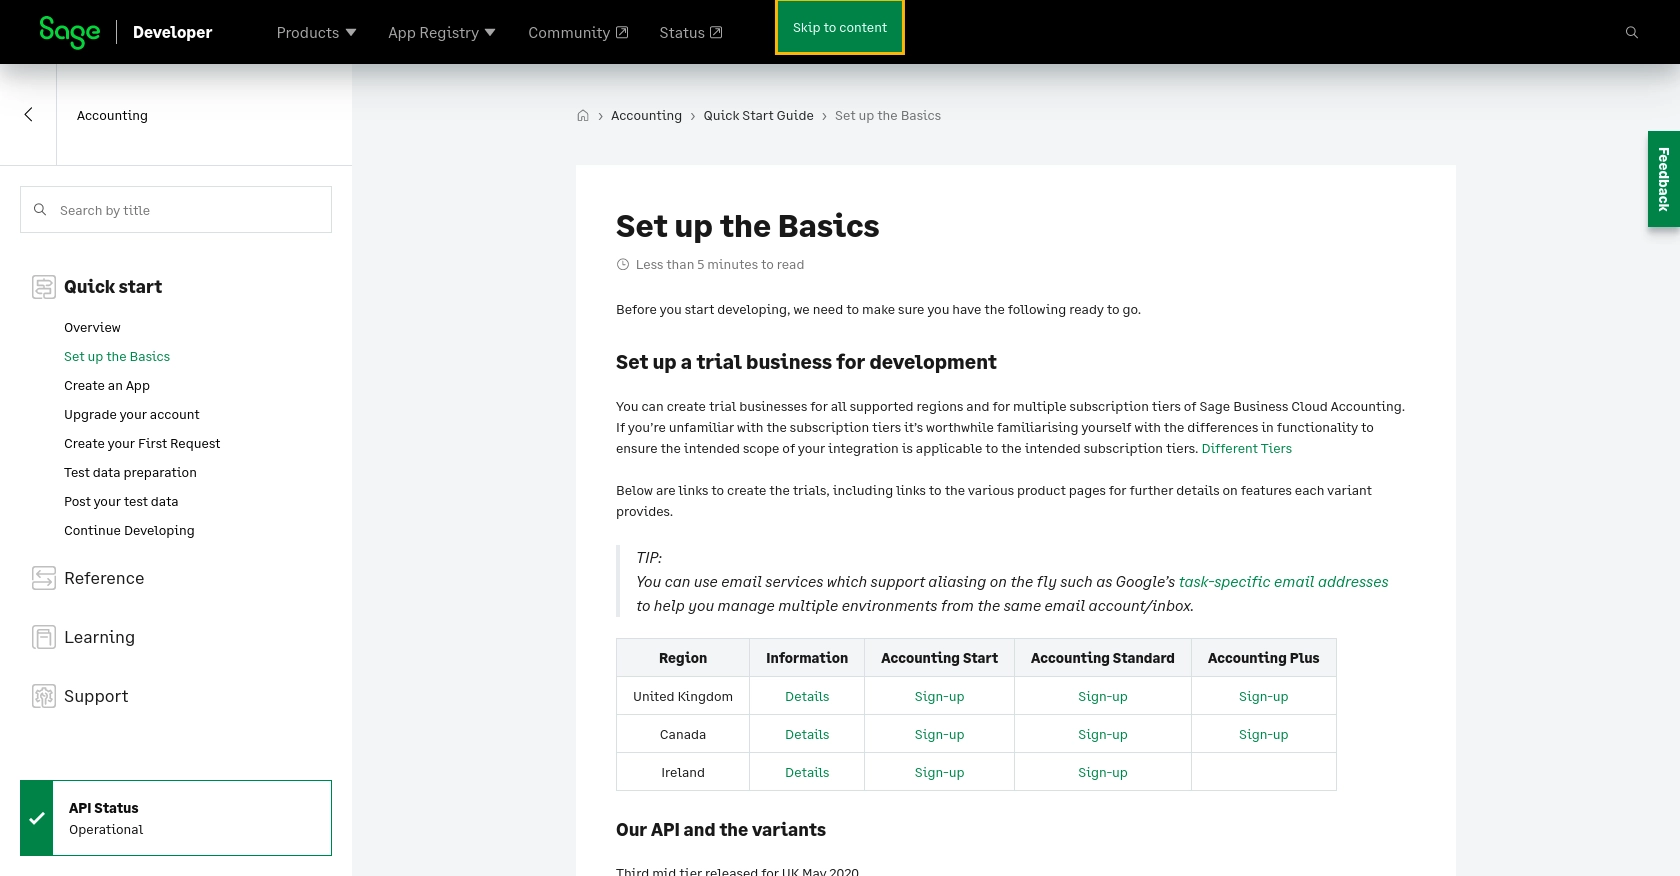
Next, create a trial business account for development purposes. Sage offers trial accounts for various regions and subscription tiers, allowing you to test different functionalities.
- Choose your region and subscription tier from the Sage Business Cloud Accounting options.
- Sign up for a trial account using the provided links.
Create a Sage Accounting App
With your developer account ready, the next step is to create an app to interact with the Sage Accounting API.
- Log in to your Sage Developer account.
- Navigate to the Create an App section.
- Enter a name and Callback URL for your app. Optionally, provide an alternative email address and homepage URL.
- Click "Save" to generate your Client ID and Client Secret.
Upgrade to a Developer Account
To fully utilize the API, upgrade your trial account to a developer account, granting you 12 months of free access for testing.
- Submit your details, including name, email, app name, and client ID, through the Upgrade Your Account form.
- Wait for confirmation from the Sage team, which typically takes 3-5 working days.
Authenticate Using OAuth
The Sage Accounting API uses OAuth for authentication. Follow these steps to set up OAuth:
- Use the Client ID and Client Secret obtained from your app registration.
- Implement the OAuth flow to obtain an access token for API requests.
- Refer to the Sage API documentation for detailed instructions on OAuth setup.

sbb-itb-96038d7
Making API Calls to Retrieve Items with Sage Accounting API in JavaScript
To interact with the Sage Accounting API using JavaScript, you'll need to ensure you have the correct environment set up. This includes having Node.js installed, which allows you to run JavaScript code outside of a browser. Additionally, you'll need to install the necessary dependencies to make HTTP requests.
Setting Up Your JavaScript Environment for Sage Accounting API
Before making API calls, ensure you have Node.js and npm (Node Package Manager) installed on your machine. You can download them from the official Node.js website.
- Verify the installation by running the following commands in your terminal:
node -v
npm -v
Next, create a new directory for your project and navigate into it:
mkdir sage-accounting-api
cd sage-accounting-api
Initialize a new Node.js project:
npm init -y
Install the Axios library to handle HTTP requests:
npm install axios
Writing JavaScript Code to Retrieve Items from Sage Accounting API
With your environment set up, you can now write the JavaScript code to make API calls to Sage Accounting. Create a new file named getItems.js and add the following code:
const axios = require('axios');

// Define the API endpoint and headers
const endpoint = 'https://api.sage.com/accounting/v3.1/products';
const headers = {
    'Authorization': 'Bearer YOUR_ACCESS_TOKEN',
    'Content-Type': 'application/json'
};

// Function to get items from Sage Accounting
async function getItems() {
    try {
        const response = await axios.get(endpoint, { headers });
        const items = response.data;
        console.log('Retrieved Items:', items);
    } catch (error) {
        console.error('Error fetching items:', error.response ? error.response.data : error.message);
    }
}

// Execute the function
getItems();
Replace YOUR_ACCESS_TOKEN with the access token obtained through the OAuth process.
Running the JavaScript Code and Verifying API Response
To execute the code, run the following command in your terminal:
node getItems.js
If successful, the console will display the list of items retrieved from your Sage Accounting sandbox account. Verify the data by checking the items in your Sage Accounting dashboard.
Handling Errors and Understanding Sage Accounting API Response Codes
When making API calls, it's crucial to handle potential errors gracefully. The Sage Accounting API provides various response codes to indicate the status of your requests. Common response codes include:
- 200 OK: The request was successful, and the items were retrieved.
- 401 Unauthorized: The access token is missing or invalid. Ensure your token is correct and not expired.
- 404 Not Found: The requested resource could not be found. Check the endpoint URL for accuracy.
For more detailed information on response codes, refer to the Sage API documentation.

Best Practices for Using the Sage Accounting API in JavaScript
When working with the Sage Accounting API, it's essential to follow best practices to ensure secure and efficient integration. Here are some recommendations:
- Securely Store Credentials: Always store your API credentials, such as the Client ID and Client Secret, securely. Avoid hardcoding them in your source code. Use environment variables or secure vaults to manage sensitive information.
- Handle Rate Limiting: Be aware of any rate limits imposed by the Sage Accounting API. Implement logic to handle rate limit responses and retry requests after the specified wait time. This ensures your application remains compliant and avoids unnecessary errors.
- Standardize Data Fields: When retrieving or sending data, ensure that your application standardizes data fields to maintain consistency across different platforms and services. This can help in data transformation and integration processes.
Leveraging Endgrate for Seamless Sage Accounting Integrations
Integrating with multiple platforms can be complex and time-consuming. Endgrate simplifies this process by providing a unified API endpoint for various integrations, including Sage Accounting. By using Endgrate, you can:
- Save Time and Resources: Focus on your core product development while outsourcing integration complexities to Endgrate.
- Build Once, Use Everywhere: Develop a single integration for each use case, reducing redundancy and maintenance efforts.
- Enhance Customer Experience: Offer an intuitive and seamless integration experience to your customers, improving satisfaction and engagement.
Explore how Endgrate can streamline your integration processes by visiting Endgrate's website and discover the benefits of a unified integration solution.
Read More
- https://endgrate.com/provider/sage
- https://developer.sage.com/accounting/quick-start/set-up-the-basics/
- https://developer.sage.com/accounting/quick-start/create-an-app/
- https://developer.sage.com/accounting/quick-start/upgrade-your-account/
- https://developer.sage.com/accounting/reference/products-services/#tag/Products
Ready to get started?
