Using the Mailchimp API to Create Members (with Python examples)
Introduction to Mailchimp API Integration
Mailchimp is a powerful marketing automation platform that allows businesses to manage their email campaigns, audience data, and marketing strategies effectively. With its robust set of tools, Mailchimp helps companies of all sizes to engage with their audience through personalized and targeted marketing efforts.
Integrating with the Mailchimp API can significantly enhance a developer's ability to manage audience data programmatically. For example, using the Mailchimp API, developers can automate the process of adding or updating members in a mailing list, ensuring that the audience data is always current and accurate. This can be particularly useful for businesses looking to streamline their marketing workflows and maintain up-to-date contact lists.
Setting Up Your Mailchimp Test Account for API Integration
Before you can start integrating with the Mailchimp API, you'll need to set up a Mailchimp account. This will allow you to access the necessary API keys and configure your application for testing and development purposes.
Creating a Mailchimp Account
If you don't already have a Mailchimp account, follow these steps to create one:
- Visit the Mailchimp website and click on the "Sign Up Free" button.
- Fill in the required information, including your email address, username, and password.
- Follow the on-screen instructions to complete the account setup process.
Generating an API Key for Mailchimp
Once your account is set up, you'll need to generate an API key to authenticate your requests to the Mailchimp API. Here's how to do it:
- Log in to your Mailchimp account and navigate to the "Account" section.
- Click on "Extras" and select "API keys" from the dropdown menu.
- Click on "Create A Key" to generate a new API key.
- Copy the generated key and store it securely, as you will need it for API requests.
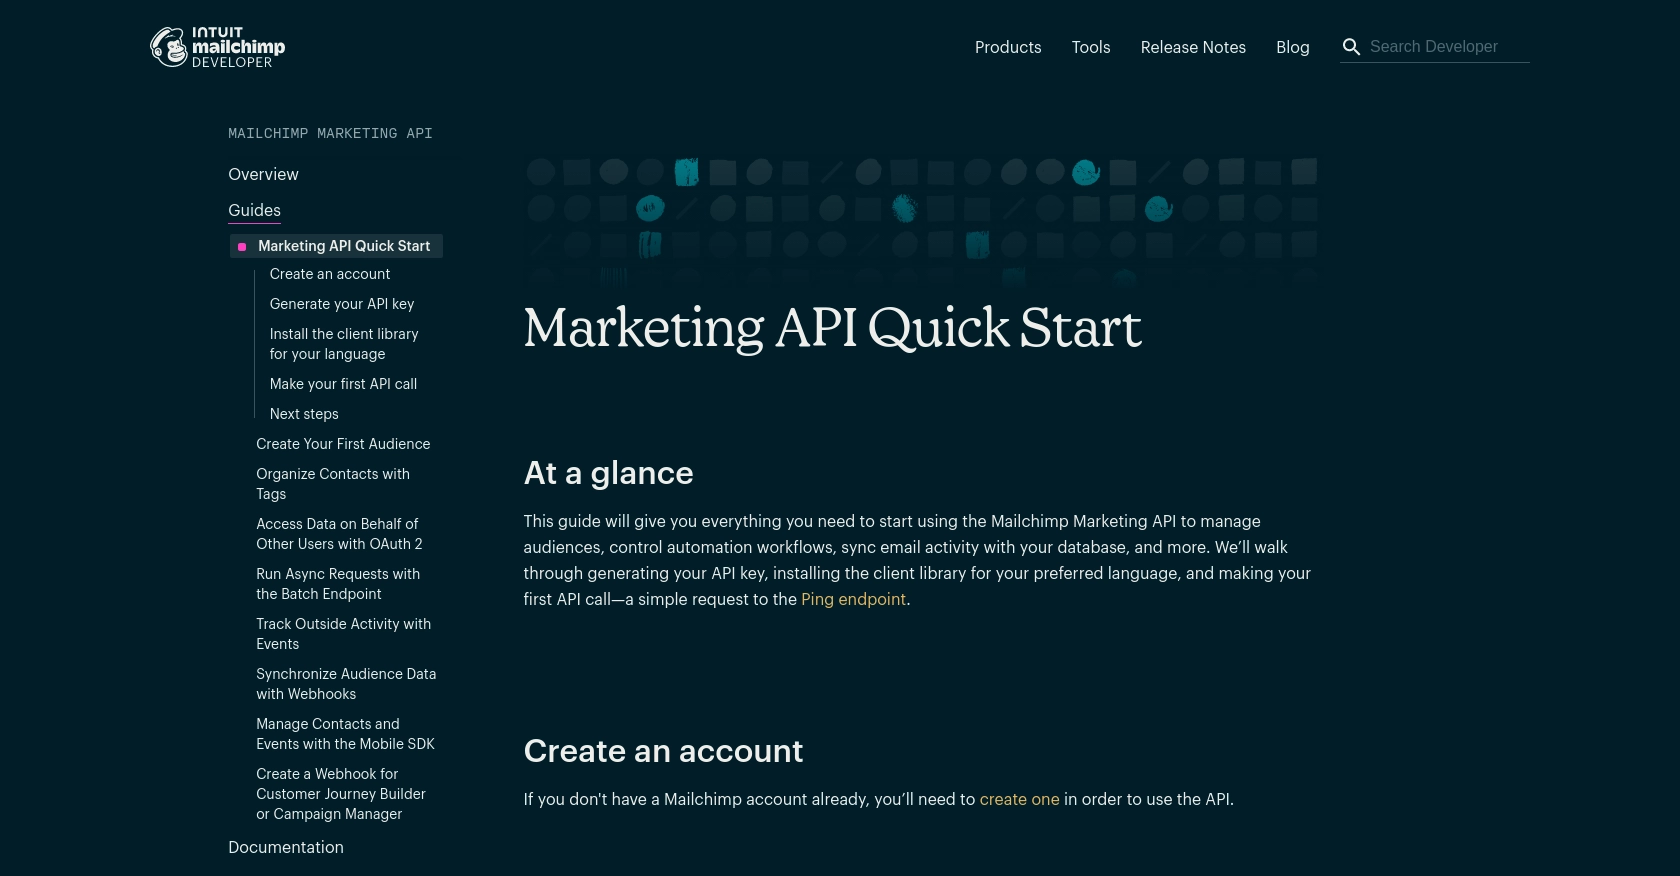
For more detailed instructions, refer to the Mailchimp API Quick Start Guide.
Setting Up OAuth for Mailchimp API Access
If your integration requires access to Mailchimp on behalf of other users, you'll need to set up OAuth 2.0 authentication. Follow these steps:
- Navigate to the "Extras" section in your Mailchimp account and select "API keys".
- Click on "Register an App" to create a new application for OAuth access.
- Fill in the required details, including the application name and redirect URL.
- Save the app and note the client ID and client secret provided.
For more information on OAuth setup, visit the Mailchimp OAuth Guide.
Testing Your Mailchimp API Setup
To ensure your API setup is correct, you can make a simple request to the Mailchimp API's Ping endpoint. This acts as a health check for the API service:
import requests

# Replace 'YOUR_DC' with your data center prefix and 'YOUR_API_KEY' with your API key
url = "https://YOUR_DC.api.mailchimp.com/3.0/ping"
headers = {"Authorization": "Bearer YOUR_API_KEY"}

response = requests.get(url, headers=headers)

if response.status_code == 200:
    print("API setup successful!")
else:
    print("API setup failed. Check your credentials.")
Replace YOUR_DC with your data center prefix and YOUR_API_KEY with your API key. If everything is set up correctly, you should see a success message.
sbb-itb-96038d7
Making API Calls to Add or Update Members in Mailchimp Using Python
To interact with the Mailchimp API and manage your audience data, you'll need to make API calls to add or update members in your mailing list. This section will guide you through the process using Python, ensuring you have the right setup and code to perform these operations effectively.
Prerequisites for Mailchimp API Integration with Python
Before proceeding, ensure you have the following installed on your machine:
- Python 3.11.1 or later
- The Python package installer
pip
Install the requests library to handle HTTP requests:
pip install requestsCreating a Member in Mailchimp Using Python
To add a new member to your Mailchimp list, you'll need to make a POST request to the appropriate endpoint. Here's a step-by-step guide:
import requests
import hashlib

# Set your Mailchimp API key and list ID
api_key = 'YOUR_API_KEY'
list_id = 'YOUR_LIST_ID'
server_prefix = 'YOUR_DC'  # e.g., 'us19'

# Define the API endpoint
url = f"https://{server_prefix}.api.mailchimp.com/3.0/lists/{list_id}/members"

# Set the request headers
headers = {
    "Authorization": f"Bearer {api_key}",
    "Content-Type": "application/json"
}

# Define the member data
member_data = {
    "email_address": "newmember@example.com",
    "status": "subscribed",
    "merge_fields": {
        "FNAME": "John",
        "LNAME": "Doe"
    }
}

# Make the POST request to add the member
response = requests.post(url, json=member_data, headers=headers)

# Check the response status
if response.status_code == 200:
    print("Member added successfully!")
else:
    print("Failed to add member:", response.json())
Replace YOUR_API_KEY, YOUR_LIST_ID, and YOUR_DC with your actual API key, list ID, and data center prefix. If the request is successful, you should see a confirmation message.
Updating an Existing Member in Mailchimp Using Python
To update an existing member's information, you'll need to use the PUT method. Here's how to do it:
# Calculate the subscriber hash
email = "existingmember@example.com"
subscriber_hash = hashlib.md5(email.lower().encode()).hexdigest()

# Define the API endpoint for updating a member
url = f"https://{server_prefix}.api.mailchimp.com/3.0/lists/{list_id}/members/{subscriber_hash}"

# Define the updated member data
updated_data = {
    "merge_fields": {
        "FNAME": "Jane",
        "LNAME": "Smith"
    }
}

# Make the PUT request to update the member
response = requests.put(url, json=updated_data, headers=headers)

# Check the response status
if response.status_code == 200:
    print("Member updated successfully!")
else:
    print("Failed to update member:", response.json())
Ensure you replace the email address with the member's email you wish to update. The subscriber hash is a unique identifier for the member in your list.
Handling Errors and Verifying API Requests
It's crucial to handle potential errors when making API calls. The Mailchimp API may return various status codes indicating success or failure. Here are some common status codes:
- 200: Success
- 400: Bad Request (e.g., invalid data)
- 401: Unauthorized (e.g., invalid API key)
- 404: Not Found (e.g., invalid endpoint)
- 429: Too Many Requests (rate limit exceeded)
For more detailed error handling, refer to the Mailchimp API documentation.
After making API calls, verify the changes by checking your Mailchimp account to ensure the member data reflects the updates.
Best Practices for Mailchimp API Integration
When integrating with the Mailchimp API, it's essential to follow best practices to ensure security, efficiency, and maintainability. Here are some recommendations:
- Secure Storage of API Keys: Store your API keys and OAuth tokens securely, similar to how you would handle passwords. Avoid hardcoding them in your source code.
- Handle Rate Limiting: Be aware of Mailchimp's API rate limits, which allow up to 10 simultaneous connections. Implement retry logic and backoff strategies to handle 429 errors gracefully. For more details, refer to the Mailchimp API limits documentation.
- Data Standardization: Ensure that the data you send to Mailchimp is standardized and validated to prevent errors and maintain data integrity.
- Efficient API Calls: Use pagination and partial responses to optimize data retrieval and reduce the load on the API.
Enhancing Your Integration with Endgrate
Building and maintaining multiple integrations can be time-consuming and complex. Endgrate simplifies this process by providing a unified API endpoint that connects to various platforms, including Mailchimp. By using Endgrate, you can:
- Save time and resources by outsourcing integrations and focusing on your core product development.
- Build once for each use case instead of multiple times for different integrations.
- Offer an intuitive integration experience for your customers, enhancing their satisfaction and engagement.
Explore how Endgrate can streamline your integration processes by visiting Endgrate.
Read More

Ready to get started?
